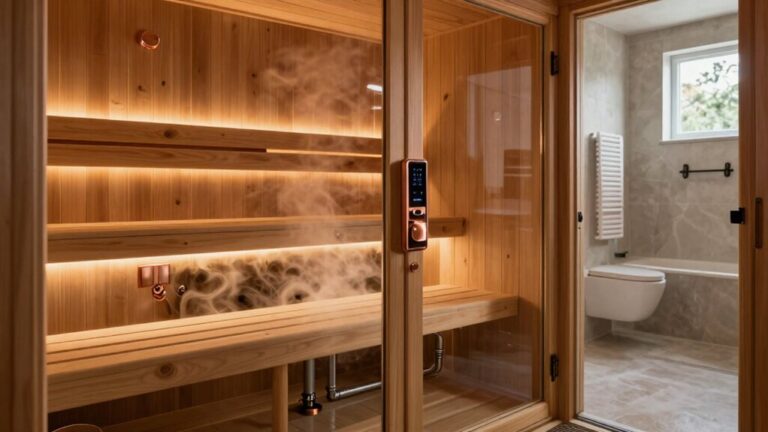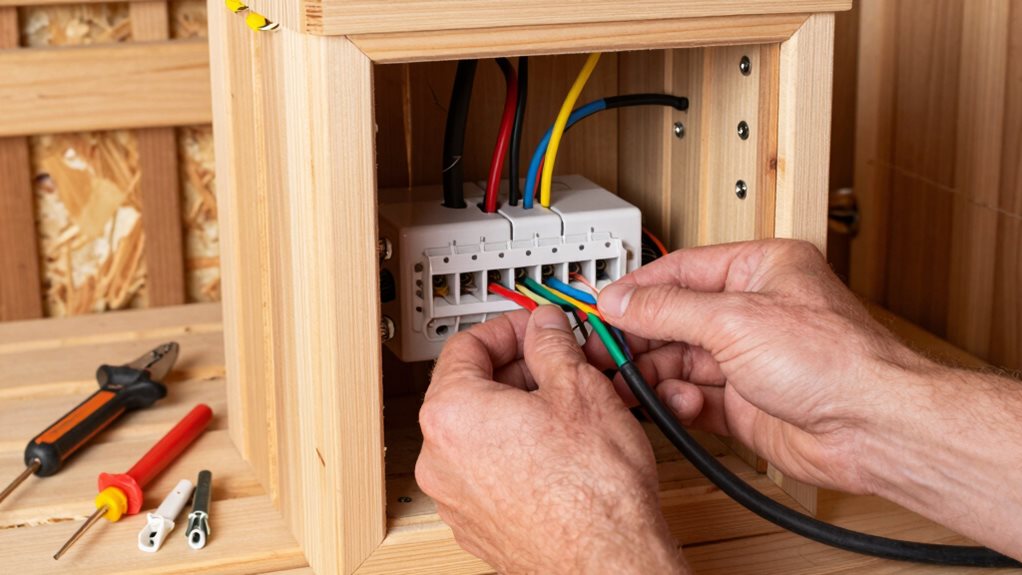

You’ll need to install a dedicated circuit for your sauna, typically 240V with 30-60 amp capacity depending on your heater’s specifications. Use proper copper wiring (6-10 AWG), include GFCI protection, and install a disconnect switch within sight of the sauna. Keep all junction boxes outside the sauna room, connect according to the manufacturer’s wiring diagram, and test thoroughly before use. Following these electrical setup steps guarantees your sauna will operate safely for years of relaxation.
Planning Your Sauna’s Electrical Requirements
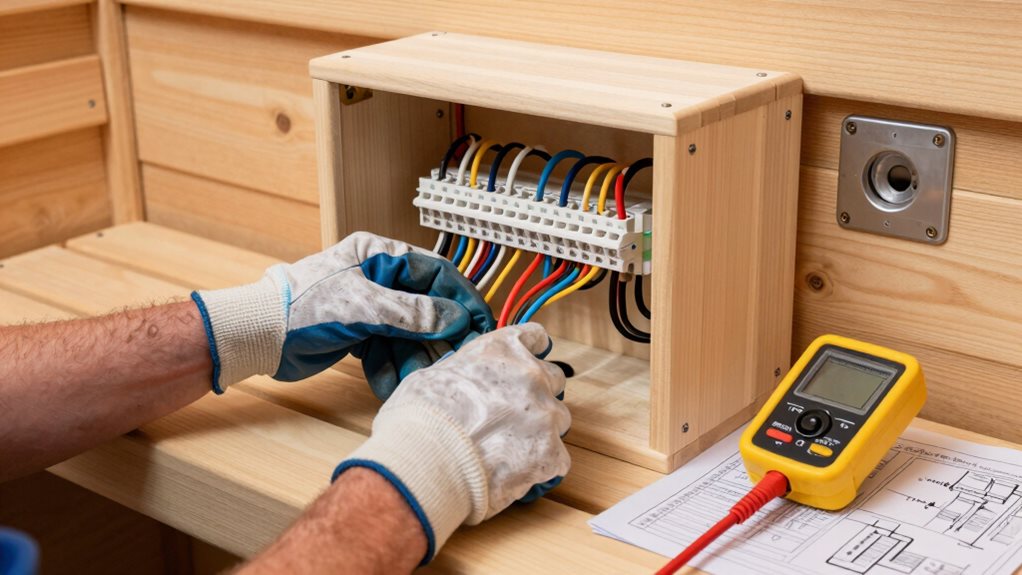
Before commencing your sauna project, understanding the electrical requirements is absolutely essential for both safety and functionality.
You’ll need to determine whether your sauna needs 110-120V (typical for infrared models) or 220-240V (for traditional rock-heating saunas).
First, check your home’s electrical panel capacity—most homes have 100-200 amp service.
Your sauna’s size directly impacts power needs, with larger spaces requiring more electricity.
Size matters when calculating sauna power needs—larger cabins demand significantly more electrical capacity.
Consult your sauna manufacturer’s manual for exact kilowatt ratings and voltage requirements.
Don’t forget to include accessories like lights and fans in your calculations.
For safety, add 20-25% extra capacity as a buffer.
Choosing the Right Circuit and Power Supply
Before installing your sauna heater, you’ll need to determine whether you need a 120V or 240V dedicated circuit, with most traditional models requiring 240V for peak performance.
You must select the correct breaker size, typically ranging from 30-60 amps for residential units, based on your heater’s wattage and manufacturer specifications.
Your electrical panel needs sufficient capacity to handle this new circuit, so check your current usage and available space for the appropriate breaker before beginning installation.
Voltage and Amperage Requirements
Selecting the right voltage and amperage for your sauna isn’t just a technical detail—it’s the foundation of a safe, efficient heating system. The requirements vary considerably based on your sauna type and size.
For infrared saunas, you’ll need standard 120V power with 15-20 amps, which works with most household outlets.
Traditional saunas demand more power—240V with 20-60 amps depending on size. A small 2-3 person model requires 20-30 amps, while larger 6-8 person saunas need 40-60 amps. Most electric sauna heaters in residential settings use 240V/1PH configuration for optimal performance.
Your circuit breaker must match your heater’s specifications exactly. For example, a 4.5-6kW heater works with a 30-amp breaker using 10/2 wire.
If your sauna is more than 30 feet from your electrical panel, you’ll need to upgrade to 8/2 wire.
Dedicated Circuit Necessities
A dedicated circuit serves as the lifeline of your sauna’s electrical system, assuring safety and ideal performance. This specialized circuit powers only your sauna heater, preventing other appliances from stealing electricity and potentially causing dangerous overloads.
The National Electrical Code requires this setup for all electric saunas, no exceptions.
You’ll need to match the breaker size exactly to your heater’s specifications and install GFCI protection, which acts like a safety guard against shocks in your sauna’s humid environment.
Don’t try to use existing circuits—a brand new line is necessary, with proper wire gauge for your specific distance and amperage needs.
Most jurisdictions require a licensed electrician to handle this installation and pull the necessary permits, assuring everything meets local building codes.
For optimal performance, select a heater with 1 KW per 50 cubic feet of sauna space.
Panel Capacity Assessment
Your home’s electrical panel serves as the command center for your sauna’s power needs, making proper assessment of its capacity absolutely essential before installation.
Before adding your sauna, you’ll need to evaluate your main service size (typically 100A or 200A) and calculate whether you have enough spare capacity.
To determine this, add your sauna’s power requirements (converted from kW to amps) to your existing household loads. If your panel is already using 70-80% of its total capacity, you’ll need to examine alternatives like installing a subpanel or upgrading your service.
Don’t forget to check for available breaker spaces – your 240V sauna heater will require a dedicated double-pole breaker.
If space is limited, you might need to reorganize your panel or add a subpanel to accommodate the new circuit.
Essential Safety Features and Compliance Standards
Your sauna’s safety features aren’t optional—they’re crucial protections required by electrical codes.
You’ll need GFCI protection to prevent shock hazards, high-limit cutoff switches that automatically shut down overheating elements, and a visible disconnect switch within sight of your sauna for emergency shutoffs.
These three safety components work together to protect you and your family while guaranteeing your installation will pass inspection and maintain insurance coverage. For maximum safety and compliance, hiring a licensed electrician ensures all components meet the National Electrical Code standards.
GFCI/RCD Protection Requirements
When designing your sauna’s electrical system, GFCI/RCD protection requirements should be at the top of your safety checklist.
These devices detect current imbalances and trip when leakage exceeds safe thresholds, providing vital protection in humid environments where shock risks increase.
Your local requirements may vary considerably. The NEC doesn’t universally mandate GFCI for all sauna heaters, but many municipalities do—especially for outdoor installations.
Check with your local Authority Having Jurisdiction (AHJ) for specific rules in your area.
You can install GFCI protection at the panel using a GFCI breaker, at a disconnect near the sauna, or via a GFCI receptacle for smaller plug-in units.
If your manufacturer’s instructions explicitly prohibit GFCI use, document this for your inspector’s review, as it may override local interpretation in some jurisdictions.
High-Limit Safety Cutoffs
Beyond GFCI protection, every sauna installation needs robust high-limit safety cutoffs to provide complete electrical safety.
These critical devices automatically interrupt power to your heating elements when temperatures exceed preset limits, typically around 120°C, with a secondary cutoff at 125°C as a backup.
The sensor should be positioned 14-18 inches down from the ceiling and 14-18 inches from your heater, though UL standards allow placement directly above the heater.
When temperatures rise too high, the switch activates, immediately stopping the heating process until it’s safe again.
Don’t overlook these safety features—they’re mandatory for compliance with regulations and protect both users from heat-related injuries and your equipment from damage.
Some models require manual reset after activation, which also serves as a helpful maintenance reminder.
Installing proper high-limit safety cutoffs is essential when following manufacturer specifications to avoid electrical failures and ensure long-term safety.
Code-Mandated Disconnect Switches
Every properly installed sauna requires code-mandated disconnect switches that serve as crucial safety features for both emergency shutdowns and routine maintenance.
You’ll need to install this disconnect within sight of your sauna, making it visible from the appliance itself.
For most residential saunas, you’ll need a double-pole disconnect switch rated for your heater’s full-load amperage (typically 240V). The disconnect can be either a separate local switch or the branch-circuit breaker if it’s visible from the sauna or lockable.
Mount your disconnect in an easily accessible location, typically just outside the sauna room. For outdoor installations, make sure to use weatherproof enclosures (rated IP65 or higher).
Proper Wiring Methods and Material Selection
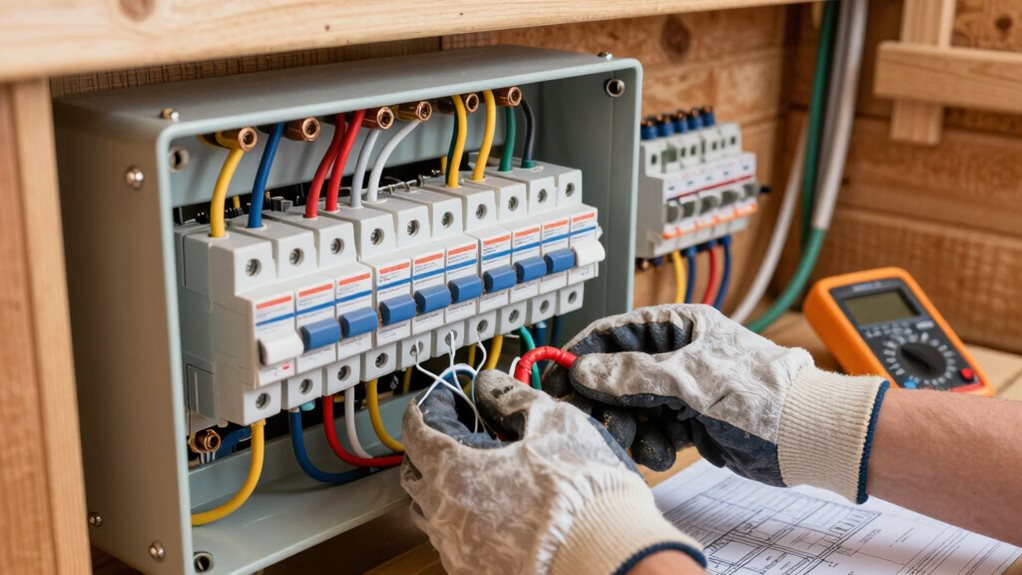
Selecting the proper wiring methods and materials for your sauna installation isn’t just about meeting code requirements—it’s vital for safety and long-term reliability.
Always use copper conductors with high-temperature insulation (90°C rated) that can withstand the intense heat.
Match your wire gauge to your heater’s amperage requirements—typically 10 AWG for 30-40 amp circuits, 8 AWG for 40 amp circuits, and 6 AWG for 50-60 amp circuits.
For runs longer than 50 feet, size up one or two gauges to prevent voltage drop.
Don’t use standard NM-B (Romex) inside sauna walls; instead, run THHN/THWN conductors in conduit when permitted.
Remember to keep all junction boxes and terminations outside the sauna room to protect them from heat damage.
Connecting Your Sauna Heater and Control Systems
After the electrical groundwork is laid with proper wiring materials, connecting your sauna heater and control systems represents the critical next phase of your installation.
Begin by opening your heater’s wiring compartment to access the terminals. Connect the hot wires (L1 and L2) to their designated terminals, and secure your ground wire to prevent electrical faults. Improper connections can lead to electrical fires from loose terminals or incorrect wire sizing.
Mount your control panel outside the sauna to protect it from heat damage, ideally recessed into the wall beside the door.
You’ll need to position the temperature sensor properly—about 1-2 feet from the heater at ceiling level. Run control wires between the panel and heater using 18/4 wire for connections up to 12 feet.
Always follow the manufacturer’s wiring diagram, matching colored wires consistently between the relay box and control panel.
Testing, Commissioning, and Maintenance Procedures
Once your sauna’s electrical components are properly connected, thorough testing and commissioning procedures must be completed before you enjoy your first steam session.
Begin by verifying all permits and approvals are in place, and confirm your circuit sizing matches the heater’s specifications.
Before energizing, test the GFCI protection and disconnect switch functionality. Use a multimeter to measure voltage at the heater terminals and verify control-circuit voltages.
When you first power up, monitor current draw with a clamp meter to ascertain it matches expected ratings.
Don’t skip safety verification – test temperature sensors against a reference thermometer, and confirm all limit switches function correctly.
Finally, document everything: record circuit diagrams, conductor sizes, test readings, and inspection results. Proper labeling of disconnects and breakers completes your commissioning process, making certain your sauna operates safely and efficiently.
Frequently Asked Questions
Can I Install a Sauna Heater on an Existing Circuit?
No, you can’t use existing circuits for sauna heaters. You’ll need a dedicated circuit with proper wire gauge and breaker rating to handle the high power demands safely.
How Far Should Electrical Outlets Be From the Heater?
Electrical outlets shouldn’t be inside the sauna room at all. Place them outside the heated area, behind an access panel or at least one wall thickness away from the heater.
Do I Need Special Insurance for a Home Sauna?
Yes, you’ll need to notify your home insurance provider about your sauna installation. Standard policies may require additional coverage or riders to protect against moisture damage and liability risks.
What’s the Average Electricity Cost for Running a Sauna Monthly?
You’ll spend about $8-20 monthly for an infrared sauna and $20-55 for a traditional electric sauna with moderate use, depending on your local electricity rates and usage patterns.
Can Sauna Wiring Be Combined With Hot Tub Electrical?
No, you can’t combine sauna and hot tub wiring. Both require their own dedicated circuits with separate breakers to prevent overloads and meet safety code requirements.
Final Thoughts
You’ve now mastered the fundamentals of sauna electrical setup! Remember, safety always comes first, so don’t skip any compliance requirements. With proper planning, the right materials, and careful installation, you’ll enjoy your sauna for years to come. Regular maintenance checks will keep everything running effortlessly. If you’re unsure about any step, consult a professional electrician—it’s better to be safe than sorry!