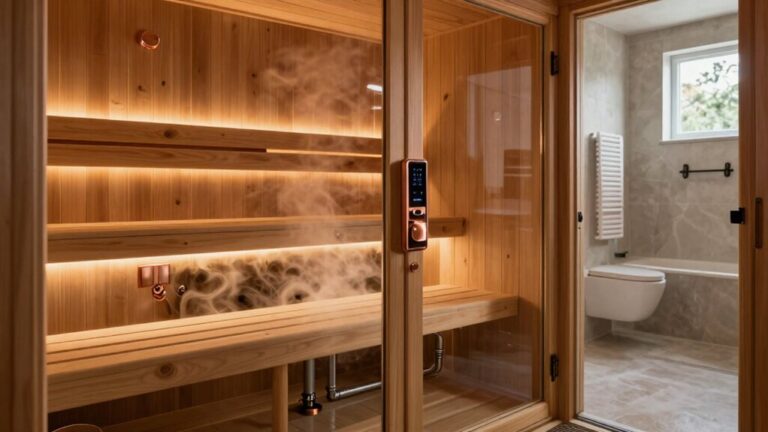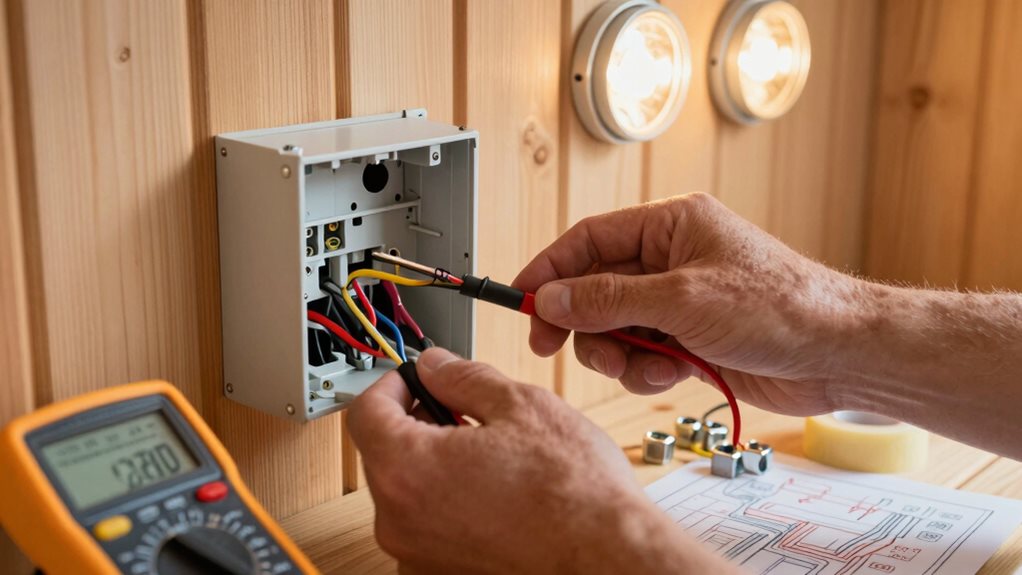

Most sauna electrical problems stem from improper wiring, inadequate power supply, or moisture issues. Start by checking for tripped breakers and verifying you’re using the correct wire gauge (10-gauge for 30-amp, 8-gauge for 40-amp circuits). Reset control panels by unplugging for 10 seconds, and protect electronics with silicone caulking around gaps. For persistent issues, especially with GFCI tripping or burning smells, consult a licensed electrician. Proper troubleshooting steps will transform your sauna from a headache to a haven.
Diagnosing Power Supply and Circuit Breaker Issues
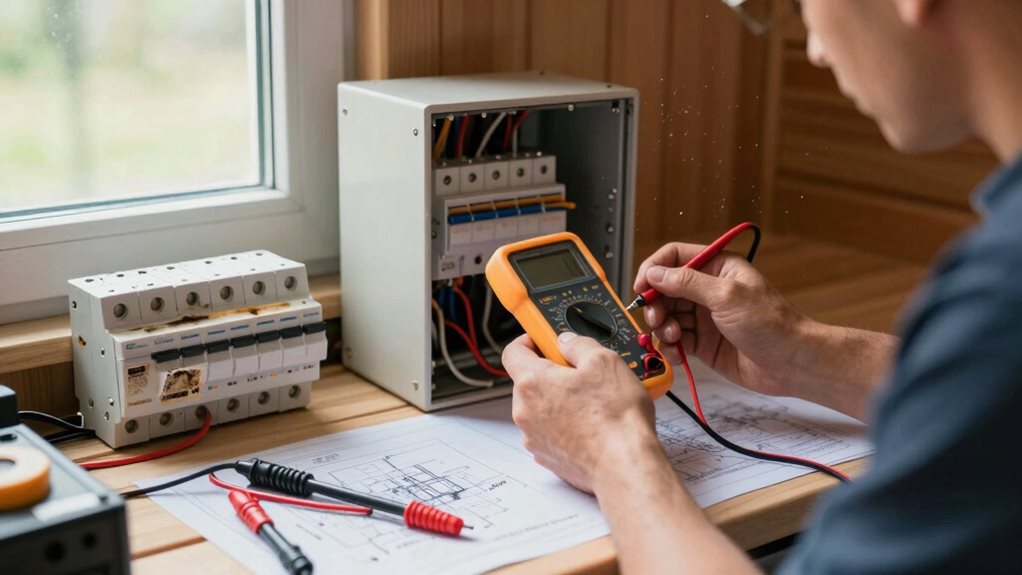
When troubleshooting electrical problems in your sauna, diagnosing power supply and circuit breaker issues is the critical first step toward a safe, functioning system.
Start by checking your main panel for tripped breakers that match your sauna’s circuit. If your breaker trips repeatedly, you’re likely dealing with an overloaded circuit or a short.
Circuit problems? Check your main panel first—repeated trips usually mean overloads or shorts that need immediate attention.
For power supply troubles, inspect for burning smells or visible damage that signal you need a replacement.
Disconnect the 12V wires and measure output voltage with a voltmeter, especially with switching power supplies like the S-35-12 model.
Don’t forget to check internal fuses—if they’re blown (look for broken wires inside), replace them with the exact same 3-amp rating.
Loose wiring is another common culprit that’s easy to fix but dangerous to ignore.
Essential Wiring Inspections and Solutions
After addressing power supply problems, your next step is inspecting the wiring itself—the backbone of your sauna’s electrical system.
Check that you’re using the correct wire gauge: 10-gauge for 30-amp circuits, 8-gauge for 40-amp, and 6-gauge for 50-60 amp installations. Only use copper conductors with high-temperature ratings near heaters.
Don’t cut corners with exposed Romex inside sauna walls—it’s a common inspection failure. Your wiring must be weatherproof to handle the moisture, and undersized wiring creates dangerous fire hazards while voiding warranties.
Ensure proper grounding and bonding per NEC standards, and keep line voltage separate from low-voltage control wiring.
Most jurisdictions require a licensed electrician and permit for these installations. DIY attempts often fail inspections due to improper wire types, routing, or grounding issues.
Troubleshooting Control Panel Malfunctions
You’ll need to reset your sauna’s control panel when it freezes or displays error codes by unplugging it for at least 10 seconds, which often clears corrupted settings without requiring professional help.
To protect your control panel from moisture damage, install it away from direct steam paths and seal any gaps around mounting points with silicone caulk.
If you notice condensation forming inside the display, immediately power down your sauna and allow the components to dry completely before applying a moisture-resistant conformal coating to the circuit board connections.
Control Reset Procedures
Troubleshooting sauna control panels often begins with a simple reset procedure, which can resolve many common electronic glitches without requiring professional assistance.
Before attempting any reset, always turn off the power at the breaker and let the sauna cool down completely for safety.
When you’re ready to reset your control panel, follow these methods in order:
- Power-cycle the unit by disconnecting power for 15-30 seconds, which clears temporary errors and reboots the system.
- Try the dedicated reset sequence (usually holding specific buttons like AUX for 10 seconds).
- Access the control menu to perform a factory reset if available.
- Press the physical reset button near the heater after verifying safe conditions.
If these steps don’t work, check connections and consider consulting your manual for model-specific procedures.
Moisture Protection Solutions
When electrical components meet the high humidity of a sauna environment, control panel malfunctions become almost inevitable without proper moisture protection.
To safeguard your electrical systems, install IP67-rated polycarbonate enclosures with continuous gaskets and clear hinged doors that allow easy access while blocking moisture.
For effective moisture management, combine dehumidifiers with proper ventilation that achieves 1-2 air changes per hour.
Your sauna’s walls should include foil-faced insulation on the warm side, with joints continuously sealed to prevent vapor penetration. The extreme conditions of traditional saunas operating at 150°F to 190°F require special attention to electrical components.
Don’t forget to protect electrical penetrations by caulking around outlet boxes.
After each sauna session, leave the door open and wipe down surfaces to eliminate standing water.
Installing humidity sensors near the ceiling will help you monitor moisture levels and prevent potential electrical issues before they start.
Regularly test for air leaks around electrical fixtures using smoke pencils or incense to identify potential moisture entry points that could compromise your control panel’s functionality.
Preventing Electrical Overloads in Home Saunas
When installing your home sauna, you’ll need dedicated circuits to prevent dangerous electrical overloads that can damage equipment or cause fires.
Your sauna’s size and heater type will determine the proper amperage requirements, with larger units needing heavier gauge wiring and higher amp circuits.
If you’re planning a multi-heater setup, you’ll need to carefully calculate the total power draw and possibly install separate circuits for each heater to maintain safe operation.
Always ensure your installation complies with National Electrical Code to guarantee safety and proper functionality throughout your sauna’s lifetime.
Dedicated Circuit Requirements
Every sauna installation requires its own dedicated electrical circuit to function safely and efficiently. Your sauna’s heater must have its own direct line from your electrical panel without sharing that circuit with any other appliances or outlets.
This dedicated approach prevents breaker trips and potential damage to your sauna components.
The National Electrical Code (NEC) mandates dedicated circuits for all electric saunas because:
- Shared circuits can’t handle the sustained high power draw
- Circuit overloads create fire hazards in wooden sauna structures
- Voltage fluctuations from other appliances damage sauna controls
- Proper functioning requires consistent, uninterrupted power
Calculating Proper Amperage
Why does proper amperage calculation matter so much for your sauna installation? Simply put, it prevents electrical fires, guarantees efficient heating, and protects your home’s electrical system from dangerous overloads.
The amperage you’ll need depends on your sauna type. Traditional saunas require 220-240V with 30-60 amps, while infrared models need just 110-120V with 15-20 amps. For a quick reference, small traditional saunas need 30-40 amps, while larger ones demand 40-60 amps.
Start by checking your heater’s wattage requirements. A 4.5-6.0kW heater needs a 30-amp breaker, while an 8.0kW unit requires 40 amps.
Remember to match your wire gauge accordingly—larger circuits need thicker wires. If your home runs on 100-200 amp service, adding a sauna might strain your system, so have an electrician evaluate your panel capacity first.
Multi-Heater Setup Solutions
Beyond calculating proper amperage, managing multiple heaters presents special challenges for sauna enthusiasts. When installing more than one heater, you’ll need a thorough wiring strategy to prevent dangerous overloads and guarantee peak performance.
For safe multi-heater setups:
- Install dedicated circuits for each heater with appropriate double-pole breakers (typically 30-60A), never sharing circuits with other appliances. Improper load calculations can lead to system failures and frequently tripped breakers during operation.
- Use a contactor box as your central control hub, allowing low-voltage control wiring to safely manage multiple heaters.
- Use proper wire gauge (#6 or larger for high-draw systems) and protect with metallic conduit rated for high temperatures. Most high-quality sauna heaters require 220V circuits for optimal operation and safety.
- Include GFCI protection and high-limit switches for each heater to prevent electrical fires and shocks.
Managing GFCI Challenges in Wet Environments
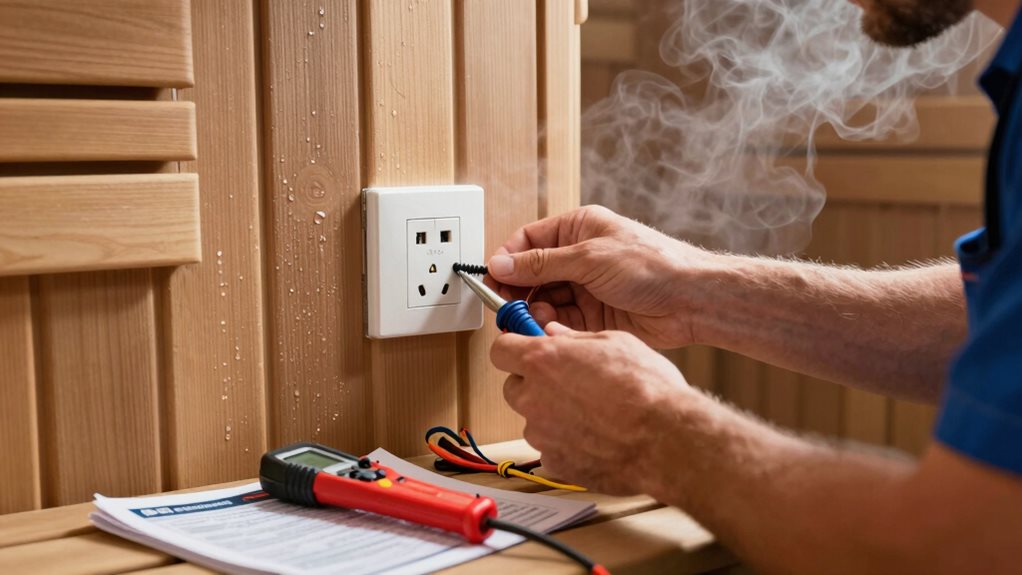
When designing and installing a sauna’s electrical system, you’ll face unique challenges with Ground Fault Circuit Interrupters (GFCIs) due to the constantly changing moisture levels.
The NEC requires GFCI protection for receptacles within 6 feet of sauna walls, but check your local code as requirements often vary.
You have several GFCI installation options: a breaker in your main panel that protects the entire circuit, a GFCI disconnect near the sauna for easier reset access, or GFCI receptacles for protecting downstream devices.
Remember, receptacles won’t protect hardwired heaters unless specifically wired through them.
Common problems include nuisance tripping from condensation, heating element breakdown, and wiring errors with shared neutrals.
Always select devices rated for high-humidity environments and guarantee your installation matches the sauna manufacturer’s specific GFCI requirements to avoid inspection issues.
When to Call an Electrician: High-Voltage Safety Protocols
While managing GFCI issues is often within a DIYer’s skillset, high-voltage sauna electrical work crosses into professional territory for good reason.
Working with 240V circuits and dedicated panel connections requires specialized knowledge that guarantees both safety and code compliance.
You’ll need to call an electrician when:
- Your sauna heater requires 240V power or multi-pole breakers (typically 30-60A loads)
- You’re experiencing persistent tripping of breakers or GFCIs that won’t reset
- You notice burning smells, discoloration at terminals, or abnormal heating of components
- You need to install a dedicated circuit, disconnect switch, or hardwired heater termination
Frequently Asked Questions
Can I Use a Portable Generator to Power My Sauna?
Yes, you can power your sauna with a portable generator if it produces enough 240V output to match your heater’s requirements—typically 6-8kW for standard saunas.
How Often Should I Replace Sauna Heater Elements?
You’ll need to replace sauna heater elements when they show visible damage or fail electrically, typically every 5-10 years for residential use, sooner with heavy use or poor maintenance.
What’s the Best Wire Insulation Type for High-Temperature Sauna Environments?
Silicone insulation is your best choice for saunas, withstanding temperatures up to 250°C while maintaining integrity in humid conditions. Look for SiHF cables with silicone rubber sheathing for maximum safety.
Are Wifi-Enabled Sauna Controls Reliable in High-Humidity Settings?
Yes, they’re reliable when properly rated. IPX5 models like Harvia Xenio CX110 withstand high humidity, while HUUM UKU’s engineered electronics maintain stable connections in extreme sauna conditions.
How Do I Safely Integrate Lighting Systems Into My Sauna Circuit?
Use IP65-rated LED fixtures on a dedicated GFCI-protected circuit with high-temperature copper wiring. Don’t install outlets inside. Mount lights away from the heater and use moisture-proof cables for connections.
Final Thoughts
You’ve now gained vital skills to diagnose and fix common electrical sauna issues. Remember, proper wiring, regular inspections, and understanding load management will keep your sauna running safely. Always respect electricity’s power, especially in humid environments where GFCIs are imperative. When problems seem complex or dangerous, don’t hesitate to call a professional electrician. With these tools and knowledge, you’ll enjoy your sauna worry-free for years to come.