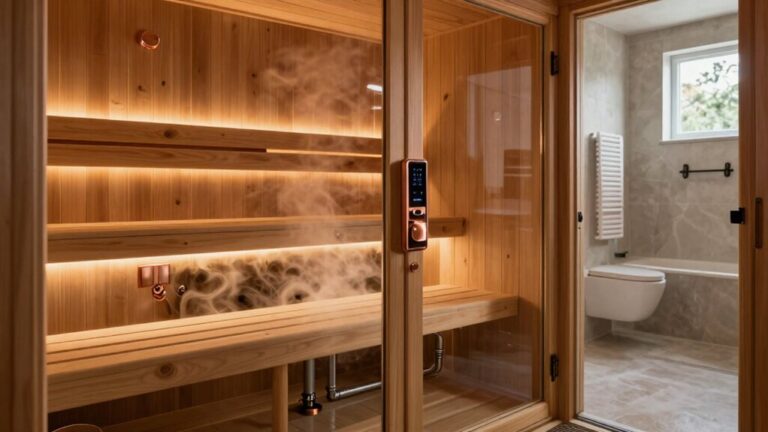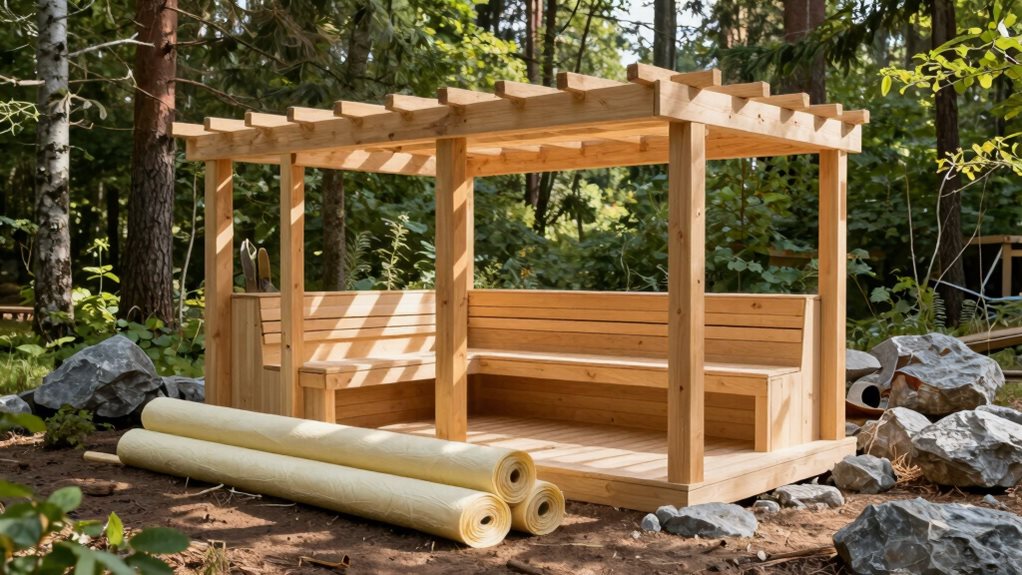

When you’re building a sauna, pay close attention to insulation, climate control, and structure. Use materials like fiberglass or polyisocyanurate for great heat retention. Keep framing strong with properly spaced studs and a solid foundation. Good ventilation is key, too, so place vents wisely to keep the air fresh. Don’t forget to calculate heater power based on sauna size. By mastering these elements, you’ll create a relaxing oasis. Stick around to uncover more tips!
Insulation Materials and Techniques
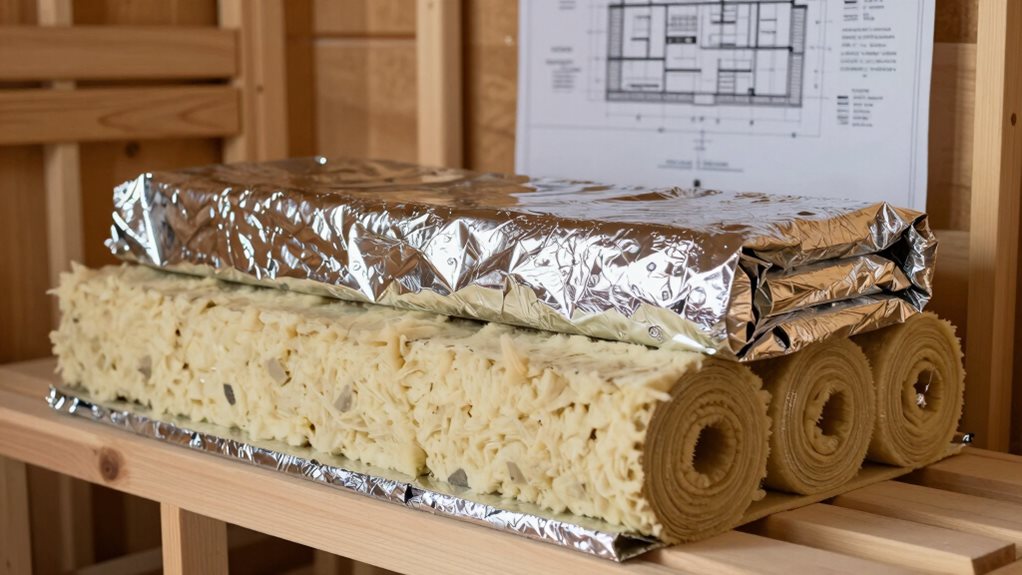
When building a sauna, choosing the right insulation materials can make all the difference, especially if you want to keep that cozy warmth inside. Mineral wool is an excellent choice, offering an R-value of 3.0-3.5 per inch, making it fire-resistant and moisture-resistant. As it contributes to minimizing heat loss, a properly insulated sauna can reach and maintain desired temperatures more efficiently. Additionally, using insulated walls allows for better thermal performance while saving space. If you prefer something lightweight, fiberglass batts are commonly used and naturally noncombustible. They do need a vapor barrier for proper installation. For maximum heat retention, consider foil-faced insulation, which reflects heat back into the sauna. Polyisocyanurate (PIR) is another fantastic option, with the highest R-value of up to 6.5 per inch, perfect for compact spaces. Finally, eco-friendly natural fibers, like sheep wool, provide decent insulation while managing humidity effectively, so you get warmth without the guilt!
Framing and Structural Considerations
Framing your sauna is essential to guarantee it stands strong and functions well, especially since you want a cozy and safe space to relax in.
Start with standard 2×4 studs placed 16 inches on center for a solid structure. If you’re building outdoors or need more insulation, consider 2×6 studs instead. Outdoor foundations need concrete pads or gravel to provide stability for your sauna. Additionally, using proper insulation materials will help maintain the desired temperature inside your sauna.
Make sure your walls are level and square by attaching vertical studs with screws or nails. Don’t forget to add blocking for benches and heater mounts before insulation.
For door framing, plan your rough openings carefully, and use treated material for the sill plate to handle moisture.
Finally, maintain a small gap at the bottom and around the perimeter to allow for water drainage and expansion, keeping your sauna in top shape!
Effective Climate Control Strategies
To keep your sauna comfortable and enjoyable, you’ll need a solid plan for ventilation and heater placement. Proper airflow helps maintain a steady temperature and keeps the air fresh, while placing your heater correctly guarantees even warmth throughout the space. Think of ventilation like the lungs of your sauna; it needs to breathe just as much as you do to create the perfect relaxing environment! Additionally, incorporating electric saunas into your design can significantly enhance heating efficiency and temperature regulation. Choosing the right sauna heater electric for your setup can further optimize performance and ensure a soothing experience.
Ventilation Design Importance
Effective ventilation design is crucial for any sauna, guaranteeing a comfortable and enjoyable experience. Proper airflow keeps the sauna fresh and pleasant.
Here are some key considerations:
- Intake vent: Placed low, near the heater, 100–300 mm from the floor to draw in fresh air.
- Exhaust vent: Positioned higher, 600–900 mm from the floor, allowing stale air to escape.
- Air circulation: A natural convection loop: cool air enters low, warms up, rises, and exits high.
- Vent sizes: Intake should be 50–100 cm², while the exhaust should be 75–150 cm², promoting balanced airflow. Additionally, maintaining optimal oxygen levels in the sauna is essential for a health-promoting environment. Effective ventilation prevents moisture damage and enhances the sauna experience by creating a more pleasant atmosphere. Installing a comprehensive sauna ventilation system kit can significantly improve the efficiency of your setup.
Heater Placement Guidelines
When setting up your sauna, proper heater placement is one of the most crucial steps you can take for guaranteeing a cozy and safe experience.
First, position the heater so that the upper benches receive the warm air without blasting hot air directly onto you. Keep it away from bench edges to maintain a safe distance, usually around 4–10 inches. Aim to have the heater’s top near the ceiling’s recommended height, promoting effective heat distribution. Additionally, ensure that the heater power is appropriately sized to match your sauna’s volume for optimal performance. Electric heaters must maintain a minimum distance of 30 cm from seats and benches to prevent burns and ensure safety. Also, mount your temperature sensor above the upper bench, keeping it away from direct heat exposure. For your convenience, consider investing in a high-quality indoor sauna heater kit that fits your specific sauna dimensions.
Finally, remember to follow manufacturer guidelines on clearances and safety distances to make sure everything’s in order for a relaxing sauna session.
Designing for Height and Dimensions
Designing your sauna’s height and dimensions plays a crucial role in creating a comfortable and efficient space. You want your sauna to feel cozy, but also functional.
Consider these key factors:
- Ceiling height: Aim for 7.0 to 7.5 ft for ideal heat distribution; higher ceilings waste energy. Optimal height helps in preventing hot heads and cold feet for an even experience. Properly selecting sauna size and heater ensures that your heating system operates efficiently within the space. Additionally, using a quality sauna insulation kit can significantly enhance energy retention.
- Bench heights: Keep upper benches at around 35 inches from the floor for comfort.
- Bench spacing: Plan for 18 to 20 inches between benches to allow proper legroom.
- Room width: Design your sauna to be at least 7.2 ft wide for a pleasant experience and effective seating.
When you balance these dimensions, you’ll create a sauna that’s both enjoyable and energy-efficient, making every session a delightful escape!
Calculating Heater Power Requirements
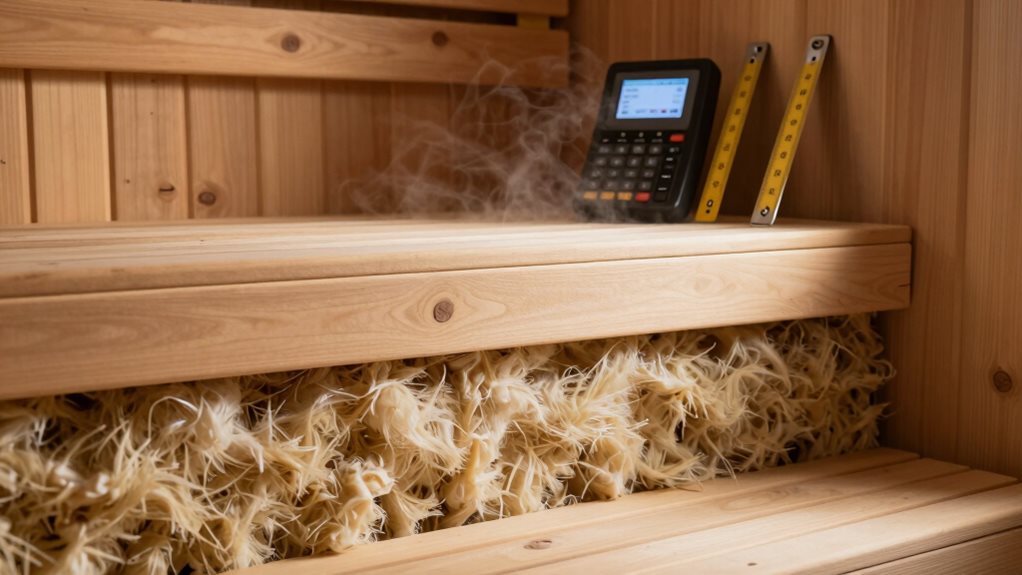
Now that you’ve got the dimensions of your sauna planned out, it’s time to figure out how much power you’ll need for the heater.
A simple rule of thumb is 1 kW for every 1 m³, or about 35 to 45 cu ft, depending on the manufacturer.
If your sauna has uninsulated walls or large glass areas, you’ll need to adjust the volume upward. For example, each square meter of glass might add an extra 1 m³!
If you live in a colder climate, or if you plan to heat it often, consider upping the heater’s capacity. Additionally, selecting the right home sauna heating system can significantly influence the overall efficiency and comfort of your sauna experience.
Just remember to check your electrical supply and local codes to confirm everything matches up before you plunge in!
Bench Layout and Design
Choosing the right bench layout for your sauna is crucial, especially if you want to maximize comfort and social interaction.
You can choose various configurations depending on your space and needs. Here are some popular bench layouts:
- L-shaped benches: Great for 6′ x 6′ saunas, allowing you to stretch out comfortably.
- I-shaped benches: Simplest option for long walls, perfect for placing near the heater.
- U-shaped benches: Ideal for larger areas, providing multiple seating spots.
- 3-tier benches: Best for rooms 6′ x 7′ or larger, allowing for different heat experiences.
Whichever style you choose, remember to evaluate dimensions and spacing. Additionally, consider using premium sauna bench kits to enhance both functionality and aesthetics in your sauna design.
Good planning makes for a more enjoyable sauna experience!
Best Practices for Sauna Construction
When you’re building a sauna, following best practices can make all the difference in your experience.
Start with proper insulation, aiming for at least R12 in walls and R16 in ceilings. For ventilation, install two vents—one near the floor and another near the ceiling—to keep air flowing effortlessly.
Your sauna’s ceiling should be around 84 inches high, guaranteeing efficiency and comfort, while maintaining at least 90cm of space between the heater and bench for effective heat circulation.
Choose durable flooring like tile or sealed concrete, sloping it toward drainage points.
Finally, place heater rocks correctly to maximize steam production, keeping a safe distance from your feet. Additionally, consider using premium sauna insulation kits to enhance your sauna’s energy efficiency and heat retention.
Frequently Asked Questions
What Is the Best Type of Wood for Sauna Construction?
The best types of wood for sauna construction are Western Red Cedar and Nordic Spruce. They offer durability and low resin content, guaranteeing a pleasant experience while minimizing discomfort from high temperatures. Choose wisely for ideal results.
How Do I Prevent Wood Rot in My Sauna?
To prevent wood rot in your sauna, guarantee proper ventilation, keep surfaces dry, use moisture-resistant woods, and regularly clean with mild solutions. Inspect for mold or cracks and maintain low humidity levels consistently.
Can I Use a Portable Heater in a Sauna?
No, you shouldn’t use a portable heater in a sauna. They lack safety features, may overheat, and won’t evenly warm the space. Stick to certified sauna heaters that meet necessary standards for safety and performance.
What Are the Maintenance Tips for My Sauna?
To maintain your sauna, scrub surfaces after each use, air it out, clean regularly, inspect for damages, and perform monthly checks. Don’t forget to use breathable treatments and schedule professional maintenance for heaters.
How Can I Improve the Sauna’s Aroma and Ambiance?
To improve your sauna’s aroma and ambiance, add vital oils, use dim lighting or candles, play calming music, and incorporate natural elements like wood accents or plants. These create a relaxing, immersive atmosphere you’ll love.
Final Thoughts
Now that you’ve learned about sauna construction, it’s time to put your plans into action! Remember, good insulation keeps the heat in, while solid framing guarantees stability. Keep your design thoughtful and comfortable, and don’t forget to calculate your heater’s power needs. Each detail counts in creating that perfect escape. So grab your tools, gather your materials, and get ready to build a cozy sanctuary where you can relax and unwind. Happy sauning!