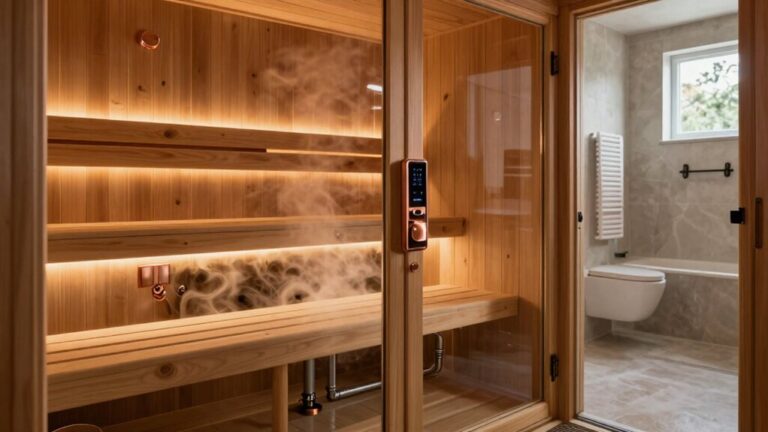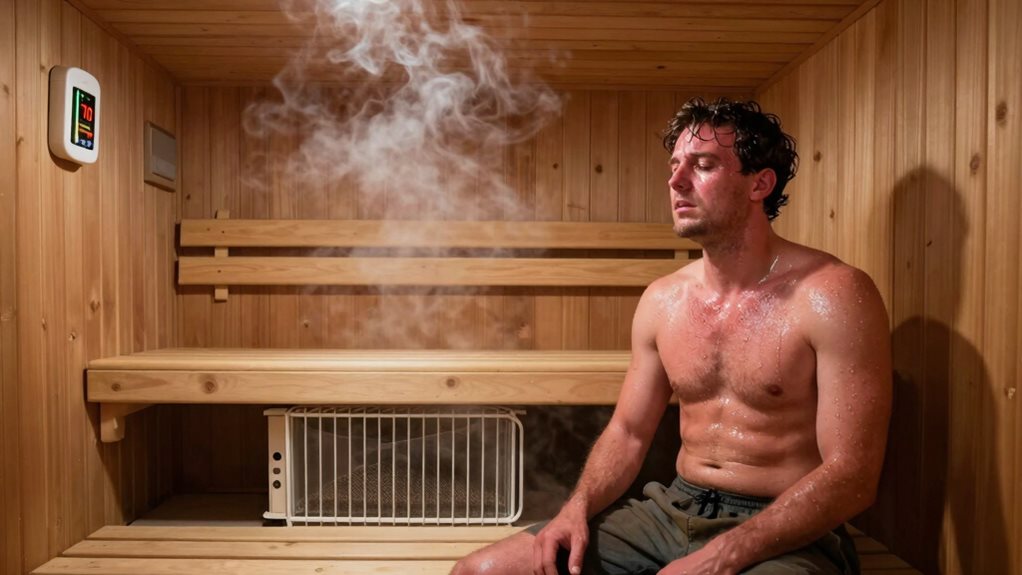

Your sauna’s comfort hinges on proper heater placement. Common mistakes include putting heaters far from doors (causing heat loss), placing vents incorrectly (disrupting air circulation), ignoring clearance requirements (creating safety hazards), and positioning benches poorly (causing temperature imbalances). Don’t forget about sensor placement—it should be 12-20 inches from the ceiling, not directly above the heater. Understanding these essential placement factors will transform your sauna from merely hot to truly therapeutic.
Poor Door-Heater Proximity Reducing Heat Retention
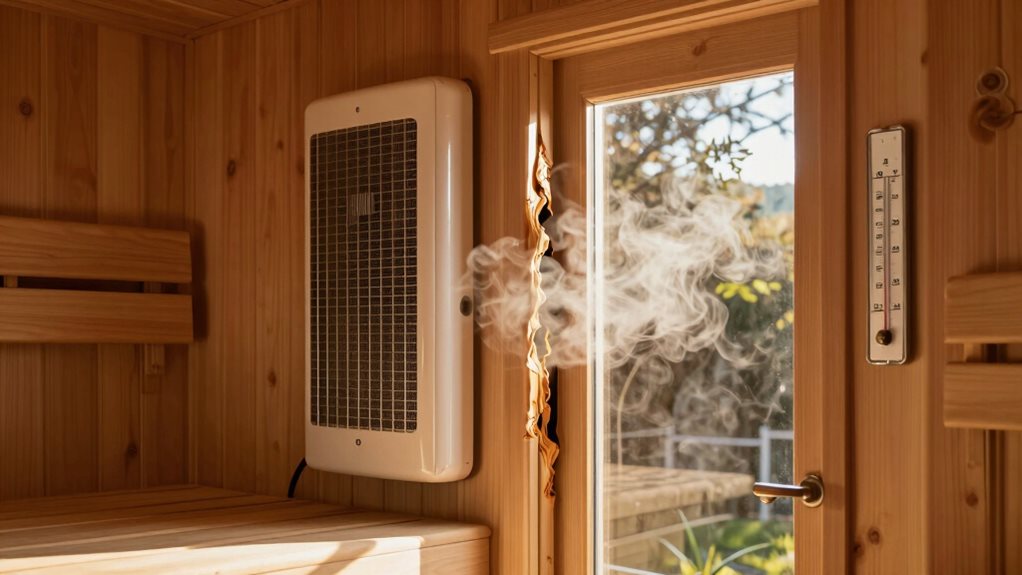
When designing your sauna, the relationship between your door and heater placement can make or break your heat retention. Placing your heater on the same wall as your door creates a natural circulation pattern that preserves heat, especially during entries and exits.
If they’re positioned poorly, you’ll lose the valuable hot air that collects at the ceiling level. The heat cavity above your door acts like a savings account for warmth. When the door opens, this pocket stays intact if your heater and door share a wall.
Proper heater placement preserves your sauna’s heat cavity—a thermal reservoir that stays intact even when the door opens.
Without this arrangement, your precious löyly (steam) escapes quickly, forcing your heater to work harder. Weather stripping and proper door design further prevent warping and gaps that lead to heat loss. For optimal performance, avoid placing any furniture or obstructions near your heater that could disrupt effective heat flow throughout the space.
Consider installing your door slightly above floor level to maintain that upper layer of heat. The recommended location for sauna heaters is along the same wall as the door in a corner to ensure optimal heat distribution throughout your sauna space.
Furniture and Decorative Obstructions Blocking Thermal Flow
Although your sauna’s layout may seem perfect on paper, furniture and decorative elements placed too close to your heater can seriously compromise its performance.
You’ll need at least 12 inches of clearance around your heater to allow proper heat dispersion throughout the room.
Common obstructions include towels draped too close to heating elements, sauna buckets positioned within the safety zone, and benches situated without adequate clearance.
These items block critical airflow, creating uncomfortable hot and cold spots in your sauna.
Pay special attention to ventilation openings—both intake and exhaust vents must remain unobstructed for proper air exchange.
Even decorative stone arrangements need proper spacing, as tightly packed stones restrict airflow just like furniture does.
Insufficient Wall Clearances Creating Safety Hazards
Placing your sauna heater too close to the walls creates one of the most dangerous installation mistakes you’ll encounter.
Electric heaters need at least 100-120 mm (about 4-5 inches) of side clearance, while wood-burning stoves require much more—typically 500-1200 mm depending on the model.
These clearances aren’t arbitrary rules—they prevent serious safety hazards. When a heater sits too close to walls, it causes wood carbonization, charring, and deformation that can eventually lead to fires.
Higher-powered electric heaters above 9 kW need even greater distances (15-20 cm) from walls. Installing appropriate guardrails around the heater provides additional protection against accidental contact with hot surfaces.
You can reduce required clearances by installing proper heat shields with air gaps, which can cut distances by 25-75%.
Whatever your setup, always follow manufacturer instructions and local fire codes—they’re designed to keep your relaxation from turning into devastation.
Mismatched Mounting Types for Your Sauna Size
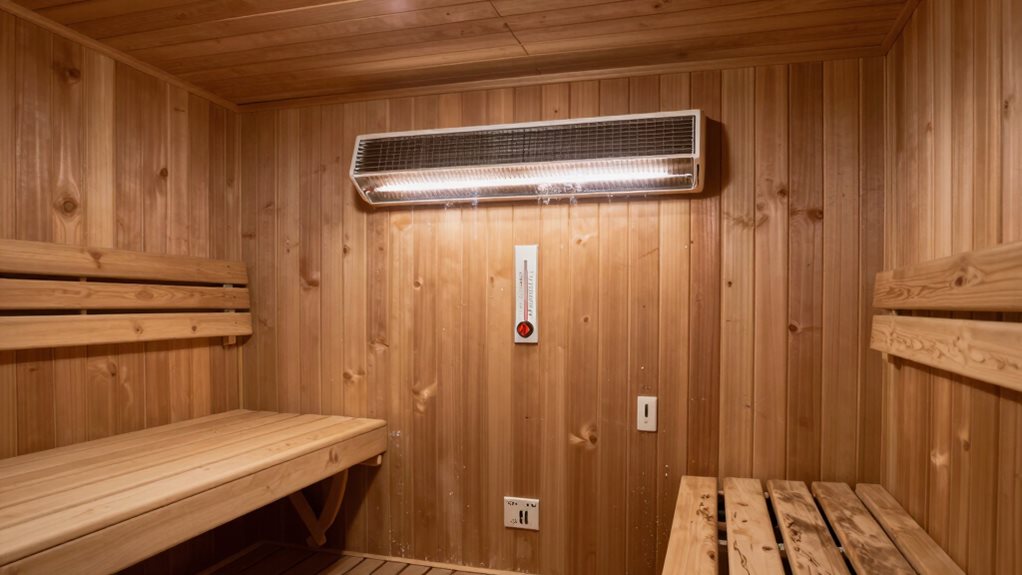
Your sauna’s size directly determines whether you need a floor-standing or wall-mounted heater, but many people get this vital detail wrong.
Wall-mounted units work best in small to medium spaces, while floor-standing models are designed for larger saunas where their higher power and rock capacity can properly heat the entire room.
You’ll create comfort problems and potential safety issues if you install a wall-mounted unit in a large sauna (causing uneven heating) or squeeze a bulky floor unit into a tiny space (creating excessive heat and reducing usable bench area).
Floor Heaters Need Space
When floor heaters lack adequate space in your sauna, they can’t perform the vital job they were designed to do. Your heater needs proper clearance on all sides to circulate air effectively and heat the stones thoroughly.
The ideal setup includes placing an in-vent directly under your heater, which pulls fresh air across the hot rocks for better löyly (steam) quality.
You’ll also need at least 2 feet of clearance for the exhaust vent on the opposite wall from your heater.
If you’re cramming your floor heater into a tight corner or against a wall, you’re starving it of airflow. This common mistake not only diminishes heating efficiency but also compromises ventilation. Selecting a properly sized heater ensures both efficient heating and prevents premature wear, especially in tight installation spaces. Ideal heater locations for optimal performance are on the front or side walls, allowing for maximum bench space and heat distribution throughout the sauna.
Wall-Mount Height Matters
The three most crucial inches in your sauna installation might be those determining your wall-mounted heater’s height.
Standard mounting positions place the top nuts at 23 inches from the floor, leaving 6.5-8 inches of clearance underneath for proper air circulation.
Getting this wrong creates uncomfortable temperature zones and inefficient heating.
For most residential saunas with 6’11” ceilings, you’ll need at least 44 inches of clearance between the heater top and ceiling.
If your ceiling exceeds 8 feet, you’re fighting physics – heat rises, and you’ll need a considerably more powerful unit than your space dimensions suggest. Poor ventilation can further worsen heat distribution issues and lead to stifling air conditions.
Remember that heater size must match your room volume.
Small saunas (under 320 cubic feet) work best with 4-6 kW models, while larger spaces require 6-8 kW heaters for even heat distribution.
Bench Positioning That Creates Temperature Imbalances
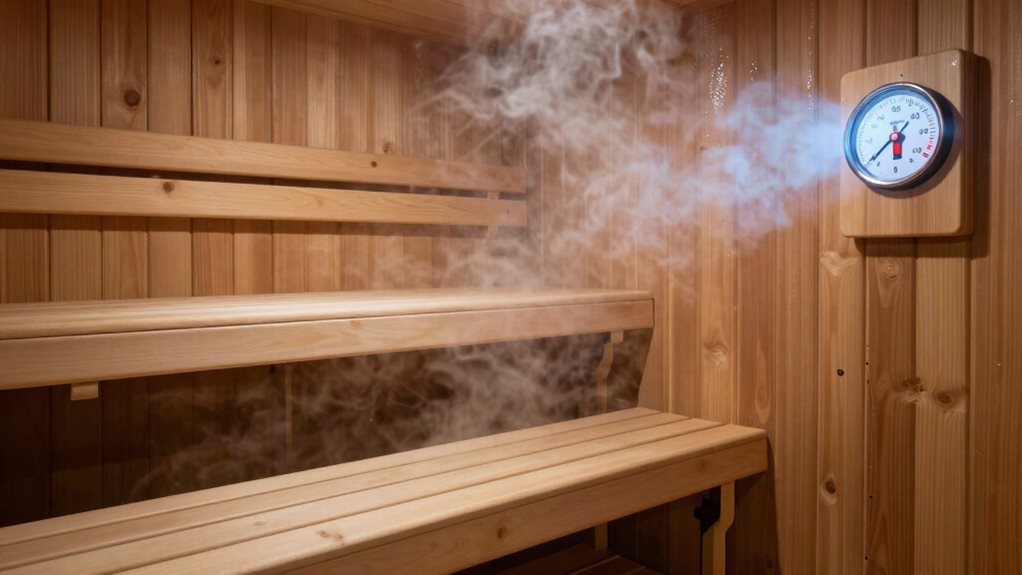
Properly positioning benches in your sauna might seem straightforward, but misplacement can lead to considerable temperature imbalances that diminish your sauna experience.
The natural stratification of heat creates temperature zones varying 30-40°F from floor to ceiling, which your bench layout should utilize.
Single-tier designs fail to exploit this gradient, preventing users from choosing their preferred heat intensity. You’ll want your top bench about 41 inches from the ceiling where temperatures reach 180-190°F, while middle benches (60 inches from ceiling) offer a more moderate 160-170°F environment. A properly designed sauna incorporates three-tier benching to provide optimal comfort choices for users of all experience levels.
Avoid placing benches on the same wall as your heater, as this disrupts the convective loop. Instead, position them on the opposite wall where descending air creates more consistent temperatures.
Remember to raise your foot bench 4-6 inches above the floor to escape the cooler air zone. Keeping your feet above the heater stones focuses on convective heat rather than uncomfortable direct radiant hot spots.
Improper Ventilation Design Disrupting Air Circulation
Your sauna’s ventilation can make or break your bathing experience, with poorly placed vents creating uncomfortable dead spots where heat and air don’t circulate properly.
Proper vent placement requires intake vents near the floor (ideally opposite the heater) and exhaust vents high on the wall opposite your heater to create a natural circulation pattern.
Without this fundamental airflow setup, you’ll likely experience stratification issues, with hot air trapped at ceiling level while your feet remain cold, defeating the purpose of your carefully designed sauna space. Insufficient ventilation can cause severe discomfort and make even moderate temperatures feel unbearable due to oxygen depletion, potentially leading to dizziness or fatigue. Experts recommend ensuring one air exchange per hour as a general rule to maintain proper ventilation in your sauna.
Vent Placement Fundamentals
Five critical mistakes in vent placement can completely undermine your sauna’s performance, regardless of heater quality or room construction.
When your intake vent exceeds 12 inches from the floor, you’ll disrupt proper heat distribution throughout the space. Similarly, positioning exhaust vents on the same wall as your heater prevents air from flowing across the room, trapping heat instead of circulating it.
Don’t overlook size considerations – undersized vents relative to your sauna’s volume will restrict airflow, leaving you with stagnant air and uneven temperatures.
For proper heater function, verify your intake vent is within 12 inches of the floor on the heater wall.
Finally, remember that both intake and exhaust vents are crucial; missing either one eliminates the basic convection cycle your sauna needs to function properly.
Airflow Dead Spots
Airflow dead spots lurk in poorly ventilated saunas, creating uncomfortable zones where heat and fresh air fail to circulate properly.
You’ll notice these problems especially in corners farthest from your heater and under benches, where cool air pools and leaves your feet chilly while your head overheats.
When your intake vent sits too close to your exhaust, fresh air “short-circuits” directly out without mixing through the room.
This leaves stagnant pockets of humid air that make your sauna feel stuffy. Similarly, vents that are too small can’t provide the 3-8 air changes per hour your sauna needs for comfort.
The worst offenders are often vertical placement errors – like low intakes that keep fresh air hugging the floor instead of rising to where you’re sitting.
Temperature Sensor Placement Errors Affecting Performance
When sensor placement goes wrong in your sauna, the entire bathing experience suffers dramatically. Your sensor should be 12-20 inches from the ceiling at head level for accurate readings, never directly above the heater.
Mount your sensor on the same wall as the heater (but not above it) or on the wall where you sit. Keep it at least 50 cm away from the heater and corners to avoid false readings. The ideal location is about 1 meter above your upper bench, opposite the heater.
Avoid placing sensors near ventilation, doors, or windows where airflow creates fluctuations.
Remember that temperature gradients of 10-20°F exist from floor to ceiling, so proper placement guarantees your controller reflects what you actually feel while bathing, not what the heater feels.
Optimal Stone Arrangement for Even Heat Distribution
The arrangement of stones in your sauna heater plays a crucial role in how effectively heat circulates throughout your bathing space. For best results, start by placing larger stones at the bottom around heating elements, then stack flat rocks across the top like a table for structural integrity.
Don’t pack stones tightly in the center—instead, create a chimney effect by arranging them along the outer edges, leaving the middle open for heat to rise efficiently.
Always maintain proper spacing between stones to guarantee good airflow. You’ll know you’ve done it right when heating elements remain partially visible.
Round stones generally outperform sharp ones for circulation, and alternating rows adds stability. When properly arranged, this setup allows water to create impressive steam plumes while preventing dangerous heat concentration in your heater.
Ceiling Height Considerations for Maximum Comfort
Proper ceiling height stands as one of the most critical yet overlooked factors in sauna design, directly impacting both your comfort and heating efficiency. The ideal ceiling should measure between 7 and 8 feet, with 7 feet being the sweet spot for home saunas.
You’ll want to avoid anything taller than 8 feet, as this wastes heat at upper levels and can leave you feeling chilly on the benches—sometimes by as much as 20 degrees!
When positioning benches, maintain 43-44 inches between the top bench and ceiling—just enough space to raise two fists above your head when seated.
For best heat exposure without wasting energy, keep ceiling heights around 7 feet, especially in barrel saunas where heat trapping is crucial to your comfort and efficiency.
Frequently Asked Questions
Can I Upgrade My Existing Heater Without Redesigning the Entire Sauna?
Yes, you can upgrade your existing heater if the new unit’s power requirements, dimensions, mounting specifications, and clearance needs match your current setup’s capabilities and space constraints.
How Do Electrical Requirements Change When Relocating a Sauna Heater?
You’ll need to match voltage (240V vs 120V), guarantee proper circuit amperage for the heater’s kW rating, run appropriate wire gauge, install a dedicated circuit, and meet local code requirements.
Will Adding More Stones Fix Uneven Heating Problems?
No, adding more stones won’t fix uneven heating. You’ll need to address root causes like poor ventilation, blocked vents, or heater placement. Maintain existing stones and consider complementary fixes instead.
How Often Should I Rotate Bench Positions for Optimal Heat Distribution?
You should rotate positions every 10-15 minutes during your sauna session. This guarantees you’ll experience balanced heat exposure while preventing overheating in any single spot of your body.
Does Wood Type Affect How Close Heaters Can Be Placed?
Yes, wood type matters. Denser hardwoods conduct more heat and need greater clearances, while low-resin softwoods allow closer placement. Always follow manufacturer specifications regardless of wood species used.
Final Thoughts
You’ve seen how heater placement can make or break your sauna experience. By avoiding these common mistakes, you’ll create a safer, more comfortable space with consistent heat distribution. Remember, proper placement isn’t just about comfort—it’s about safety too. Take time to position your heater correctly, arrange stones evenly, and guarantee good ventilation. Your reward will be the perfect sauna experience you’ve been looking for!