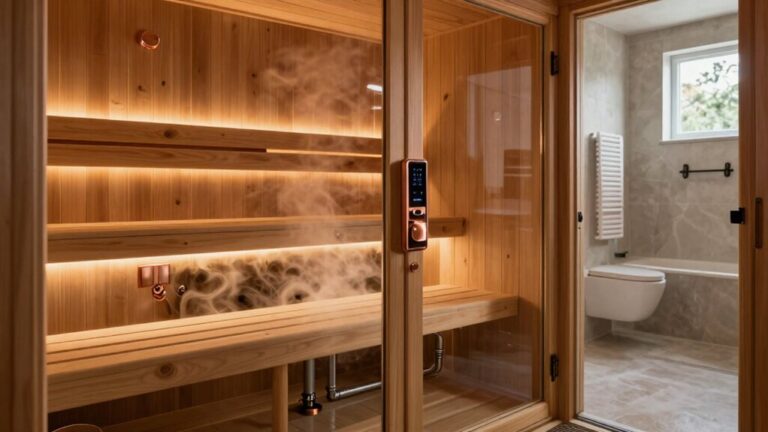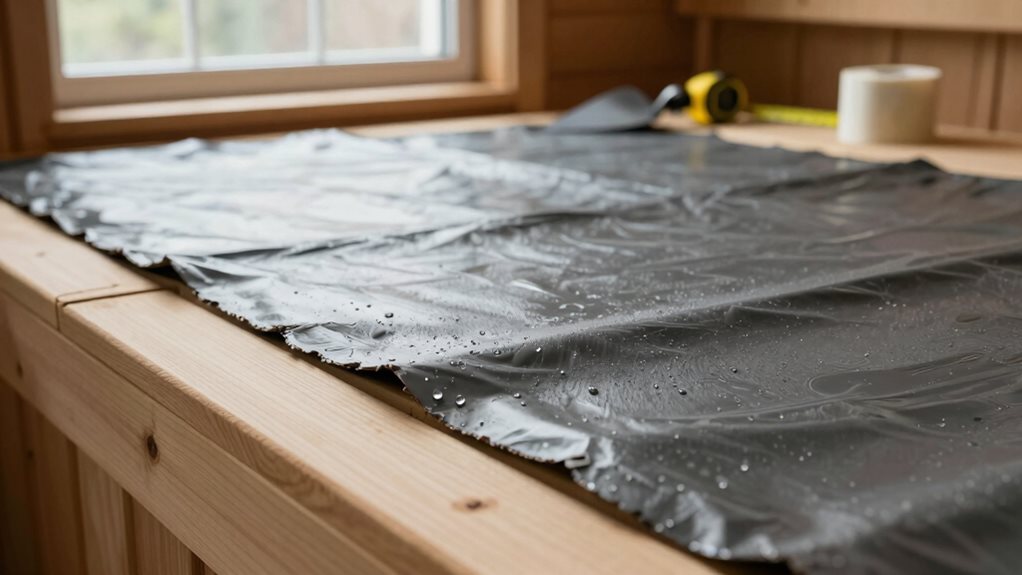

To waterproof your DIY sauna floor, start with a slope toward the drain, about ¼ inch per foot, to guarantee any water flows away. Use half-inch cement board for walls and secure it well with screws. Opt for specialized membranes like RedGard for effective moisture protection. Don’t forget to finish with non-porous tiles or sealed concrete that can withstand steam. Follow these tips, and you’ll create a comfy, dry sauna spot for relaxation. Want to know more?
Understanding Slope Creation for Effective Drainage
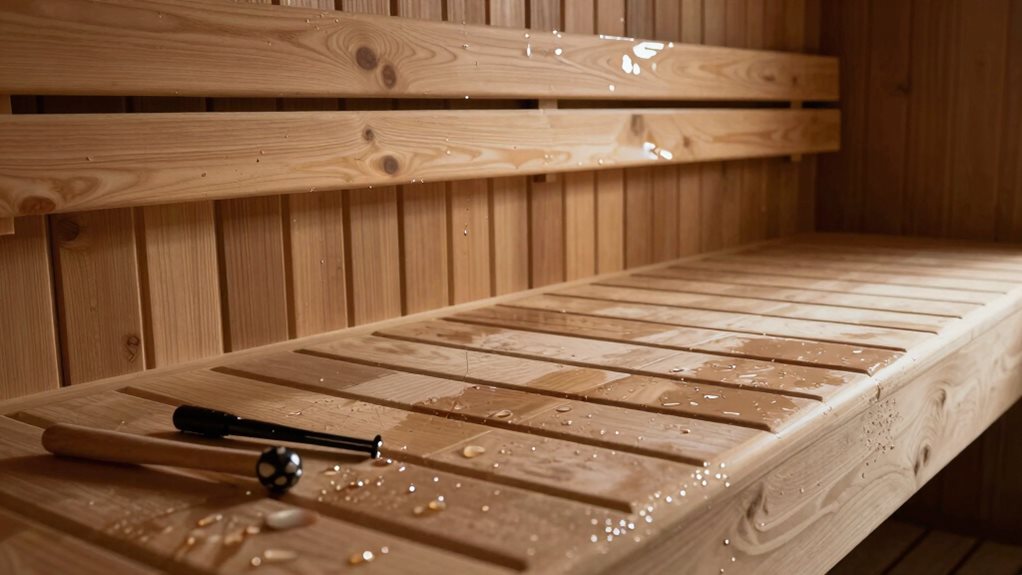
When you’re building a DIY sauna, creating the right slope for your floor is vital to keep water flowing effortlessly to the drain instead of pooling around your feet. Aim for a slope of about ¼ inch per foot toward the drain; that way, you’ll have a nice balance between effective drainage and a comfortable walking surface. You can achieve this by ripping 2x stock to create tapered sleepers, guaranteeing even water flow downwards. If you want precise results, the Ben Square Sleeper Method can help you mark accurately on your Durarock. Just remember, too steep a slope might lead to awkward steps and puddles around benches, so keep it gentle and gradual for the best experience in your sauna. Moreover, the community engagement post encourages builders to share their floor drainage techniques, providing new ideas and insights that enhance the overall building process. Installing a drain is crucial to prevent mold and mildew growth, ensuring your sauna remains clean and safe for use.
Proper Installation of Cement Board
After you’ve successfully created that gentle slope for drainage, it’s time to focus on installing cement board, which is a key step in making certain your sauna stands strong and lasts.
Begin with half-inch cement board for the walls and quarter-inch for the floor. Remember to use coated screws every eight inches to hold everything securely.
For cutting, score the board with a utility knife before snapping it for a clean edge. Attach these boards flat against the subfloor without shimming—this guarantees a strong seal.
Don’t forget to reinforce the corners and joints with alkali-resistant fiberglass mesh tape. And always finish by applying thinset over taped joints.
This prep will be your sauna’s armor against moisture!
Choosing the Right Waterproofing Membranes
Selecting the appropriate waterproofing membranes is crucial for guaranteeing your DIY sauna can handle the humid environment without succumbing to moisture damage.
You’ve got options! Consider cement sheet systems, like the GC1, for the best vapor barrier properties. They’re perfect as a sturdy base for tiles.
If you’re into liquid membranes, try the RedGard—it turns from pink to deep red when dry, so you’ll know it’s ready! Waterproof sauna floor membranes are essential for effective moisture control.
For seamless protection, a polyethylene fabric roll covers a good 108 square feet easily. Traditional Finnish saunas often use dry heat, so ensuring proper waterproofing will help maintain that environment. Additionally, proper ventilation is essential to prevent excess moisture buildup in your sauna.
And don’t forget specialized sauna systems designed for high steam—these masterpieces offer first-rate water resistance.
Just remember, whatever you choose, prioritize durability and compatibility with your finish type to keep that sauna cozy and dry!
Techniques for Surface Finishing
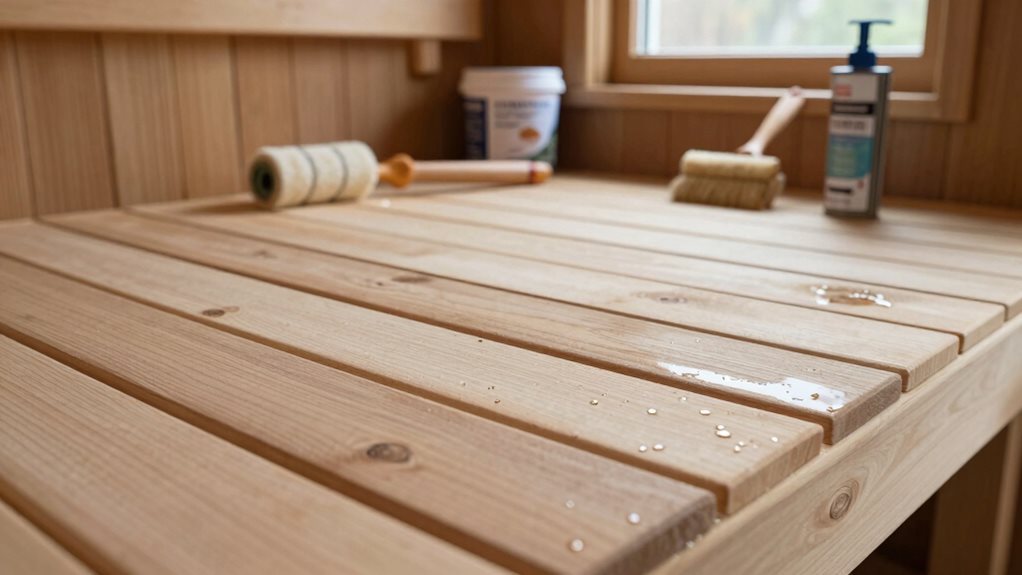
Once you’ve mastered the waterproofing membranes, it’s time to put your creativity to work by choosing the right surface finishes for your sauna.
Start by selecting non-porous materials like ceramic tiles or sealed concrete; they handle heat and moisture well. Check that your materials are rated for sauna use to prevent warping or off-gassing. Resistance to moisture is crucial for maintaining a long-lasting sauna floor.
Textured finishes, like matte tiles, not just look good but also help prevent slips when wet. You’ll want to make sure everything’s flat and pre-slope your floor toward any drains.
If using wood, opt for specially treated options like duckboards with breathable finishes, avoiding traditional varnishes.
Finally, use flexible sealants for joints to manage moisture and temperature changes, keeping your sauna safe and cozy!
Implementing Effective Drainage Solutions
When you’re setting up your DIY sauna, implementing effective drainage solutions is crucial for keeping your space dry and cozy.
Here are four key steps to take into account:
Four essential steps to ensure effective drainage in your DIY sauna setup.
- Drain Location: Place your drain where the most water collects, like under benches—this makes cleanup easier.
- Slope Planning: Use a consistent slope (1:50 to 1:30) toward the drain to guarantee water flows effortlessly, avoiding slips.
- Material Choice: Opt for stainless steel drains; they resist rust and match the sauna’s humid environment.
- Waterproofing: Seal a waterproof membrane around your drain to prevent leaks that can damage the structure. Additionally, ensure effective ventilation systems to control moisture levels and improve air quality. A well-designed sauna ventilation system kit can help maintain optimal humidity and temperature conditions.
Frequently Asked Questions
What Materials Are Best for Sauna Flooring?
When choosing sauna flooring, consider moisture-resistant options like cedar, thermally modified hardwoods, or ceramic tiles. They provide durability, easy maintenance, and heat retention while guaranteeing a safe, comfortable environment for your sauna experience.
How Can I Prevent Mold Growth in My Sauna?
To prevent mold growth in your sauna, guarantee proper ventilation, control humidity levels, use suitable materials, and maintain cleanliness. Wipe down surfaces after use, and keep moisture at bay with dehumidifiers when necessary.
Is Insulation Necessary for Sauna Floors?
Insulation isn’t always necessary for sauna floors. It’s beneficial in colder climates for heat retention, but traditional designs allow natural airflow. Consider your specific needs and climate conditions before deciding on insulation’s necessity.
How Do I Maintain Waterproofing Over Time?
To maintain waterproofing, regularly inspect sealants for damage, reapply as needed, and guarantee proper drainage. Keep surfaces clean and dry, addressing moisture issues promptly to prolong your sauna’s integrity and performance.
Can I Use Plywood Instead of Cement Board?
You can use plywood, but it isn’t ideal. Plywood swells from moisture, while cement board is water-resistant and provides better support for tile, guaranteeing a longer-lasting, reliable flooring solution for your sauna.
Final Thoughts
Building a DIY sauna with a waterproof floor doesn’t have to be intimidating. By understanding slope creation, properly installing cement boards, and choosing the right waterproofing membranes, you can keep your sauna dry and enjoyable. Don’t forget to add effective drainage solutions and finish the surfaces nicely! With these tips, you’ll have a fantastic sauna experience that lasts for years. So grab your tools and get started—it’s time to bring your wellness oasis to life!