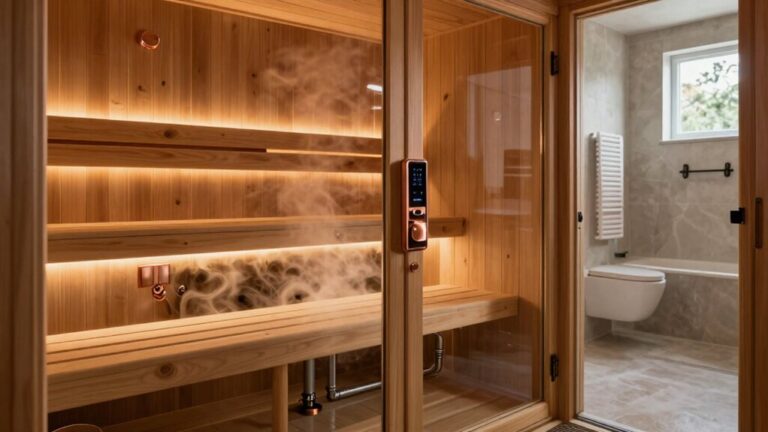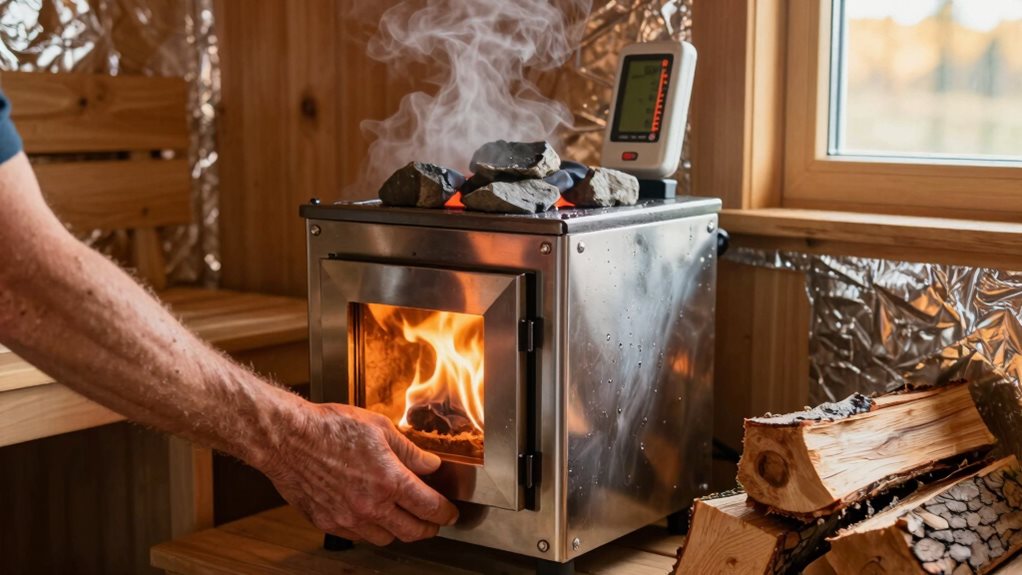

To speed up your sauna’s heat-up time, focus on proper insulation with double walls and vapor barriers, choose the right-sized heater (1 kW per 45-50 cubic feet), and arrange stones strategically with larger ones at the bottom. Keep vents closed during preheating, seal your door with weatherstripping, and use seasoned firewood for wood-burning units. Smart controls like timers can further boost efficiency. These professional techniques will transform your sauna experience from lengthy waiting to quick enjoyment.
The Science Behind Rapid Sauna Heat-Up
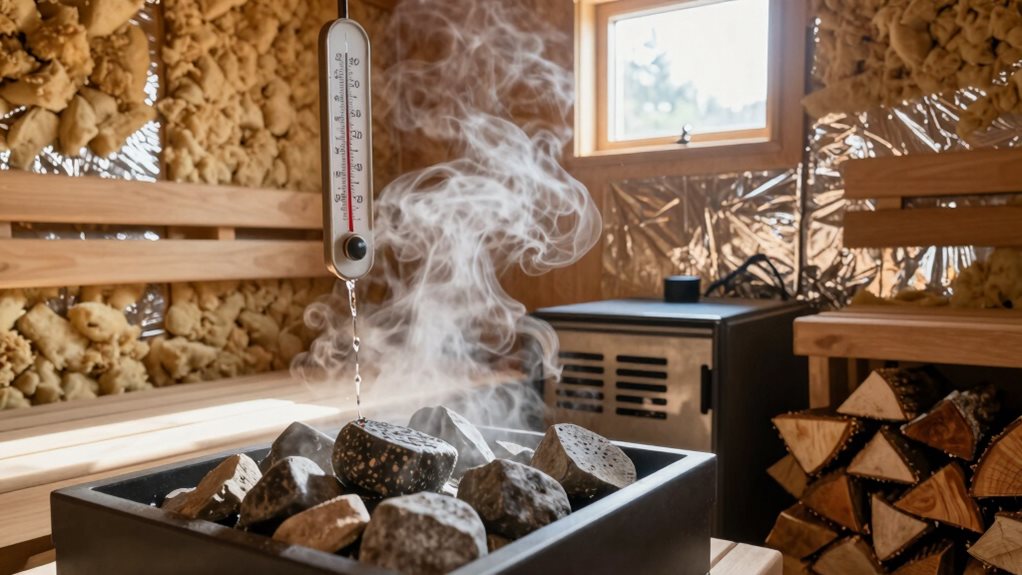
When you’re enthusiastic to enjoy your sauna’s warmth, understanding the science behind heat transfer can help you design a system that warms up quickly and efficiently.
Your sauna heats through three main methods working together: conduction warms benches and walls, convection moves hot air upward, and radiation directly heats your body.
The perfect sauna experience relies on a scientific trio: conduction for surfaces, convection for air circulation, and radiation for direct body warmth.
For the fastest warm-up, focus on combining these methods. A heater that provides both radiant heat and air circulation will create comfort before the entire room reaches target temperature. Adding water to hot rocks can increase heat perception through higher humidity levels, making the sauna feel warmer faster.
Remember that high thermal mass materials like thick stone heat slowly but retain warmth longer, while lightweight materials warm quickly but cool faster.
Well-sealed doors and proper insulation prevent heat escape, dramatically reducing your warm-up time and energy use.
Selecting the Right Heater Size for Your Space
Now that you understand how heat transfer works in your sauna, let’s focus on choosing the perfect heater size. Selecting the right power rating guarantees your sauna heats efficiently without wasting energy or money.
The basic calculation starts with your sauna’s volume – multiply length, width, and height to get cubic feet or meters.
Then apply these crucial guidelines:
- For standard calculations, use 1 kW per 45-50 cubic feet (or 1.42 cubic meters)
- Add extra power for glass features – multiply glass area by 5 and add to your volume
- Check sizing charts for verification: a 100-150 cubic foot sauna needs a 3 kW heater
Remember that poor insulation quality will require you to size up your heater as it significantly affects heat retention. For outdoor saunas, consider adding 15-20% more power to account for temperature fluctuations and environmental factors.
Strategic Stone Arrangement for Maximum Performance
The strategic placement of stones in your sauna heater greatly impacts its performance, creating the foundation for an exceptional bathing experience.
Start by placing larger stones at the bottom for stability, then layer smaller stones on top for better steam production. You’ll want to fill the heater completely while keeping the arrangement loose enough for proper air circulation.
For maximum heat efficiency, consider using soapstone, which retains heat longer than other materials, or durable granite that withstands high temperatures.
Position your heater opposite the benches with stones clearly visible, or try a corner placement with L-shaped benches nearby. This arrangement not only shortens warm-up time through improved convection but additionally improves steam quality when you pour water over properly layered stones. For optimal results in a social setting, consider layouts that feature L-shaped seating to allow users to interact comfortably while enjoying the heat.
Insulation Secrets That Slash Warm-Up Time
You’ll considerably cut your sauna’s warm-up time by implementing double wall construction, which creates an additional thermal buffer against heat loss.
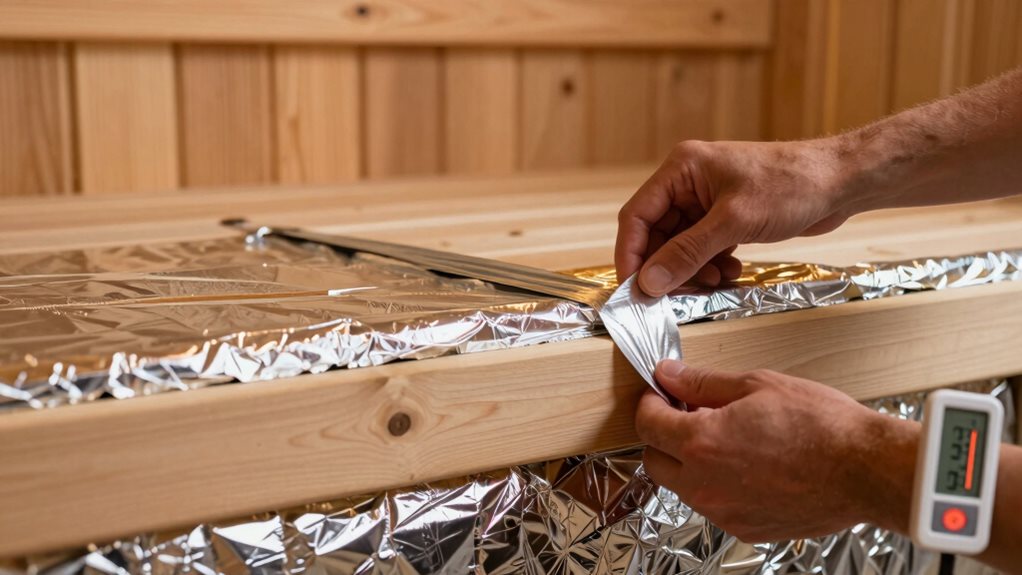
Proper vapor barrier placement, with the foil facing inward and all seams carefully taped, reflects radiant heat back into the sauna while preventing moisture damage to your insulation.
Creating an airtight door solution, with proper weatherstripping and a tight-fitting design, completes your insulation strategy by eliminating one of the most common sources of heat escape.
Installing thicker insulation in the ceiling, with R-26 to R-30 values recommended, prevents heat from escaping through the top where most thermal loss naturally occurs.
Regular maintenance checks of your insulation layers ensure they remain effective and help identify any moisture issues before they compromise your sauna’s performance and efficiency.
Double Wall Construction Benefits
Building a sauna with double wall construction reveals considerable thermal benefits that traditional designs simply can’t match. This approach creates a thermal break that dramatically reduces heat transfer, allowing your sauna to reach desired temperatures faster while using less energy.
The encased insulation maintains consistent R-values even in high-heat environments, reflecting radiant heat back into your sauna for superior comfort. A properly installed aluminum vapor barrier is crucial for preventing moisture from compromising insulation performance. Mineral wool insulation offers superior moisture and mold resistance compared to other traditional insulation materials.
- Faster warm-up times – Your sauna heats up quicker than solid log constructions because the high R-value insulation works more efficiently than thick wooden walls alone.
- Lower energy costs – You’ll save on utility bills since double walls retain heat better, requiring less power to maintain temperature.
- Even heat distribution – You’ll enjoy more consistent temperatures from floor to ceiling, eliminating cold spots that plague poorly insulated designs.
Vapor Barrier Placement
Proper vapor barrier placement stands as one of the most overlooked yet powerful secrets to creating a truly efficient sauna experience.
You’ll want to install your foil-faced vapor barrier on the interior side of your insulation, directly behind your wood cladding. Always choose aluminum-based barriers over plastic ones, as plastic can release harmful fumes when exposed to high temperatures.
After filling wall cavities with insulation, staple the foil barrier to your studs with 2-3 inch overlaps at all seams.
Don’t forget to seal every seam with high-temperature aluminum tape for a complete moisture seal. This setup not just prevents moisture damage but also reflects heat back into your sauna, dramatically reducing warm-up time.
For ceiling installation, use thicker insulation (R-26 to R-30) before applying the vapor barrier for maximum heat retention. Many sauna builders consider non-perforated foil superior for reliable moisture protection compared to alternative vapor barrier options.
Airtight Door Solutions
The airtight door represents perhaps the most significant component in your sauna’s heat retention system, often making the difference between a quick 30-minute warm-up and a frustrating hour-long wait.
Creating this heat-trapping barrier requires attention to both insulation and sealing techniques.
- Sandwich your door core between cedar panels using rigid foam insulation, guaranteeing your door matches the 24.5″x6’4″ finished opening while allowing for the vital 0.5″ side gaps.
- Apply weather stripping around the entire door frame, creating a snug seal that prevents precious heat from escaping.
- Don’t forget the bottom ventilation gap (about 2 inches) – this isn’t a mistake but a fundamental feature that allows fresh air intake while the foil vapor barrier prevents moisture damage.
Ventilation Control During the Heating Phase
When you’re heating your sauna, effective ventilation control becomes crucial for creating the perfect bathing environment. During this initial phase, you’ll want to close your upper exhaust vent to trap heat while keeping the lower intake vent open. This strategic approach helps your sauna reach temperature faster while maintaining air quality.
For electric heaters, position your supply air vent at least 31 inches above your stove and keep the upper exhaust closed until bathing time. Your intake vent should be about 6 inches from the floor near the heater, creating a natural cross-flow when paired with an opposite wall exhaust. This design supports cardiovascular response while preventing stagnant air that can trigger stress in the body.
Remember that proper sizing matters too—heaters under 9kW work best with 4×6-inch vents, while larger units need 6×8-inch openings. This balanced approach prevents your heater from overworking while guaranteeing even temperature distribution.
Pre-Heat Timing and Energy-Efficient Strategies
Now that you’ve mastered ventilation control, getting your sauna’s heating timeline right can make all the difference in your bathing experience.
Different sauna types require specific preheat times: traditional electric (30-45 minutes), infrared (10-15 minutes), and wood-burning (45-60 minutes). You’ll know your sauna is ready when it reaches 150-190°F and the stones are hot enough to produce good steam.
Patience yields the perfect sauna – each type has its own rhythm, reaching readiness at its own pace.
- Insulate strategically – Add extra insulation and heat-reflective materials to cut down preheat time and keep warmth inside.
- Use smart controls – Install timers and thermostats to prevent wasting energy while guaranteeing your sauna reaches perfect temperature.
- Optimize stone placement – Arrange stones properly for even heat distribution and longer heat retention.
Cold weather will extend your preheat time, so plan accordingly!
Wood-Burning Techniques for Optimal Temperature Climb
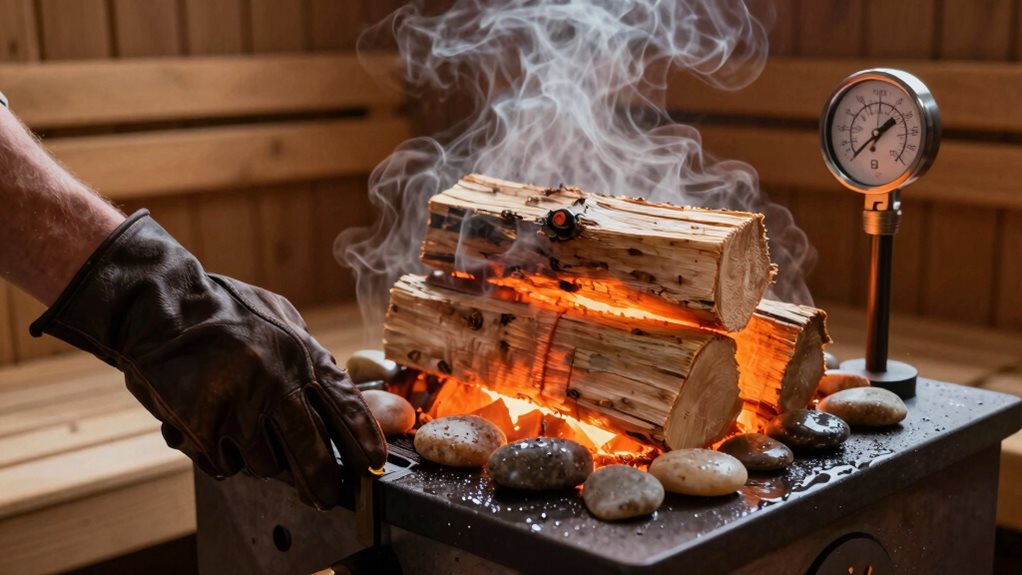
Mastering the art of wood-burning in your sauna requires careful attention to both firewood selection and proper lighting techniques.
Choose seasoned firewood with 15-20% moisture content for hotter, cleaner burns. Wood that’s been dried for at least six months works well, though kiln-dried options eliminate bugs and mold completely.
For the fastest heat-up, try the top-down lighting method. Place 4-5 medium logs at the firebox base, then add kindling and newspaper on top. This approach promotes immediate airflow through your stove and chimney while minimizing smoke backdraft.
Once lit, you can walk away—the fire will burn down evenly to the larger logs.
Control airflow using an adjustable plate steel baffle, and you’ll reach usable temperatures in about 45 minutes with just 2-3 fire stokes.
Expert Hacks for Maintaining High Heat Between Sessions
Keeping your sauna hot between sessions doesn’t just save energy—it transforms your sauna experience from good to exceptional. With proper heat retention techniques, you’ll spend less time waiting and more time enjoying deep, penetrating warmth.
- Seal every gap – Apply weather stripping around doors, tighten staves in barrel saunas, and tape all vapor barrier seams with high-temperature aluminum tape to create an airtight environment.
- Maximize reflection – Install foil-faced insulation with the shiny side facing inward and use cedar or hemlock panels to bounce heat back into your sauna space.
- Master your vents – Open vents during preheating, then close them between sessions to trap heat, opening briefly only if fresh air is needed for comfort.
Frequently Asked Questions
How Do Temperature Gradients Affect Different Sauna Bench Levels?
You’ll experience 10-15°F temperature drops per foot vertically. Upper benches reach 160-194°F for intense heat, while lower benches provide milder 140-160°F for beginners or cooling off.
Can Infrared Panels Supplement Traditional Heaters for Faster Warm-Up?
Yes, you can add retrofit IR panels to your traditional sauna for quicker warm-up. They’ll reduce heat-up time by 30-40% while offering dual heating benefits when used together.
What Materials for Sauna Walls Retain Heat Longest?
Dense materials like stone and brick retain heat longest in sauna walls. You’ll benefit from incorporating these with mineral wool insulation and aluminum foil vapor barriers for ideal heat retention.
Should I Adjust Heating Strategies Based on Seasonal Changes?
Yes, you’ll need different approaches seasonally. Extend preheating time in winter, add extra insulation, and keep doors closed. In summer, use shorter heating cycles and automatic shutoffs to prevent wasting energy.
How Does Sauna Room Shape Impact Heat Distribution Efficiency?
Barrel shapes heat most efficiently, requiring 30-40% less energy. You’ll find curved designs promote natural convection while square rooms create temperature stratification that you’ll need to address with proper ventilation.
Final Thoughts
By applying these expert tips, you’ll transform your sauna from slow-to-heat to remarkably efficient. Remember, proper insulation, correct heater sizing, and strategic stone arrangement work together to slash warm-up times dramatically. Don’t forget to fine-tune your ventilation and pre-heat timing for peak results. Whether you’re using electric or wood-burning heaters, these proven strategies will guarantee you spend less time waiting and more time enjoying your perfect sauna experience.