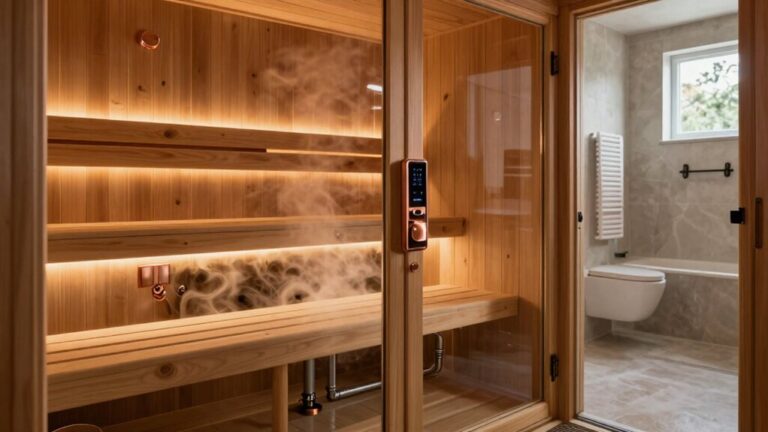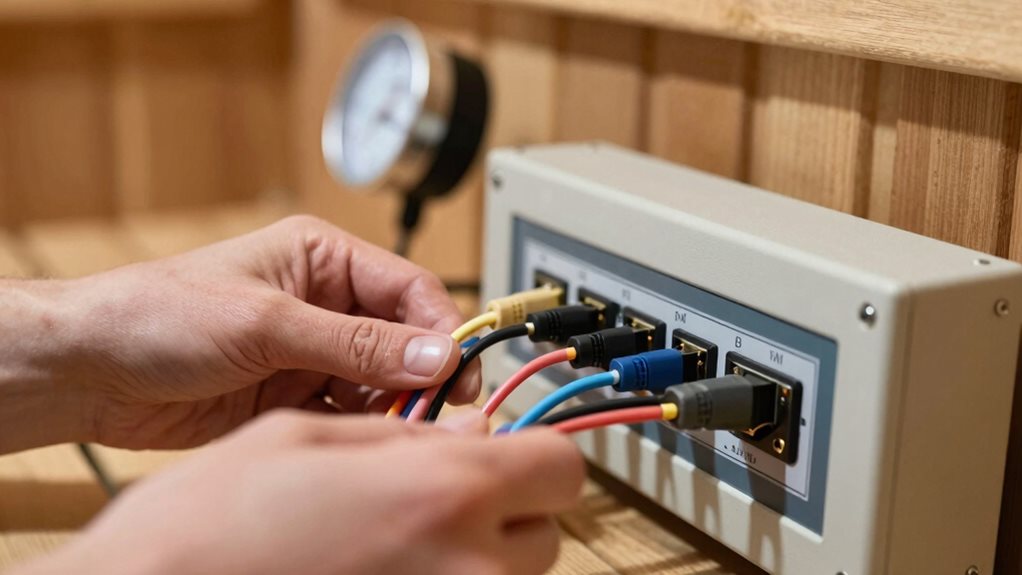

When connecting multiple sauna sensors, you’ll need to use shielded cables to prevent interference, especially for wires longer than 3 meters. Mount temperature sensors 12-20 inches from the ceiling opposite the heater, and position door sensors within 5mm of the magnet when closed. Never splice sensor wires, and route them separately from high-voltage lines. Install a junction box outside the sauna room as your connection hub. Proper installation guarantees your system works safely and accurately.
Understanding the HUUM Sensor Ecosystem
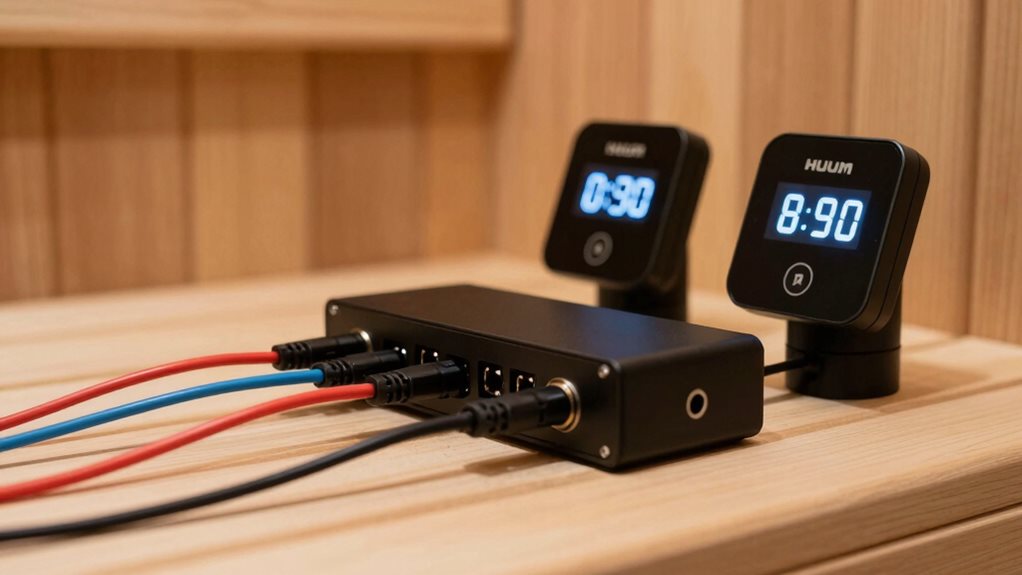
When diving into the world of HUUM sauna controls, you’ll discover a thorough ecosystem designed to improve your sauna experience.
At its core, the UKU system relies on two critical sensors that work together to guarantee safety and precision.
The temperature sensor, resistant to heat and humidity, monitors your sauna’s temperature with exceptional accuracy. The SP0033 model provides precise, real-time readings for consistent sauna heat throughout your session. Meanwhile, the door sensor acts as a safeguard, automatically shutting off the heater if the steam room door opens unexpectedly.
These sensors connect to the main module through the provided cables (197 inches for each sensor), creating a network that communicates constantly. The system is user-friendly with intuitive controls that make operation straightforward even for beginners.
Whether you choose the UKU Local for on-site control or UKU WiFi for remote access through the HUUM app, both systems use these sensors to uphold safety protocols and deliver precise temperature regulation.
Proper Temperature Sensor Placement for Accurate Readings
Three critical factors determine the effectiveness of your sauna temperature sensor: height, wall position, and proximity to air circulation.
For ideal height, mount your sensor 12-20 inches from the ceiling, capturing accurate head-level readings where you’ll experience the heat.
Wall placement is equally important—position your sensor on the wall opposite from the heater, at least 50 cm away from it and any corners. This prevents false high readings that could cause premature shutoffs. Many North American installations incorrectly place sensors directly above heaters, resulting in temperatures reading 190°F when users feel only 150°F.
Avoid mounting near ventilation ducts, doors, or windows where airflow fluctuations disrupt accuracy. Instead, choose a flat, unobstructed wall above the upper bench for temperatures that truly reflect your sauna experience. For reliable and consistent measurements, consider using combo devices that monitor both temperature and humidity levels simultaneously.
Door Sensor Installation Techniques
When installing your sauna door sensor, you’ll need to focus on proper alignment between the sensor and magnet, guaranteeing they’re positioned within 5 mm of each other when the door is closed.
You can mount the sensor low on the door frame where the door opens, using either screws for wooden surfaces or double-sided tape for glass installations.
The magnet’s positioning matters greatly, as it must be perfectly aligned with the sensor to create a closed circuit when the door is shut, allowing your sauna to operate safely.
Proper Alignment Tips
For successful door sensor installation in your sauna, proper alignment between the sensor and magnet is absolutely critical. Position your sensor on the frame opposite where the magnet will be mounted on the door, guaranteeing they’ll connect when closed.
Mount the sensor low on the frame’s opening side, which helps prevent heat from loosening the attachment over time.
When installing, verify that contact breaks when the door opens more than 10 cm—this is crucial for safety functionality. Double-check that the magnet aligns perfectly with the sensor when the door is fully closed.
You’ll want to test your installation by closing the door completely and confirming proper alignment. Remember, precise positioning prevents false alarms and guarantees reliable operation of your sauna safety system.
Magnet Positioning Matters
Precise magnet positioning can make or break your sauna door sensor installation. When mounting the magnet, verify it passes directly by the sensor in your door frame during closure, maintaining an alignment gap of no more than 5 mm for ideal performance.
Remember, this distance should never exceed 10 mm (about half an inch) to maintain reliable contact.
For proper installation, use the provided housing fillers to achieve vertical or diagonal alignment as needed. If you’re working with a wooden door, secure the magnet with the supplied wood screws, while glass doors require double-sided adhesive tape.
After mounting the holder securely to the door, insert the magnet into its designated space. This careful positioning guarantees your sensor will accurately detect when the sauna door is opened or closed.
Wiring Multiple Sensors to the Main Module
Since your sauna system requires accurate temperature monitoring throughout the space, connecting multiple sensors to the main module demands careful attention to detail.
You’ll need to follow specific wiring guidelines to guarantee reliable performance.
- Use shielded sensor line LIYLY-O (4 x 0.05 mm²) for wires longer than 3 meters or bundled lines
- Separate sensor lines from power supply lines to prevent interference
- Connect temperature sensors using silicone 4 x 0.25 mm² cable with color coding (Blue, White, Red, Yellow)
- Route all sensor cables through the right cable intake of your control unit
- Install a distribution box specifically for signal lines, separate from power lines
When connecting the sensors, always disconnect the power first.
For the 2-sensor system, position the U2 sensor 5 cm below the airshaft grating behind your oven for ideal temperature readings.
Troubleshooting Common Sensor Connection Issues
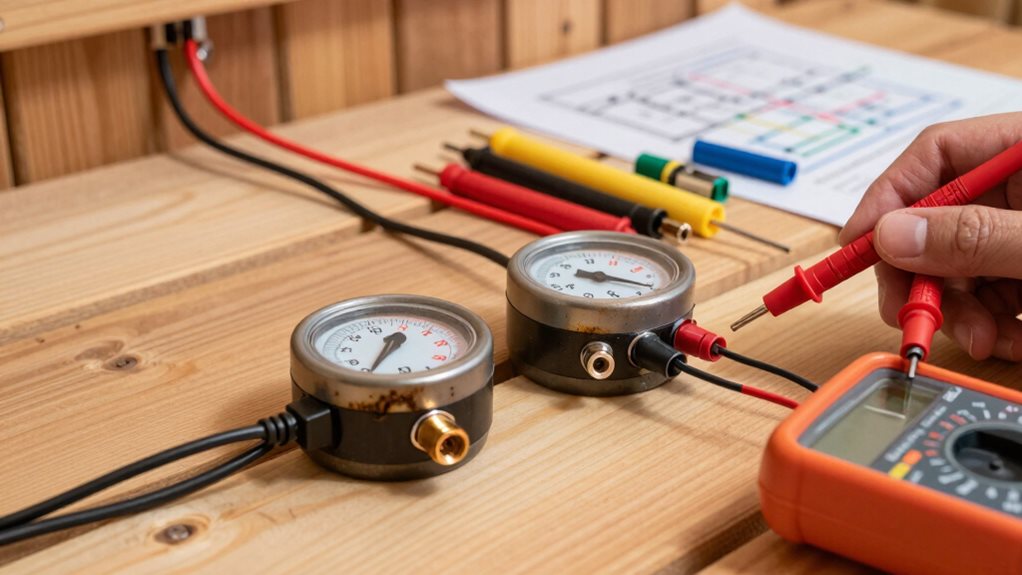
Even with careful installation, sauna sensor connections can develop problems that affect your system’s performance. When issues arise, start by checking for loose connections. Disconnect and reconnect all harnesses to verify they’re snug, paying special attention to ribbon cables and contact points.
If your control panel displays error codes like “Open” or “Short,” this typically points to sensor wiring problems. Check that temperature sensors are properly installed and that their wires aren’t crimped or damaged. For “LO” or “-L” codes, monitor during testing to confirm sensor functionality.
When troubleshooting fails, try a system reset by turning off power for 30 seconds. If problems persist with a specific sensor, replacement may be necessary – use the spare red/black wires often located near air vents for installation.
Maximizing Sensor Cable Runs Without Signal Degradation
You’ll need to choose the proper wire gauge when extending your sauna sensor cables, as thicker wires minimize resistance and signal loss over longer distances.
Consider installing weather-proof junction boxes at connection points to protect against moisture and provide easy access for future maintenance.
Shielded cables offer considerable benefits by blocking electromagnetic interference from nearby power lines or equipment, guaranteeing your temperature readings remain accurate and consistent.
Proper Wire Gauge Selection
When installing multiple sauna sensors, selecting the appropriate wire gauge is critical for maintaining accurate temperature readings across extended distances. The industry standard for sauna sensor applications is 18-gauge wire, which provides the ideal balance of conductivity and flexibility for these specialized installations.
- Use 18/4 wire for connections between relay control boxes and sauna heaters.
- Choose 18/2 wire for temperature sensor connections, maintaining continuous lengths.
- Avoid splicing sensor wires to prevent signal degradation and false readings.
- Route low voltage sensor wires (18/2) separately from any wiring over 50 volts.
- Confirm you’ve allowed 6 inches of slack for secure positioning flexibility.
You’ll find that Harvia WX237 or Xenio cables support runs up to 75-82 feet, which should accommodate most installations.
For extremely long runs, consider using additional 18/2 wire while maintaining manufacturer-recommended installation practices.
Junction Box Considerations
The junction box serves as the central hub for your sauna’s electrical connections, making its proper installation critical for both safety and performance.
Always mount your junction box outside the sauna room in a dry location with an IPX4 protection rating to prevent moisture damage.
When running sensor cables, use continuous 18/2 wire without splices from the sensor to the junction box. This prevents signal degradation that can cause inaccurate temperature readings.
Route these wires through the insulated stud space, securing them every 12 inches with cable staples.
Position your temperature sensors correctly—about 14 inches from both the heater and ceiling—and never cover them with unauthorized materials.
For longer runs up to 197 inches, 2×24 AWG cables will maintain signal integrity while keeping your sauna’s temperature regulation precise and reliable.
Shielded Cable Benefits
Shielded cables offer remarkable advantages for your sauna sensor installation, particularly when dealing with longer wire runs between multiple sensors. These specialized cables maintain signal integrity over distances up to 75 feet, even in high-temperature environments where standard wiring might fail.
- Foil shielding provides 100% coverage against high-frequency interference at lower cost than braided options.
- Prevents crosstalk between sensors when multiple cables are bundled together.
- Acts as a Faraday shield when properly grounded, reducing EMF exposure.
- Withstands sauna heat and moisture conditions for reliable long-term performance.
- Enables accurate temperature readings by protecting signals from nearby equipment interference.
You’ll notice improved reliability in your sensor network, especially in infrared saunas where electrical components can generate considerable interference.
The extra protection guarantees your temperature monitoring remains precise and consistent.
For optimal safety and functionality, ensure your sauna installation includes GFCI protection which quickly detects current leaks to prevent electrical hazards.
Adding Secondary Temperature Monitoring Points
Adding a secondary temperature sensor to your sauna system provides a more thorough heat profile throughout the space, guaranteeing you’re getting accurate readings where it matters most.
Installing a secondary temperature sensor ensures accurate heat readings where you sit, not just where the heater is.
For systems like Pro B2, you can add a bench sensor (F2) positioned 15 cm from the ceiling near your seating area.
When installing your secondary sensor, mount it on the wall opposite from your heater sensor, maintaining proper distances—at least 50 cm from corners and 10-20 cm from the ceiling for HUUM systems.
Run the connecting wires through the wall before closing up, and take a photo of your wiring configuration for future reference.
Don’t make the mistake of burying sensors behind unauthorized covers or positioning them too far from the heater, as this will lead to inaccurate readings and potentially overwork your heating system.
Integrating Door and Temperature Sensors for Safety Shutdown
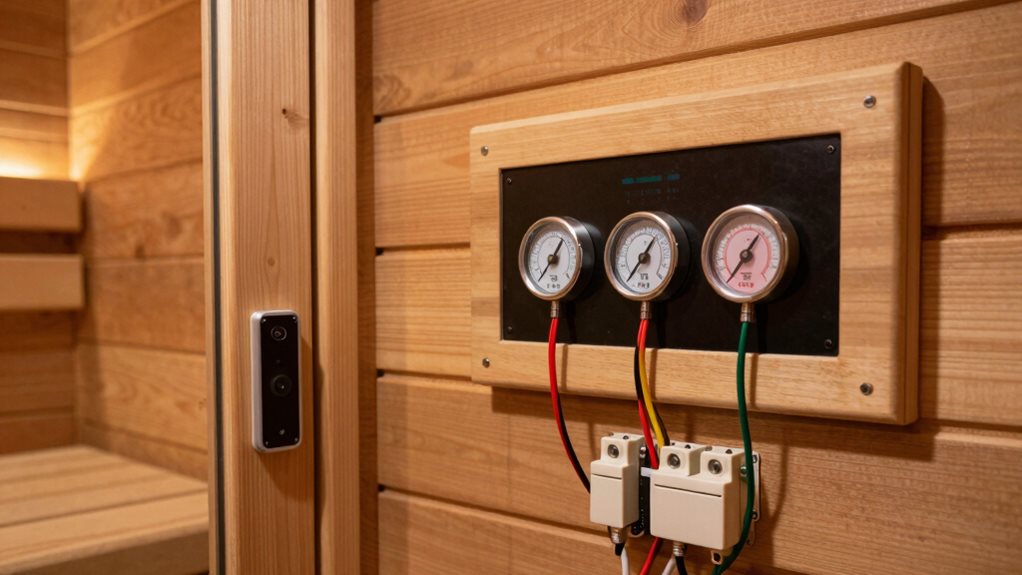
You’ll need to connect your door and temperature sensors to create a thorough safety system that shuts down your sauna when potentially dangerous conditions arise.
When wiring these sensors, verify the temperature sensors follow the manufacturer’s specified locations (typically at bench level and near the ceiling) and connect the door sensor to display the correct state (0 for open, 1 for closed).
Your controller’s automatic shutdown configuration should be set to trigger when the temperature exceeds the Ssdϑ parameter, when motion ceases after the set period, or when the door remains open for an extended time.
Proper Sensor Wiring
Integrating your sauna’s door and temperature sensors correctly guarantees the entire system will shut down properly during unsafe conditions.
You’ll need to follow specific routing practices to maintain separation between high and low voltage wires, which prevents interference and guarantees reliable operation.
- Connect temperature sensors to the “OSG” terminals on the terminal strip, mounting them on the ceiling above the heater.
- Route door sensor wires to CN10 on the SL2-C control, making sure the door opens outward for safety compliance.
- Maintain at least 4 inches of separation between low voltage sensor wires and high voltage cables.
- Guide all wires through cable bushings into their appropriate connection areas.
- Protect silicone sensor lines with cable ducts or PVC tubes to shield them from damage.
Automatic Shutdown Configuration
To guarantee your sauna operates with maximum safety, a properly configured automatic shutdown system becomes essential when connecting multiple sensors.
Your system should include temperature-based protection that activates when heat exceeds the safety threshold (default 139°C), immediately cutting power to heating elements.
You’ll also want to connect presence detection sensors that trigger shutdown after a set period (typically 7200 seconds) when no movement is detected. This prevents accidents if you doze off or leave the sauna unattended.
Door contacts can be integrated into your system to monitor entry/exit patterns without directly triggering shutdown.
Don’t forget to set up timer-based automatic shutdown as a final safety net. This guarantees your sauna powers down after a predetermined session length, even if other shutdown mechanisms haven’t activated.
Sensor Maintenance and Calibration Procedures
Maintaining accurate readings in your sauna environment requires regular sensor calibration and maintenance procedures.
Regular calibration ensures your sauna sensors deliver precise readings for optimal therapeutic benefits and safety.
You’ll need to perform calibration checks at least annually, or more frequently if you use your sauna heavily. For temperature sensors, compare readings with a reliable reference thermometer at your typical sauna temperature range, making adjustments after readings stabilize.
- Use the salt solution method (75% RH) for hygrometer calibration, placing sensors in an airtight container for 24 hours.
- Protect your hands with wet towels when handling sensors during high-temperature calibration.
- Press digital reset buttons after calibration if readings deviate from targets.
- Revive sensors giving constant 100% readings by baking at 100-105°C for 10 hours.
- Maintain constant temperature (<1°C/hour change) during calibration to avoid errors.
Extending Your System With Additional Sensor Types
While your sauna system works well with its basic sensors, you’ll discover new levels of control and performance by expanding your setup with additional sensor types.
Adding a bench sensor provides more precise temperature monitoring where you actually sit, creating a more comfortable experience.
For thorough climate control, consider adding a humidity-temperature sensor that works with compatible units like the PRO B3, giving you digital readings of both measurements.
If you have a larger sauna, EOS additional temperature sensors allow for multi-zone monitoring, guaranteeing consistent heat throughout your space.
Installation is straightforward – bench sensors should be mounted at specified distances from the heater, while wall sensors should never be positioned directly above the heat source. A professional installation by a qualified electrician will ensure compliance with UK electrical regulations and optimal sensor placement.
Most controllers can support these expansions through their existing S2-18 or S2-30 power extensions.
Frequently Asked Questions
Can I Use Third-Party Sensors With the HUUM UKU System?
No, you can’t use third-party sensors with the HUUM UKU system. The UKU controls are designed to work exclusively with HUUM’s proprietary temperature and door sensors for proper functionality.
How Often Should Sensors Be Recalibrated for Optimal Performance?
You should recalibrate your sauna sensors annually, but increase to semi-annually in high-use or harsh environments. Watch for erratic readings or measurement drift as signs you need immediate recalibration.
Will Sensors Function Properly in High Humidity Environments?
Yes, quality sensors will function properly in high-humidity environments. You’ll need humidity-resistant models specifically designed for saunas that can withstand both steam and high temperatures for accurate readings.
Can I Monitor Multiple Saunas From a Single HUUM App?
Yes, you can monitor multiple saunas from a single HUUM app. Simply add each sauna’s ID and code to your account, and you’ll manage all units from one interface.
How Do I Replace a Faulty Sensor Without Reinstalling Everything?
Power off the sauna, unscrew the old sensor, disconnect its wires, install the new sensor in the exact same position, reconnect the wires, and test for accurate readings after powering on.
Final Thoughts
By properly connecting multiple sensors to your sauna system, you’ll create a safer, more reliable environment for relaxation. Remember to place temperature sensors at different heights, install door sensors securely, and maintain regular calibration schedules. When issues arise, check your wiring connections first before replacing components. With your new multi-sensor setup, you’ll enjoy precise temperature control and improved safety features for years to come.