
DIY sauna builders quickly learn that performance depends on precise calculations and thoughtful design. You’ll need 1 kW of heater power per cubic meter, proper insulation, and strategic ventilation for ideal heat circulation. Budget realistically, accounting for quality materials like cedar and proper vapor barriers. Don’t overlook details like glass efficiency, floor drainage, and bench dimensions. These hard-won lessons from experienced builders will save you time, money, and disappointment in your sauna expedition.
Calculating the Perfect Stove Output for Your Sauna Space
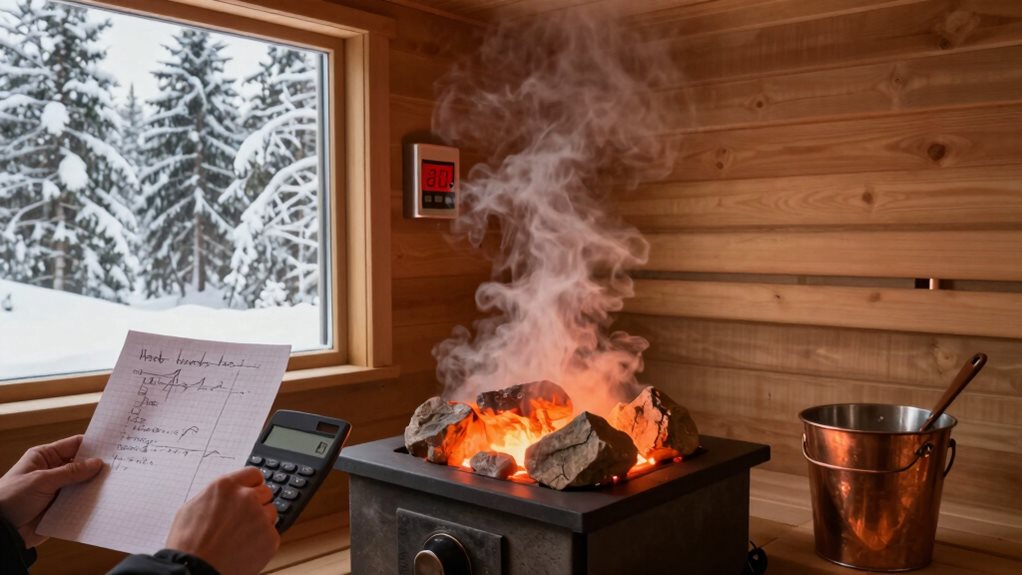
How much heat does your sauna actually need? The basic formula is straightforward: you’ll need 1 kW of power for every cubic meter of space.
Proper sauna heating is simple math: allocate 1 kW of power per cubic meter for optimal performance.
To calculate your sauna’s volume, simply multiply its length × width × height in meters. If you’re working in feet, divide your cubic footage by 35.3 to convert to meters.
Don’t forget to account for heat-stealing features! Large glass surfaces require an extra 1 kW per square meter. Poor insulation, outdoor locations, or heat-absorbing materials like tile or concrete will demand 10-15% more power.
Getting this calculation right matters—an undersized heater will struggle with long warm-up times and poor steam, while an oversized one causes temperature spikes and inefficient cycling. Properly sized heaters should reach the optimal 180°F temperature in approximately 45 minutes.
Optimal Room Dimensions for Heat Circulation and Comfort
Once you’ve calculated the right heater output, you’ll need to evaluate your sauna’s dimensions—they’re just as significant for creating that perfect bathing experience.
The sweet spot for most home saunas is 8’x8′ with a 7-foot ceiling, which balances heat efficiency with comfort.
Going smaller than 6’x5′ can compromise air quality, while proper height is essential—too tall and your heat rises inefficiently to the ceiling; too short and you’ll feel cramped.
Remember, heat loves to circulate properly in square or slightly rectangular rooms.
For capacity planning, a 4-person sauna typically requires at least 5’x6′, while a 6-person needs 6’x8′.
Your bench layout matters too—allow about 2 feet of bench space per person sitting, or 6.5 feet for lying down comfortably. Proper bench depth of 20 to 24 inches ensures users can sit comfortably upright during their sauna sessions.
For a truly enjoyable sauna experience, consider the standard height of 6.5 to 7 feet which prevents discomfort and enhances air circulation throughout the space.
Hidden Costs That Surprise First-Time Sauna Builders
When budgeting for your first sauna build, most newcomers encounter financial shocks that weren’t evident in their initial planning. That $5,000 estimate can quickly balloon to $10,000 when quality materials and professional help enter the equation.
You’ll find cedar costs dominating your budget at $1,618 to $2,300, while quality heaters add another unexpected $835 to $1,091.
Don’t forget those “little things” that add up fast—roofing materials ($356-$585), hardware ($112-$419), and vapor barriers ($250-$400).
The biggest surprise? Electrical work. Even if you’ve pre-wired everything, you’ll likely need a professional electrician, pushing your total from $7,323 in materials to over $10,000 with labor.
Glass and Insulation Considerations for Energy Efficiency
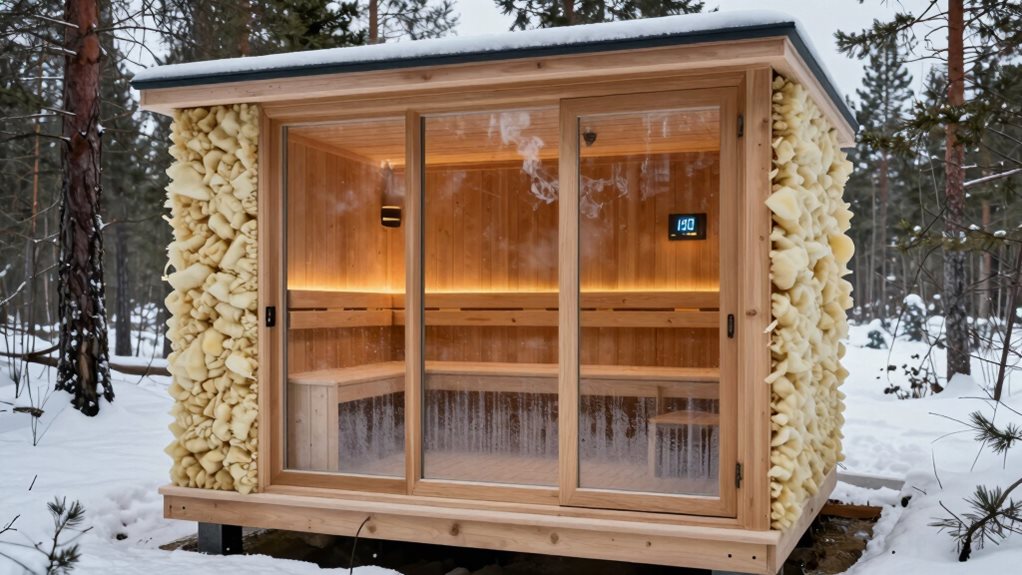
While many DIY sauna builders obsess over heater quality and wood selection, the glass components and insulation systems you choose can make or break your sauna’s energy efficiency.
Modern tempered glass, especially in 8-10mm thickness, offers both safety and thermal performance when used in double or triple-glazed configurations with proper sealing.
When planning your glass features, consider these efficiency factors:
- Strategic placement of smaller window panes reduces cracking risk and limits replacement scope if damage occurs
- Low-emissivity coatings minimize heat loss while still allowing beneficial solar gain
- Proper insulation integration around glass prevents warm air escape, dramatically reducing heating demands
The right balance of glass and insulation gives you the spacious, bright feeling you want without compromising the heat retention needed for that perfect sweat session.
Essential Construction Techniques for Longevity
You’ll need to pay special attention to two critical aspects that many DIY sauna builders overlook: proper vapor barrier installation and wood acclimation.
Your vapor barriers should overlap by at least 3 inches and be completely sealed with foil tape at all seams, preventing moisture from damaging your structure over time.
Before installation, allow your chosen wood to adjust to your building’s environment for 5-7 days, which will minimize warping and cracking that often occurs when wood is installed straight from delivery. Planning for adequate ventilation openings is essential to maintain air quality and ensure the proper functioning of your sauna heater.
Vapor Barriers Done Right
The proper installation of vapor barriers represents perhaps the most critical yet misunderstood aspect of sauna construction.
Always use aluminum foil rather than plastic, as plastic breaks down above 200°F and releases harmful gases. Position your vapor barrier on the warm side of insulation, directly behind your wood paneling, with the reflective side facing inward.
For best results:
- Create a 0.5-0.75 inch air gap using furring strips to allow proper heat reflection
- Overlap seams by 2-3 inches and seal thoroughly with high-temperature aluminum foil tape
- Install on walls and ceiling but leave the sauna ceiling uncovered to prevent water drips
This careful installation not only blocks moisture from damaging your insulation and structure but additionally reflects heat back into your sauna, improving efficiency and extending your sauna’s life. The aluminum foil provides approximately 1R insulation efficiency by reflecting radiant heat back into the sauna room. When applying the aluminum foil, ensure that all seams are airtight sealed to prevent moisture from reaching the brickwork and causing potential damage.
Proper Wood Acclimation Methods
Proper wood acclimation stands as the foundation of a long-lasting sauna, preventing warping and structural problems before they begin.
You’ll need to stabilize your sauna wood before installation, especially when using cedar, spruce, pine, or aspen, which naturally expand and contract with moisture changes.
For best results, leave a 1/8-inch gap at wall bottoms and apply light mineral oil to all surfaces before installation.
Thermally modified woods offer superior stability—they’ve undergone specialized heat treatment up to 374°F, creating wood that’s 30% better at insulation and remarkably resistant to moisture damage.
When installing, work ceiling-first, then walls top-to-bottom.
Choose woods like Western Red Cedar or thermally modified pine for their natural ability to withstand the extreme temperature cycles your sauna will face. Western Red Cedar’s natural oils provide exceptional resistance to moisture, decay, and insect damage, making it ideal for high-humidity sauna environments.
The thermal modification process transforms wood’s chemical composition without chemicals, using only controlled heat and water vapor to enhance durability and performance in sauna environments.
Ventilation Systems That Enhance the Sauna Experience
You’ll see dramatic improvements in your sauna experience when you understand how passive airflow mechanics create the ideal bathing environment.
The natural movement of air, with cool intake near the floor and hot air exiting high on the opposite wall, creates a perfect temperature gradient without noisy fans or electricity. Proper placement of these vents creates diagonal air movement across the sauna room, enhancing circulation and eliminating dead zones. Fresh air intake should be positioned near the heater at floor level to optimize heating efficiency and air quality.
Adding heat recovery systems to this setup allows you to maintain comfort while saving energy, as these systems capture and reuse heat that would otherwise escape during ventilation.
Passive Airflow Mechanics
While many sauna enthusiasts focus on heater selection and bench design, effective passive airflow mechanics often determine whether your sauna sessions feel rejuvenating or stifling.
Creating a natural convection loop is surprisingly simple: position your fresh-air intake low near the heater and your exhaust vent high on the opposite wall. This arrangement encourages cool air to enter, warm up, and exit naturally without fans or electricity.
- Make your intake slightly smaller than your exhaust (intake ~50-100 cm², exhaust ~75-150 cm²) to maintain directional flow
- Seal walls properly and use adjustable vent covers to control airflow based on season and session type
- Consider adding low bench-level openings to reduce temperature stratification between your head and feet
Proper vent placement isn’t just about comfort—it prevents CO₂ buildup and helps your sauna dry faster after use.
Heat Recovery Systems
Beyond passive airflow designs, sophisticated heat recovery systems represent the next evolution in sauna ventilation technology.
You’ll find these systems particularly valuable in mechanical downdraft configurations, where fresh air enters above the heater and exhausts below the foot bench through an inline duct blower.
For peak performance, consider installing variable speed fans in your D vents to effectively pull air from the hot room.
Finnish and Swedish builders, backed by VTT research from 1992, recommend this mechanical approach for its superior heat distribution compared to gravitational ventilation.
The key advantage? You can adjust the lower vent to supply 20% of air for heater cooling, while the upper vent provides 80% for ventilation.
When properly configured, these systems achieve six air changes per hour, preventing carbon dioxide buildup and maintaining oxygen levels for longer, more comfortable sauna sessions.
Flooring Solutions That Prevent Moisture Damage
Moisture presents the greatest enemy to sauna flooring, requiring thoughtful design choices that balance drainage, material selection, and waterproofing.
Proper sauna flooring requires strategic defense against moisture through thoughtful drainage, appropriate materials, and effective waterproofing.
You’ll want to install a floor with a 1-2% slope (about 1/8-1/4 inch per foot) toward a central or perimeter drain. This prevents standing water that can lead to mold growth. Under your visible flooring, include a waterproof membrane that connects to the drain, creating a continuous path for water to escape.
- Use removable slatted duckboards that keep your feet dry while allowing water to flow underneath
- Choose naturally moisture-resistant woods like cedar or teak for wood elements
- Avoid carpet and untreated hardwoods that trap moisture and quickly deteriorate
After each sauna session, leave doors open to promote drying and periodically lift duckboards for thorough air circulation.
Frequently Asked Questions
How Do Saunas Affect Home Insurance Rates and Coverage?
Saunas increase your home insurance premiums due to fire and water damage risks. You’ll need to notify your insurer before installation and may face coverage limitations without proper safety measures.
What Are the Key Electrical Safety Codes for Outdoor Sauna Installations?
You’ll need a dedicated circuit, GFCI protection, weatherproof wiring and conduits, proper copper conductors with high-temperature ratings, and professional installation with permits following local AHJ requirements.
Can Traditional Wood-Burning Stoves Be Retrofitted in Electric Sauna Designs?
Yes, you can retrofit wood-burning stoves in electric saunas by installing a chimney, adding non-combustible surrounds, and potentially adjusting benches. You’ll need proper clearances and may reuse existing stoves.
How Long Should a Sauna Session Last for Maximum Health Benefits?
You’ll gain maximum health benefits from 15-20 minute sauna sessions. If you’re experienced, you can extend to 20-30 minutes, but always listen to your body and stay hydrated.
Are There Sustainable Alternatives to Cedar for Eco-Conscious Sauna Builders?
Yes, you’ll find several sustainable options including Thermowood, Douglas Fir, Japanese Cedar, and Heat-Treated Hemlock. These alternatives offer excellent durability, thermal properties, and environmental benefits while reducing resource constraints.
Final Thoughts
You’ve now gained the key insights for building your perfect sauna. Remember, proper sizing, the right stove output, and thoughtful ventilation aren’t luxuries—they’re crucial. By addressing hidden costs upfront and selecting appropriate materials for insulation, glass, and flooring, you’ll create a space that performs beautifully for years to come. Your careful planning today will reward you with countless rejuvenating sauna sessions tomorrow.