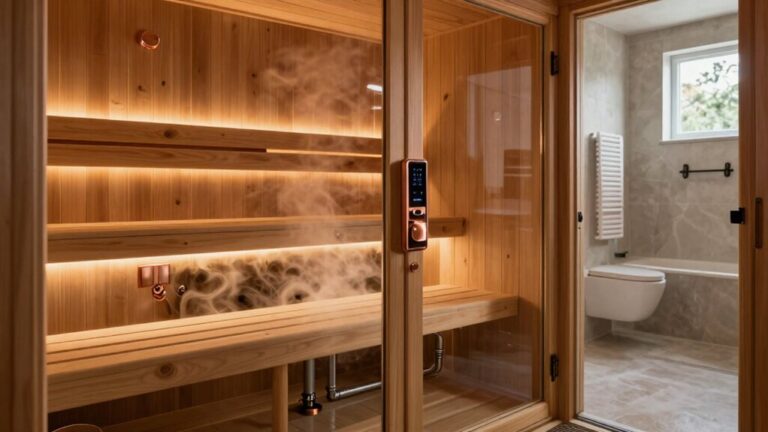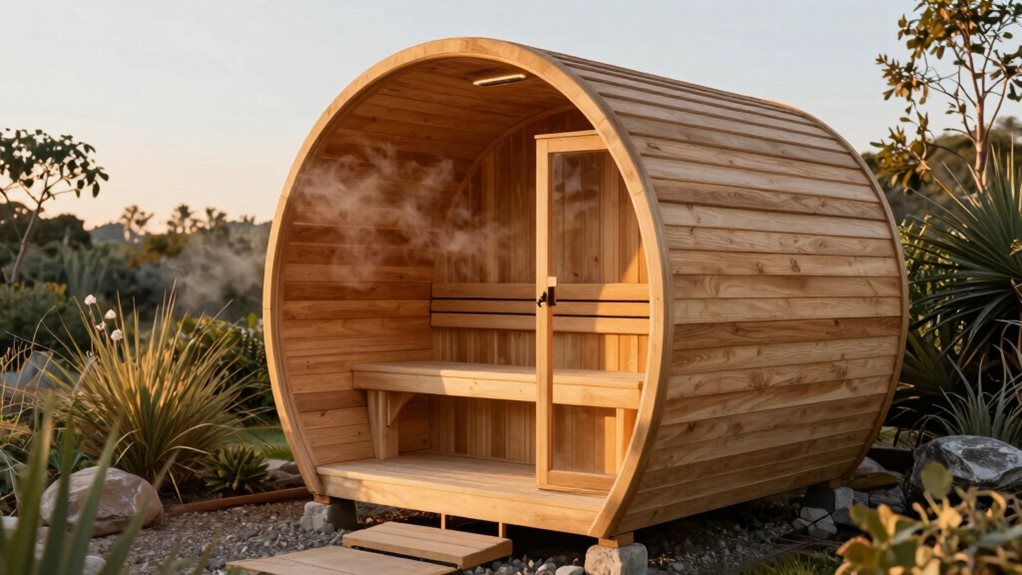

When installing your outdoor sauna, choose a sunny, sheltered spot and lay a solid foundation, especially in cold climates. Insulate with materials like mineral wool and use vapor barriers to control moisture. Weatherproof finishes will keep your sauna looking great, while proper ventilation guarantees fresh air flow. Select the right heater based on your climate—think electric for warmer areas and wood-burning for chillier ones. Keep up with regular maintenance to enjoy your sauna for years to come. There’s so much more to explore!
Site Selection and Foundation Preparation
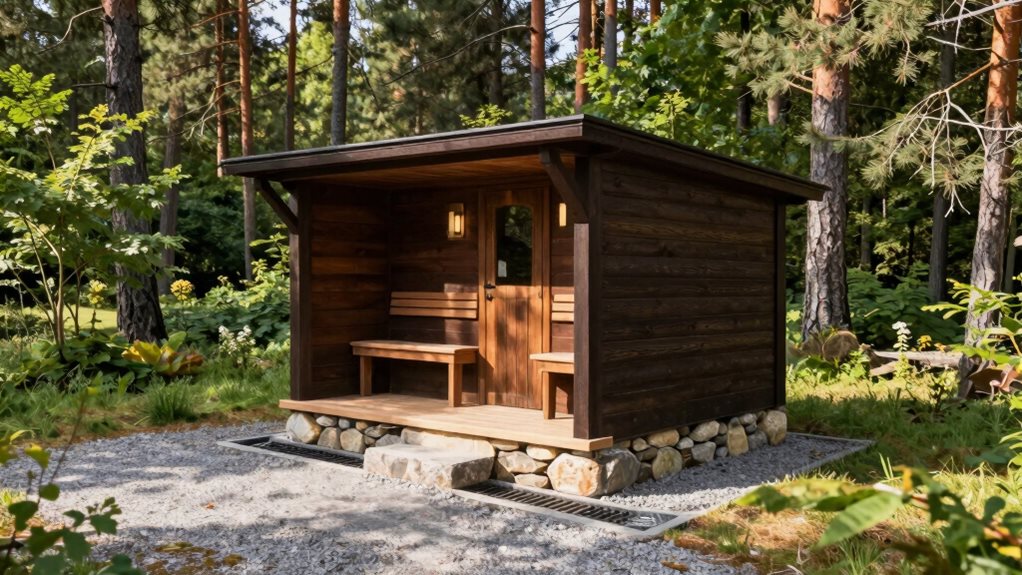
When you’re planning to install an outdoor sauna, choosing the right site and preparing the foundation are crucial steps that can make a big difference in your sauna experience.
Look for spots sheltered from the wind to keep the heat in and guarantee comfort during chilly months. Avoid low areas that collect cold air. Aim for a sunny location to benefit from passive solar warmth. Keep a safe distance from trees, too, to avoid falling debris. It’s also important to ensure compliance with local building codes to avoid potential legal issues. Additionally, consider using weatherproofing accessories to protect your sauna from the elements.
Choose a sheltered, sunny spot for your outdoor sauna, avoiding low areas and keeping a safe distance from trees.
As for the foundation, consider frost-protected footings if you live in a cold climate. A solid base helps prevent issues like wood rot or movement.
Don’t forget to check local building codes and regulations before diving in, so your sauna stands strong and secure.
Insulation Techniques for Optimal Thermal Performance
Proper insulation techniques can make a world of difference in keeping your outdoor sauna cozy and efficient. For ceilings, aim for 45–200 mm of insulation, depending on your climate. Mineral wool works great for fire resistance, while closed-cell foam offers high R-values. Don’t forget to install a radiant barrier, like aluminum foil, to reflect heat back into the room, as this helps enhance heat retention in the sauna. Additionally, insulation materials such as fiberglass can also provide excellent thermal performance. When it comes to walls, consider a timber-frame sandwich with mineral wool or foil-faced boards for better moisture control, as this construction helps prevent moisture infiltration in the sauna. For the floor, use rigid foam between joists to minimize heat loss. Adding a moisture barrier under the floor assembly can further protect against humidity.
Vapor Control and Moisture Management Strategies
To enjoy your outdoor sauna to the fullest, it’s crucial to manage vapor and moisture effectively.
Start by using aluminum foil–faced vapor barriers behind your wood cladding to withstand high temperatures and prevent any melting. Position this barrier on the warm side of your insulation to block steam before it gets into wall cavities. Make sure to overlap seams with high-temperature aluminum tape and seal the barrier at the floor perimeter to keep moisture out. Additionally, installing a foil vapor barrier is an essential step that adds R-1 value to insulation and protects wood from vapor damage. Insulated walls are recommended for enhanced thermal performance and efficiency in sauna construction. Furthermore, consider using sauna moisture protection products to further enhance the longevity and durability of your sauna.
After saunas, run an exhaust fan to clear out humidity and keep surfaces above the dew point. You’ll also want to avoid venting steam directly into nearby living areas—outdoor ventilation is best.
Weatherproofing Finishes and UV Protection
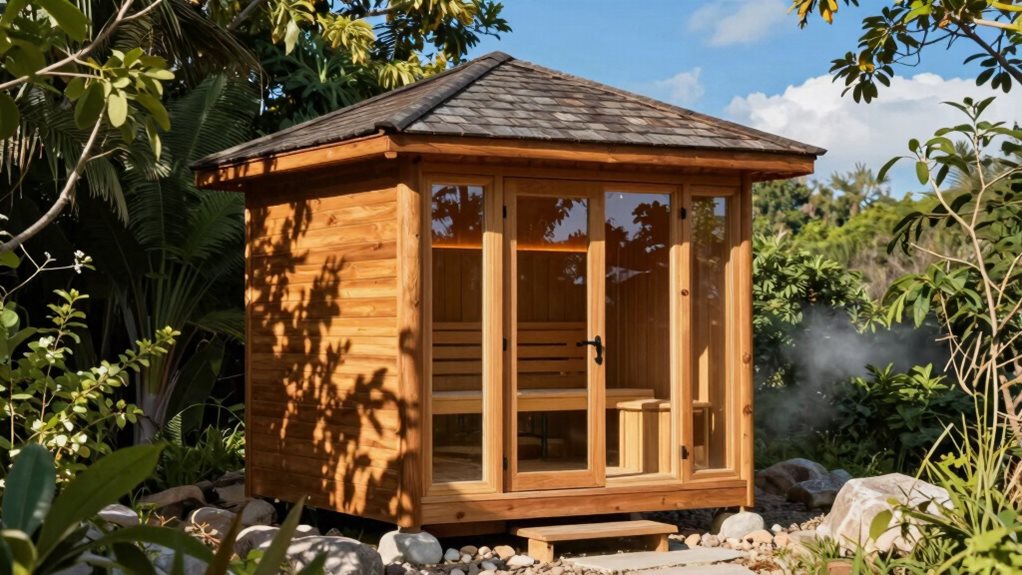
While it might seem like a small part of your sauna project, choosing the right weatherproofing finishes and UV protection is vital for maintaining your outdoor oasis.
Start by using exterior-grade wood sealers and oils specifically formulated for saunas—they let the wood breathe while warding off water. Look for sealers with UV blockers to keep your wood looking fresh. Additionally, consider incorporating proper insulation materials to further protect against harsh weather conditions. Investing in a high-quality sauna insulation kit can significantly enhance the energy efficiency of your sauna.
You’ll need to reapply every 1–3 years, especially if your sauna faces harsh sunlight or rain. For added UV protection, select semi-transparent pigments or stains that allow the wood grain to shine through.
Combining a UV-stable stain with a penetrating sealer gives you double defense against moisture and sun damage, guaranteeing your sauna stands the test of time.
HVAC and Ventilation Considerations
When setting up your outdoor sauna, you need to think carefully about HVAC and ventilation. It’s all about getting that fresh air flowing while keeping the humidity just right, so your sauna feels cozy and inviting. Plus, choosing the right heater is crucial to make sure everything works seamlessly, creating a perfect retreat for relaxation. Adhering to building codes ensures that your sauna’s ventilation system meets safety standards for optimal performance. Proper ventilation systems are essential for comfort and hygiene, ensuring a consistently enjoyable sauna experience. Additionally, incorporating a sauna ventilation fan system can significantly enhance air circulation and temperature control within the space.
Controlled Fresh Air
Even if you think your sauna is all about relaxing and sweating it out, proper ventilation plays a crucial role in keeping the atmosphere comfortable and healthy. Aim for 5–8 air changes per hour—think 30–40 CFM for small units. To do this, place the fresh air intake low near your heater and the exhaust vent high on the opposite wall, letting hot air escape and cool air flow in. You need two vents: one low for intake and one high for exhaust. This setup prevents the growth of bacteria, mold, and bad odors. Plus, it guarantees you’ve got a steady supply of fresh oxygen, making every sauna session enjoyable and safe! Implementing passive ventilation can help in achieving effective minimum airflow while ensuring user comfort. Additionally, proper airflow design supports oxygenation and prevents discomfort from stagnant air during your time in the sauna. Consider investing in a sauna ventilation system kit to ensure you have all the necessary components for optimal air circulation.
Humidity Purging Strategies
After confirming your sauna has the right ventilation for fresh air, it’s time to tackle a different aspect of keeping your sauna cozy: humidity control.
To effectively manage humidity, install a compact-rated dehumidifier that matches your sauna’s volume. You’ll want one that boasts corrosion-resistant components and high-temperature controls for durability.
Automatic controls linked to a hygrometer help maintain ideal humidity levels, so your sauna doesn’t dry out. For natural air flow, utilize a cross-ventilation system that pulls fresh air in at the bottom while letting humid air escape at the top.
Don’t forget to use low-leak dampers to keep temperatures stable during sessions. Keeping moisture in check guarantees a comfy, inviting sauna experience! Additionally, a well-designed sauna ventilation system can significantly enhance air quality and temperature regulation.
Heater Selection Essentials
Choosing the right heater for your outdoor sauna is vital—not only does it influence how quickly your space warms up, but it also determines how comfortable your sauna experience will be.
In colder climates, a wood-burning or high-capacity electric heater is a great choice, while electric or infrared models work well in moderate-to-warm areas for precise temperature control.
If you’re off-grid, consider gas heaters for their fast heat-up. Verify the heater’s capacity matches your sauna’s size—1 kW per 1 m³ is a good starting point.
Remember, proper electrical supply and venting are important for safety. Additionally, investing in a high-quality sauna heater electric can greatly enhance your overall sauna experience.
Don’t forget to follow local codes and regulations when setting everything up, so you can enjoy your sauna without any worries!
Heater Selection for Varying Climates
When it comes to selecting a heater for your outdoor sauna, you’ll want to contemplate the climate where you live.
Picking the right heater guarantees you enjoy your sauna, no matter the weather. Here’s a quick guide to help you out:
- Electric heaters: Best for moderate to warm climates, providing precise temperature control.
- Wood-burning heaters: Perfect for cold or off-grid locations, offering high radiant heat without electricity.
- Infrared heaters: Great for mild climates and small spaces; they efficiently direct heat to your body.
- Gas heaters: Ideal for larger saunas with frequent use, assuring consistent high heat and lower fuel costs.
Additionally, consider exploring electric sauna heater options that can enhance your sauna experience.
Maintenance Routines for Longevity
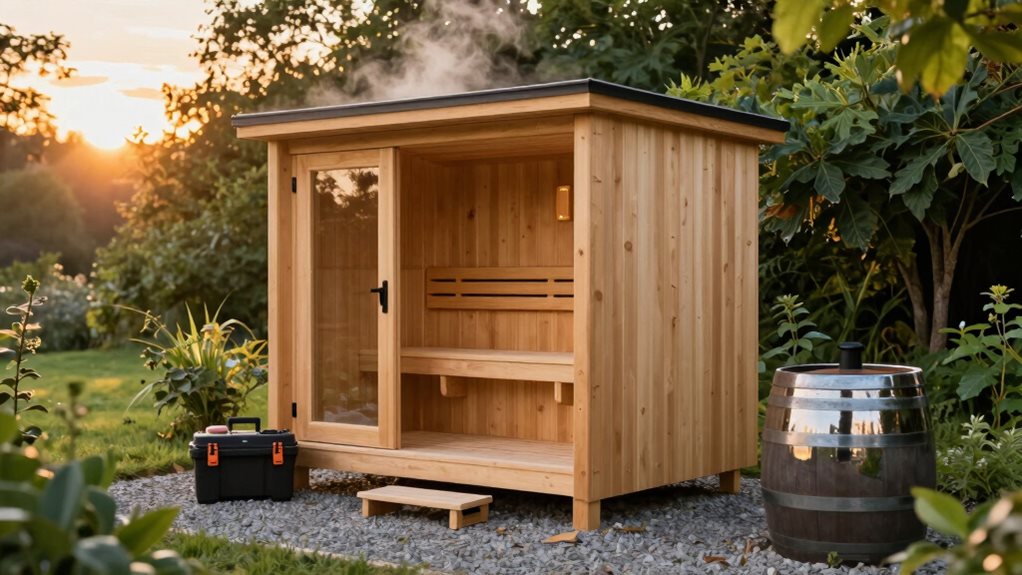
To keep your outdoor sauna in top shape, establishing a solid maintenance routine is key. After each use, wipe down benches and walls to eliminate sweat and oils, reducing bacterial growth.
Establishing a solid maintenance routine is essential for keeping your outdoor sauna in top shape and hygienic.
Once a week, perform a light cleaning with mild, sauna-safe cleaners or just plain water. Deep-clean every 3–6 months by sanding benches and washing the door glass. Don’t forget to clean your sauna bucket and towels regularly!
Check your heater and connections twice a year and replace any crumbling stones. Inspect and sand benches yearly to prevent splinters.
Finally, guarantee proper ventilation to minimize moisture buildup. Incorporating a sauna moisture control system can further enhance your sauna’s longevity. With these simple steps, you’ll keep your sauna cozy and welcoming for years of enjoyable sessions!
Seasonal Preparation and Winterization Tips
As the colder months approach, preparing your outdoor sauna for winter becomes vital to guarantee it remains safe and functional.
Follow these important tips to keep your sauna in top shape:
- Cover it up: Use a durable, waterproof tarp fastened securely to prevent snow and ice from accumulating.
- Insulate everything: Make sure plumbing and wiring are insulated to avoid freezing, and insulate walls and floors for heat retention.
- Prep your heater: Clean the heating unit, check sauna stones for damage, and preheat for maximum efficiency.
- Ventilate after each use: Open vents post-session to prevent odors and mold, making sure of a fresh, inviting sauna every time.
With these steps, you can cozy up in your sauna all winter long, enjoying warmth and relaxation!
Frequently Asked Questions
How Do I Choose the Right Location for My Sauna in My Yard?
Choose a flat, level area with good drainage, away from large trees or structures. Make certain it’s easily accessible for delivery and installation while allowing room for maintenance and proper airflow around the sauna.
Can I Use a Pre-Built Sauna Kit, and How Does It Affect Installation?
Yes, you can use a pre-built sauna kit. It simplifies installation with pre-cut materials, but you’ll still need to contemplate foundations, electrical work, and potentially skilled help for proper assembly and ventilation.
What Are the Best Practices for Electric Sauna Installation Outdoors?
For electric sauna installation outdoors, guarantee a flat base, proper drainage, and a dedicated circuit. Use weatherproof materials, comply with electrical codes, and select a certified heater for efficiency and safety to maximize functionality.
Do I Need a Permit to Build an Outdoor Sauna in My Area?
You might need a permit to build your outdoor sauna, especially if it exceeds size limits or includes plumbing. Check local regulations early for specific requirements to avoid fines or complications later.
How Can I Ensure My Sauna Is Accessible for All Users?
To guarantee your sauna is accessible, provide wide doors, a clear turning space, adjustable benches, and easy-to-reach controls. Install slip-resistant surfaces and offer alternate pathways for safe access, accommodating everyone’s needs.
Final Thoughts
To summarize, installing an outdoor sauna can truly improve your home experience. By carefully choosing your site, using proper insulation, and protecting against the weather, your sauna will stay cozy and inviting, no matter the climate. Plus, with the right heater and regular maintenance, it’ll last for years of enjoyment. So, get ready to relax, unwind, and soak up the benefits of your very own outdoor retreat. You deserve it!