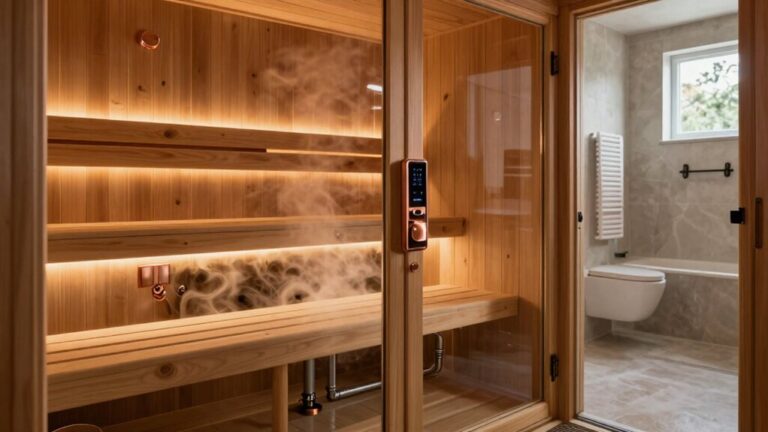

Smart project planning is key for first-time DIY sauna builders. Start by figuring out your sauna needs and finding the perfect location, ideally near a shower. Design an efficient layout with appropriate bench heights and dimensions for comfort. Choose materials like Western Red Cedar for durability and insulation to keep the heat in. Don’t forget ventilation for fresh air and safety measures like smoke detectors. If you keep these tips in mind, you’ll be well on your way to your sauna oasis!
Understanding Your Sauna Needs
When it comes to building your own sauna, have you considered what you really need from this steamy retreat?
First, think about who’ll use it. Adults aged 30 to 70 are the primary sauna fans, especially those between 40 and 60. If you’re active or recovering, a sauna can boost muscle recovery and circulation.
Next, factor in frequency; users going four to seven times a week enjoy greater long-term health benefits.
Regular use of a sauna, ideally four to seven times a week, maximizes long-term health benefits.
Remember safety, too. If you or someone using the sauna has health issues like high blood pressure, check with a doctor first.
Finally, consider features like temperature controls and layout to suit your needs, guaranteeing a cozy yet effective sauna experience every time you step in. Additionally, investing in a quality home sauna heating system will enhance your sauna experience and ensure optimal warmth.
Choosing the Right Location
When selecting the right location for your sauna, think about how close it’s to a shower or cooling-off area—it’ll make your sauna experience much more seamless. Also, pay attention to the room’s dimensions, as a space that’s approximately square or modestly rectangular aids with heat distribution. Getting these details right not just improves your enjoyment but also guarantees safety and comfort! Additionally, ensure that you consider adequate ventilation requirements to maintain a pleasant atmosphere within the sauna. A reliable sauna ventilation system kit can significantly enhance air quality, making your sauna experience even more enjoyable. Compliance with local building codes is also crucial for a successful installation.
Proximity to Shower Area
Choosing the right location for your DIY sauna can make a big difference in your overall experience, especially when it comes to its proximity to a shower or bathroom.
Placing your sauna next to an existing shower minimizes plumbing work, which saves you time and money. You’ll appreciate the easy access for quick rinses after your sauna session, supporting good hygiene and comfort.
Plus, shared drainage systems cut down on the number of new components you need. This layout creates a cozy “spa suite,” ideal if you ever decide to sell your home.
With thoughtful placement, you’ll enjoy a seamless shift from the heat of the sauna to the cooling hug of a shower, enriching your relaxation routine.
Optimal Room Dimensions
To create the perfect DIY sauna, nailing down the ideal room dimensions is essential for both comfort and functionality.
Start with height; aim for 2100-2300 mm, guaranteeing at least 1000 mm between the upper bench and ceiling to sit comfortably. The recommended internal height of 2.1m for sauna construction ensures optimal air circulation and comfortable seating. Additionally, consider that an appropriately sized sauna can enhance usability, allowing for a more enjoyable experience.
For width and length, a 4×4 feet space is perfect for two people, while a 6×8 feet area suits six.
Keep your layout in mind—adjust bench heights to 1050 mm for the upper and 600 mm for the lower.
Consider efficiency; an 8×12 layout is often a sweet spot, optimizing space and warmth.
Designing an Efficient Layout
Crafting an efficient layout for your DIY sauna is like piecing together a puzzle that combines comfort and functionality.
Designing your DIY sauna involves carefully balancing comfort and practical layout for the perfect experience.
Start with a minimum height of about 2100–2300 mm, giving you room for two bench tiers. For benches, aim for upper tiers around 600–700 mm deep for relaxation, while lower tiers should be 400–500 mm for foot space. A well-planned home sauna kit can significantly enhance your building experience.
Allow about 600 mm bench length per person, plus a 2000 mm section if you want to lie down. Make sure your heater has the recommended clearance, and plan door swings to keep safety in mind.
Consider two-tier straight benches or L-shaped designs to maximize space and create distinct temperature zones. L-shaped benches are a popular design choice for larger saunas as they promote social interaction among users. Good airflow is key, so position vents wisely!
Selecting Appropriate Materials
When building your sauna, choosing the right materials is key to guaranteeing a safe and enjoyable experience. You’ll want to focus on sustainable options like Western Red Cedar for cladding and benches because it’s naturally rot-resistant and smells fantastic. Plus, moisture-resistant choices like closed-cell rigid insulation boards help keep everything cozy. Utilizing thermowood or Nordic spruce can also significantly reduce material costs without sacrificing quality. Additionally, using proper insulation will enhance energy efficiency and maintain optimal heat retention within the sauna. A quality cedar sauna bench kit can simplify the construction process while ensuring durability and aesthetic appeal.
Sustainable Material Choices
Choosing the right materials for your DIY sauna isn’t just about looking good; it’s also about making smart, sustainable choices that benefit both you and the environment.
Consider using aspen for benches and panels—it’s low in resin and keeps things cool. If you love that cedar smell, know it’s great but can trigger allergies in some folks.
How about Nordic spruce or thermally modified wood to guarantee durability without harmful chemicals? Engineered wood is another solid choice; it can help store carbon and comes from sustainable forests.
When it’s time for insulation, go for mineral wool or natural fibers. They work well and are better for the planet. Additionally, using sauna insulation building materials ensures optimal energy efficiency and comfort.
Moisture-Resistant Options
While building your sauna, selecting moisture-resistant materials is crucial for guaranteeing its longevity and performance. Opt for insulation like mineral wool, which handles extreme temperatures while allowing moisture to escape, preventing issues down the road. Proper insulation is also essential for heat retention, enhancing your sauna’s operational efficiency. Additionally, investing in sauna moisture protection products can further safeguard your sauna against moisture damage. For walls, consider thermally modified woods like pine or ash—they’re affordable and stand up to humidity without warping. When it comes to cladding, cedar is a classic choice, thanks to its natural oils that resist both decay and insects, making Western Red Cedar an excellent option for all sauna surfaces. Don’t forget protective treatments like wood wax oil or PU varnish; they penetrate and seal the wood effectively.
Ensuring Proper Insulation and Vapor Barrier
Achieving the right insulation and vapor barrier is crucial for your DIY sauna project. For the walls, aim for an R-value of 13 to 19, and for the ceiling, go even higher—up to 30—because heat rises! Proper insulation is essential for maintaining consistent temperatures and improving energy efficiency. Make sure to insulate your floor if it’s over unheated spaces, using rigid board or batt insulation to keep out the cold. Additionally, consider using a sauna insulation kit to simplify the insulation process and ensure you have all the necessary materials.
When it comes to vapor barriers, foil-faced aluminum is your best friend. Place it on the warm side of insulation, sealing seams with high-temperature tape to keep moisture out. Choose materials rated for sauna temperatures, avoiding anything that might melt or off-gas. This way, you’ll not only maintain warmth but also reduce energy costs, making your sauna experience cozy and efficient!
Selecting and Positioning Your Heater
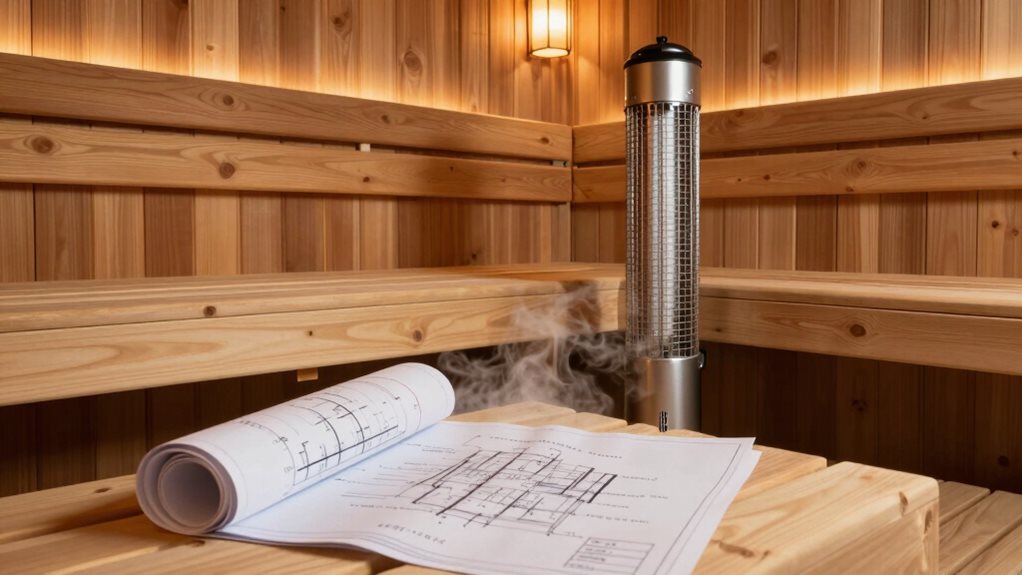
Have you ever wondered how to pick the perfect heater for your DIY sauna? Start by considering your space and needs.
Electric heaters are popular in cities for their ease of installation and convenience, heating quickly with just a button press. They work well for smaller saunas, usually fitting well in spaces of 250 to 420 cubic feet.
If you crave that authentic experience, a wood-burning heater brings traditional charm, albeit with longer heating times and a need for wood supply.
Gas heaters, while rare for home use, offer energy efficiency for larger, frequently used saunas like gyms.
When selecting your heater, consider the perfect electric sauna heater that matches your sauna size and personal preferences.
Wherever you place your heater, remember to guarantee proper heat distribution for the best sauna experience!
Planning for Ventilation and Airflow
When planning your sauna, getting the ventilation and airflow just right is key for a comfortable experience. Positioning your air inlets effectively and balancing airflow will help guarantee you enjoy the heat without feeling stuffy. Think of air and warmth as dance partners, where each needs to move fluidly to create the perfect ambiance! Incorporating a reliable sauna ventilation fan system can significantly enhance the air quality and temperature control in your sauna.
Vent Inlet Positioning
To guarantee your sauna has the best airflow possible, it’s crucial to carefully plan the positioning of the vent inlet.
Place the intake vent near the floor, within 12 inches, and on the same wall as your heater. This helps cooler air enter below the heater for efficient heat distribution. The ideal spot is within 10-30 cm above the heater, guaranteeing fresh air mixes well.
Avoid placing the vent on the opposite wall to maintain directional flow. Using a 4-6 inch diameter vent works well for small saunas, plus consider adjustable louvers for airflow control.
Airflow Balance Strategy
Creating a balanced airflow in your DIY sauna is like orchestrating a symphony—you want each part to work harmoniously for the best experience. Proper ventilation keeps your sauna comfy and enjoyable.
- Position the exhaust vent under the benches, 18 inches from the floor, for effective air circulation.
- Use a 6-inch mechanical exhaust vent, oversized for quieter operation.
- Consider placing a supply vent high on the wall, which lets warm air flow down and exits low to encourage a seamless air exchange.
- Don’t forget to experiment with adjustable vents to find your perfect comfort level.
Navigating Electrical Requirements
As you immerse yourself in the exciting world of building your own sauna, it’s crucial to get a grip on the electrical requirements that keep everything operating effortlessly.
Most residential sauna heaters need 240 volts for effective heating, while small infrared models can work on 120 volts, though with limited capacity. Verify you match your heater’s kW rating to the correct voltage to avoid underperformance.
Most residential sauna heaters require 240 volts; ensure matching kW ratings for optimal performance, especially with infrared models.
You’ll also need dedicated circuits for the heater and lights, each with appropriately sized breakers, based on the heater’s amperage. Using the right wire gauge matters too, especially in humid sauna conditions.
Finally, consider ground fault protection based on manufacturer specifications to keep everything safe. Proper planning here means a seamless, warm experience! Additionally, ensure you select a suitable electric sauna heater that meets your specific needs to guarantee optimal performance.
Compliance With Building Codes
When you’re planning your DIY sauna, understanding and complying with building codes is vital, not just for safety, but also to guarantee your project proceeds seamlessly.
It might seem like a hassle at first, but these regulations assure you create a safe and sturdy sauna.
Here’s what to keep in mind:
- Get a building permit: Most areas require this for safety compliance.
- Know your zoning laws: Saunas are considered accessory structures with specific rules.
- Consider sauna type: Traditional kits often need permits, while infrared models may not.
- Check for safety features: Features like non-slip flooring and outward-opening doors are usually mandated.
Assessing Safety Measures and Emergency Planning
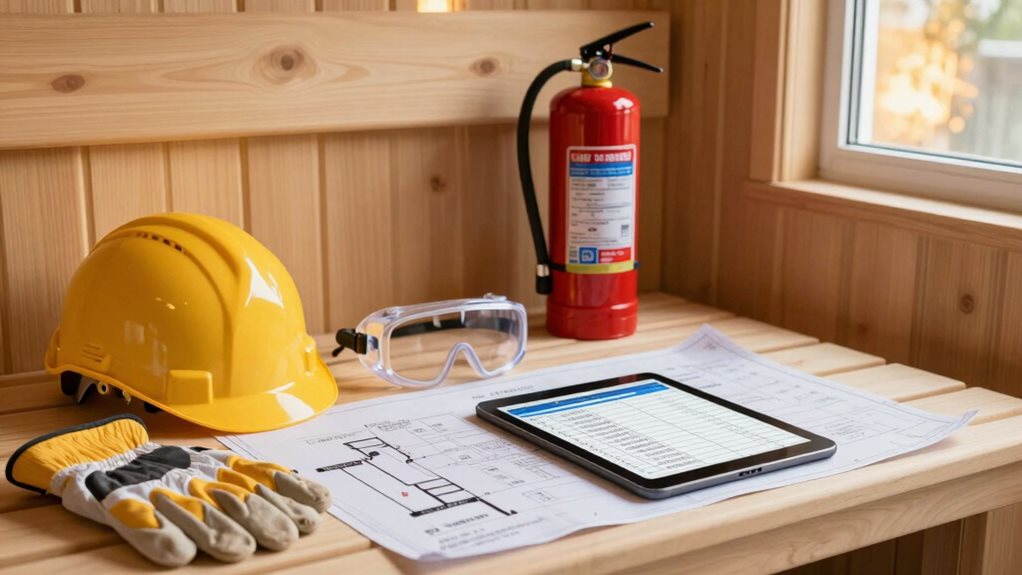
Building codes provide a solid foundation for safety, but there’s more to contemplate when it comes to your DIY sauna.
You’ll want to ascertain safety measures are in place, like an emergency stop button and alarms inside and outside the sauna. Furthermore, you should integrate smoke and heat detectors linked to a monitoring service.
Don’t forget a sauna-specific first-aid kit, stocked with necessities like sterile dressings and electrolyte packets. For fire prevention, install appropriate smoke detectors and keep combustible items away from heaters.
Design your sauna with at least two marked exits to guarantee everyone can escape quickly.
Finally, post clear instructions inside to guide everyone during emergencies—they won’t read the fine print in a panic!
Frequently Asked Questions
How Much Will a DIY Sauna Project Typically Cost?
A DIY sauna project typically costs between $1,500 and $10,000, depending on the type, materials, and whether you choose to build it yourself or use a prefab kit. It’s an enjoyable investment for relaxation!
What Tools Do I Need for Building a Sauna?
You’ll need tools like a circular saw, sledgehammer, compound miter saw, cordless drill, and a multimeter. Don’t forget safety gear, a tape measure, and insulation tools to guarantee a comfortable, well-built sauna.
How Long Does It Take to Build a Sauna?
It typically takes you 35-40 hours for a DIY sauna, but if you’re a first-timer, expect 1-3 months working weekends. Experienced builders can finish basic saunas in just one day.
Can I Build a Sauna Indoors and Outdoors?
Yes, you can build a sauna indoors or outdoors. Each option has unique requirements regarding materials, insulation, and permits. Choose the one that best suits your space, climate, and personal preferences for enjoyment.
What Maintenance Is Required for a Sauna?
To maintain your sauna, regularly clean surfaces, inspect the heater and seals, and treat the wood. Weekly sweeps and annual inspections guarantee safety and performance. Keep vents clear for proper airflow and moisture control.
Final Thoughts
Building your DIY sauna can be a fun and rewarding adventure, but careful planning is key. By understanding your needs, choosing the right location, and picking quality materials, you’ll set yourself up for success. Don’t forget about insulation, ventilation, and safety—these factors are essential for a cozy, safe sauna experience. So, roll up your sleeves, jump in, and make your sauna dream a reality. You’ll be enjoying those relaxing sessions before you know it!