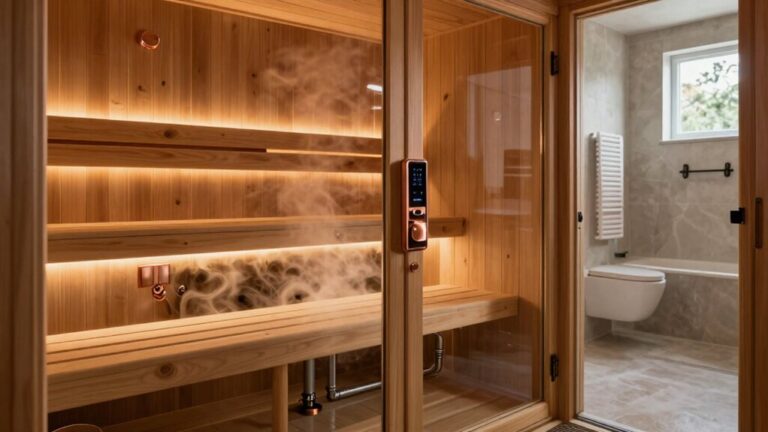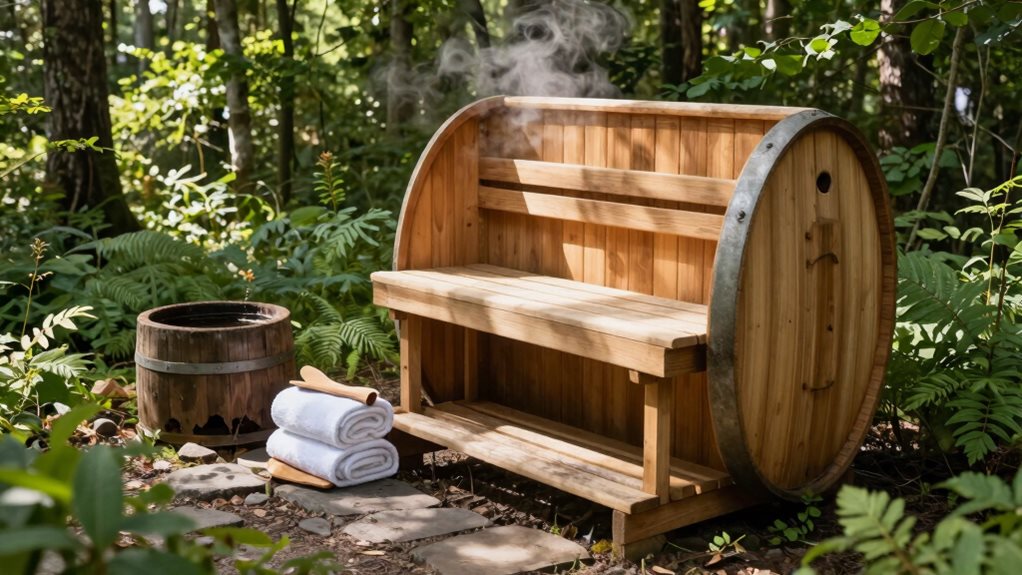

Common pitfalls in kit and barrel saunas include poor ventilation, leading to stuffy air, and inadequate insulation, which can cause heat loss. Choosing the wrong heater size can also create safety hazards. Don’t forget hygiene—skipping showers before use can leave odors. Ultimately, improper assembly can lead to considerable issues later. By keeping these factors in mind, you can guarantee a better sauna experience. Curious about more tips to improve your sauna setup?
Poor Ventilation and Airflow Issues
Have you ever noticed how important good ventilation is in a sauna? Without it, the experience can become less enjoyable and even unsafe.
If the fresh-air intake is too far from the heater or missing entirely, your sauna can’t pull in the oxygen-rich air needed for better heating. Just one tiny vent below the stove mightn’t cut it, causing your sauna’s air to become stuffy and unpleasant.
Plus, if the exhaust vents are placed incorrectly, they can trap warm, humid air, leading to unwanted mold. Imagine sitting in a sauna with uncomfortable drafts or stagnant zones—ugh! Implementing mechanical ventilation can significantly enhance airflow and overall comfort in your sauna. Additionally, ensuring that you have two vents installed is essential to promote optimal air circulation. Proper sauna ventilation systems help maintain a balanced environment by continuously introducing fresh air.
Guaranteeing proper airflow will make your sauna sessions feel comfortable, invigorating, and relaxing. So, pay attention to ventilation for a superior experience!
Insulation and Heat Loss Concerns
When you step into a sauna, feeling the warmth envelop you is part of the magic, but if the insulation isn’t up to par, that cozy feeling can quickly fade. Thin walls in sauna kits or barrel designs can lead to rapid heat loss, especially in cold weather. For instance, single-layer cedar boards allow heat to escape easily, leaving you shivering instead of basking. Using bubble wrap or cheap radiant barriers can backfire, melting away and letting moisture in. If you’re in a chilly area, inadequate insulation not just cools your sauna but also makes it less enjoyable. Investing in thicker walls and high-quality materials can make all the difference, wrapping you in warmth instead of cold air. Proper insulation ultimately ensures a better sauna experience and prevents condensation-related issues over time. Additionally, the rounded structure of barrel saunas minimizes surface area exposure, enhancing heat retention even without conventional insulation. To achieve optimal warmth, consider using a sauna insulation kit to enhance the efficiency of your sauna’s heat retention.
Water Ingress and Wood Movement Problems
Even the coziest sauna can become a soggy disappointment if water has its way, leading to unsightly wood damage and structural issues. First, make certain your sauna sits on a solid foundation. If it’s in a low-lying area, water can pool, causing rotting wood. A little elevation helps avoid this. Next, proper roof protection is key; a metal roof with overhangs keeps water off walls and doors. This is crucial as metal roofs create a protective barrier against the elements, enhancing your sauna’s durability. Additionally, incorporating sauna moisture protection products can further safeguard your sauna’s structure against moisture damage. Don’t forget about sealing! Cedar wood is naturally resistant to rot, but applying high-quality sealants yearly makes it even better. Additionally, using high-grade lumber sourced from North American forests ensures your sauna remains durable and visually appealing. Finally, always use vapor barriers to block moisture, especially in outdoor setups. With these tips, you’ll keep your sauna happy, dry, and ready for relaxation!
Heater Sizing and Safety Challenges
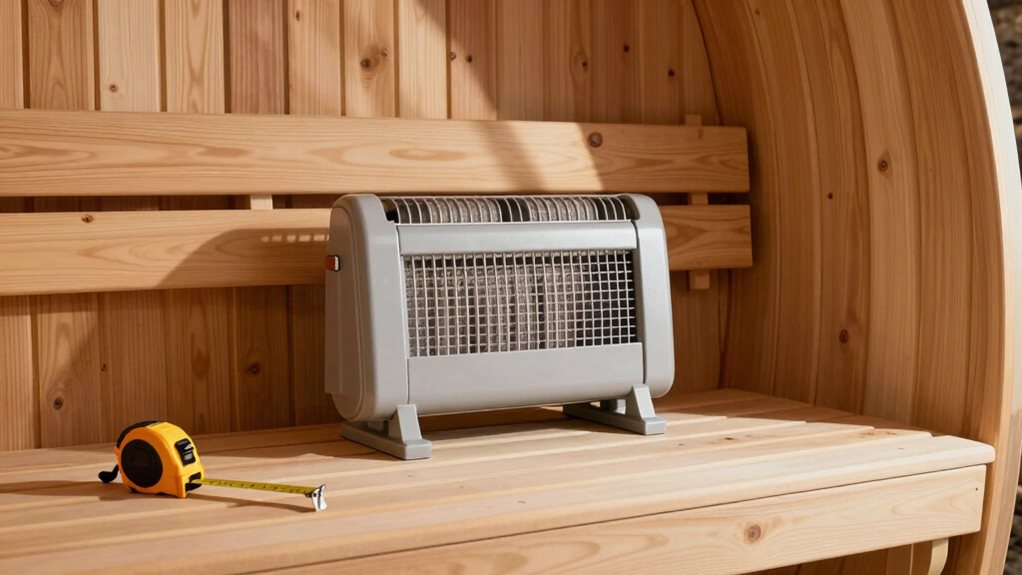
When it comes to heater sizing for your sauna, getting it right is essential for both comfort and safety. You’ll want to choose a heater that matches your sauna’s dimensions, as too small won’t heat effectively, while too large can lead to safety hazards like charred ceilings. A general rule to follow is to use 1 Kw required for every 50 cubic feet of sauna space when determining your heater size. Additionally, proper sizing is crucial because barrel saunas are not as well insulated as larger saunas, which can lead to temperature stratification if not addressed. It’s also important to consider electric stove options that are specifically designed for sauna use to ensure optimal performance and safety.
Proper Heater Sizing
Proper heater sizing is crucial for creating a comfortable sauna experience, and getting it right can make all the difference. Start with the basic rule: you need about 1 kW of power for every 45–50 cubic feet of well-insulated sauna space. If you notice a lot of glass or you’re in a cold climate, bump up the heater size by 10–15%. Oversizing can lead to quick temperature spikes, while undersizing results in slow heat-up times and poor steam quality. To find the right fit, calculate your sauna’s adjusted volume, including any uninsulated surfaces. It’s important to remember that correct heater size can achieve 180°F in about 45 minutes, enhancing your sauna experience. Additionally, consider the sauna room size as larger spaces will require more powerful heaters for efficient heating. A quality home sauna heater kit can provide you with the necessary components to ensure optimal performance. When in doubt, rounding up to the next heater size is a smart move. Doing this guarantees a cozy, enjoyable sauna session for you and your guests!
Clearance and Safety Standards
Making sure your sauna meets clearance and safety standards is essential for both performance and peace of mind.
You’ll need to maintain specific distances from walls: electric heaters should sit at least 10 cm away, and for models over 9 kW, the gap increases to 15-20 cm.
Never add shelves or benches over the heater—this can lead to burns or even damage your sauna.
Don’t forget about fire safety! Your sauna should have a one-hour fire-rated barrier to prevent fires from spreading.
Also, always include an automatic high-temperature shutoff switch. It’s not only a safety feature; it keeps your sauna from becoming a sauna gone wrong.
Regularly check ventilation to keep the air fresh and safe! Additionally, consider investing in a perfect electric sauna heater to ensure optimal heating efficiency.
Risks of Oversized Units
While it might seem tempting to opt for an oversized heater for your sauna, you could be setting yourself up for a series of safety challenges and inefficiencies.
Oversized heaters generate dangerously high temperatures, which can’t just make you uncomfortable but also damage your sauna’s wooden walls and furnishings. They cycle on and off too frequently, wasting energy and shortening the heater’s lifespan.
Additionally, poor temperature control can even lead to fire hazards if the heat ignites nearby items. Instead of heating evenly, overpowered units create hot spots, leaving you frustrated. To guarantee safety and efficiency, pick a heater that’s just right for your sauna size, keeping both comfort and energy bills in check!
Choosing the correct heater size is crucial, as a properly sized unit ensures optimal performance without compromising safety.
Kit Quality and Assembly Errors
When you plunge into building your kit or barrel sauna, the quality of materials and the assembly process can make or break your experience. Choosing high-quality wood, like clear Western Red Cedar, means no knots and consistent grain, which helps prevent discomfort and guarantees even expansion.
Don’t forget proper wood drying; kiln-dried wood with 8-12% moisture content is ideal, as wet wood can shrink and create gaps, leaking heat. Pay attention to the thickness of panels—thicker wood keeps heat better and lasts longer. Additionally, incorporating a natural wood sauna heater can enhance your sauna experience by providing consistent heat.
Finally, always follow assembly instructions carefully. Skipping steps or improvising parts can disrupt your sauna’s performance and void your warranty. Building your sauna should be a rewarding experience, so get it right from the start!
Fastener Problems in Sauna Construction
When building your sauna, choosing the right fasteners is essential to keep everything tight and secure.
Poor installation can lead to problems, especially with thermal cycling affecting the materials over time.
Proper Fastener Selection
One key aspect of building a sauna that you can’t overlook is proper fastener selection.
Using stainless steel fasteners (A2 or A4 grades) for indoor applications is essential, as they resist corrosion from heat and humidity.
Avoid using galvanized or plain carbon steel fasteners, as their coatings can fail, leading to rust.
For your tongue-and-groove paneling, opt for stainless steel staples or hidden-clip systems to minimize visible metal.
Remember, matching fastener length to material thickness prevents issues, like split boards, and following spacing guidelines keeps your panels secure.
Finally, choose larger screws for bench frames and always consider the unique sauna environment; select materials that perform well under heat and moisture for long-lasting durability. Additionally, ensure that your fasteners are compatible with sauna insulation building materials to maximize efficiency and performance.
Installation Techniques Importance
In the world of sauna construction, mastering installation techniques is crucial to avoid fastener problems that could lead to future headaches. Remember, if your framing isn’t square, you might face big challenges down the line. Use shims and precise measurements to keep everything level, while bolting or adhering framing to container ribs before insulating.
If you’re assembling a barrel sauna, be sure to nail staves correctly; screwing can lead to unsealed gaps. Don’t forget about your electrical and plumbing systems, either! Always hire certified professionals and opt for GFCI outlets for safety. Additionally, consider weatherproofing your sauna accessories to enhance their durability against the elements.
Finally, leave expansion gaps during wood installation to account for wood movement, preventing unsightly cracks later on. Following these tips will save you from a sauna disaster!
Avoiding Thermal Cycle Issues
Fasteners play an important role in the performance and longevity of your sauna, especially when it comes to thermal cycles. Choosing the right ones is vital.
Stainless steel fasteners are your best bet for wet or steamy environments, particularly grades A2 and A4. Avoid galvanized or plain steel fasteners, as they’ll corrode and stain your wood.
It’s also essential to avoid mixing different metals, which can lead to fastener failure. Make sure you maintain a proper fastener placement, keeping them away from panel edges, and use pilot holes to prevent splitting.
Finally, focus on using sleek-shank screws that won’t loosen easily. With these tips, you’ll keep your sauna sturdy even through those hot and humid sessions!
Hygiene and Odor Management Pitfalls
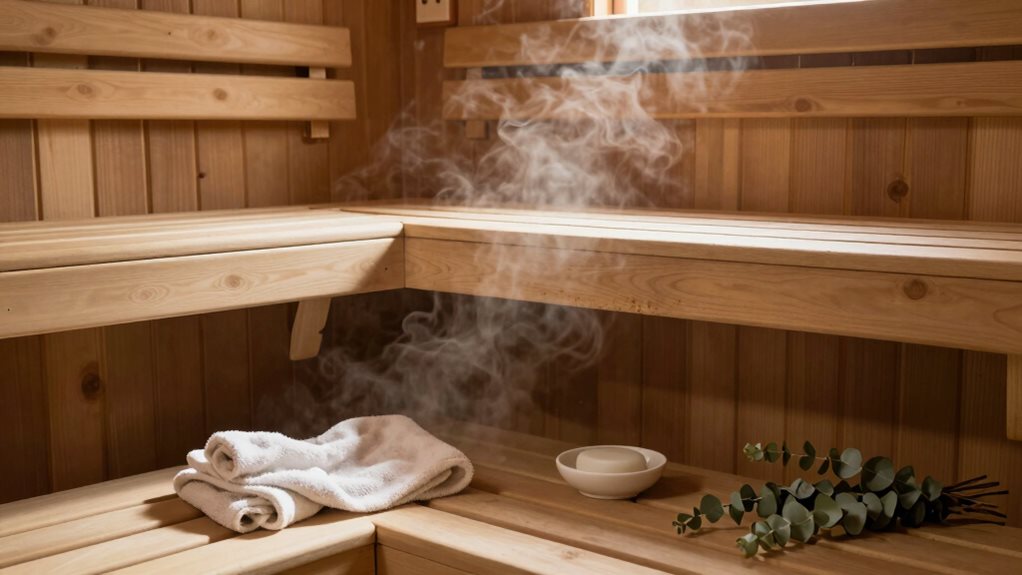
When it comes to enjoying your sauna experience, neglecting proper hygiene can turn relaxation into a less-than-pleasant affair.
Here are some common pitfalls to watch out for:
- Skipping Pre-Session Showers: A quick rinse removes dirt and oils, protecting your sauna’s wood.
- Neglecting Towel Usage: Using towels helps absorb sweat, preventing stains and odors from settling in.
- Improper Cleaning Agents: Stick to mild soaps and recommended cleaners; harsh products can damage wood and leave behind unwanted films.
- Inadequate Post-Use Ventilation: Keep doors and vents open after your session to let moisture escape and prevent bacteria buildup.
Maintenance Inconsistencies and Their Impact
Neglecting proper maintenance can lead to issues that really dampen your sauna experience. If you skip regular cleaning, dust and dirt accumulate, making your sauna less inviting.
Vacuum the interiors after a few uses, and deep clean once a month—more often if you use it daily. Also, don’t forget to check the exterior! If you live in a wet climate, tighten barrel bands every few months to keep water out.
Using harsh chemicals during cleaning can damage the wood and cause unhealthy vapors, so stick to mild options.
Finally, leave the door open post-use to help dry out moisture. These simple steps keep your sauna enjoyable and functional, so you can relax without worry!
Electrical Wiring and Safety Considerations
Making certain the electrical wiring in your sauna is done right might seem intimidating, but it’s the key to enjoying a safe and relaxing experience. Here are some crucial safety considerations:
- GFCI Protection: Always install GFCI protection to prevent shocks in moist environments.
- Dedicated Circuit: Use a new dedicated circuit; standard outlets aren’t safe for saunas.
- Proper Wire Gauge: Choose the right wire gauge – 10-gauge for 30 amps, and 6 to 8-gauge for higher amps—to prevent overheating.
- Hire a Pro: Always hire a licensed electrician to guarantee code compliance and safety.
Electrical safety is crucial for your sauna. By following these tips, you’ll help guarantee a properly functioning, hazard-free space where you can unwind.
Material Selection and Longevity Factors
Choosing the right materials for your kit or barrel sauna can make all the difference in its longevity and overall performance.
Cedar wood is the superstar here, boasting natural oils that resist rot and insects while keeping your sauna in great shape for decades.
On the flip side, low-grade woods like pine or spruce are like that friend who never shows up—prone to warping and short-lived.
While thermowood and hemlock can outperform cedar in certain builds, nothing beats the reliability of Western Red Cedar.
Proper construction and regular treatments matter too, guaranteeing your sauna withstands harsh weather.
Frequently Asked Questions
How Can I Improve My Sauna’s Ventilation Effectively?
To improve your sauna’s ventilation effectively, position intake and exhaust vents on opposite walls, guarantee proper sizing, and adjust openings based on seasonal changes. Regularly monitor air quality for ideal comfort and circulation.
What Materials Should I Avoid for Sauna Construction?
You should avoid plywood, OSB, MDF, particleboard, and resinous woods for sauna construction. Also, steer clear of oil-based finishes, solvent adhesives, standard insulation, and low-grade plastics. Opt for sauna-rated materials instead.
How Often Should I Re-Seal My Sauna Roof?
You should re-seal your sauna roof every 3–5 years in normal climates. In harsh conditions, consider resealing every 1–2 years. Regular inspections after severe weather will help identify when resealing is needed sooner.
What Are the Best Practices for Cleaning Sauna Surfaces?
To clean sauna surfaces, use a gentle, non-abrasive cleaner with warm water. Wipe with a damp cloth following the wood grain, and promptly dry to prevent moisture buildup and protect your sauna’s integrity.
How Can I Prevent Mold Growth in My Sauna?
To prevent mold growth in your sauna, guarantee proper ventilation, maintain low humidity, regularly clean surfaces, and use suitable materials. Monitor moisture levels, and dry surfaces thoroughly after use to discourage mold.
Final Thoughts
To summarize, avoiding common pitfalls in kit and barrel saunas can make your sauna experience much better. By guaranteeing proper ventilation, insulation, and hygiene, you can enjoy a cozy retreat without the headaches. Always pay attention to heater sizing and assembly quality, too. With a little care and the right choices, your sauna can be a long-lasting source of relaxation and joy. So grab your toolkit and get ready for some steamy fun—safely and smartly!