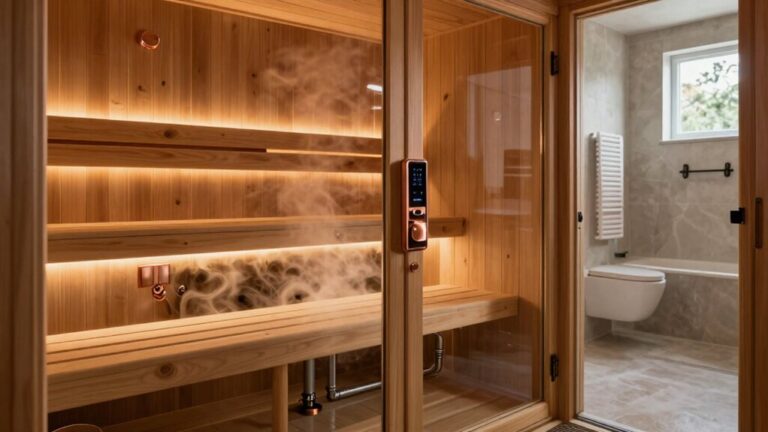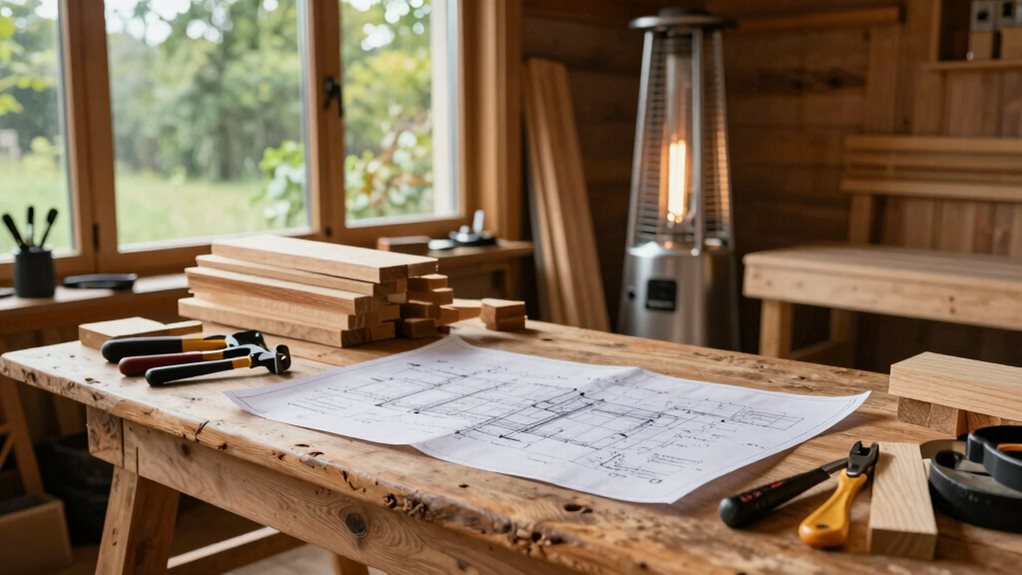

Planning a DIY sauna for long-term success starts with choosing the right location and foundation. Make sure your spot meets height requirements and has a level, waterproof floor. For outdoor saunas, build on solid soil with proper drainage. Insulate well and use durable materials to maintain heat. Keep safety in mind by setting up electrical features correctly. With careful attention to these details, you’ll create a cozy retreat that’s built to last. There’s plenty more to explore!
Choosing the Right Location for Your Sauna
Have you ever wondered where the best spot for a sauna might be? Choosing the right location is key to enjoying your sauna experience.
If you’re opting for an indoor sauna, think about how much space you have. You’ll need at least 7 feet in height and a level, waterproof floor. A room shaped like a square—or with a 6:4 wall ratio—works best for even heating. Insulation is crucial for maintaining the temperature and ensuring safety. Additionally, ensure that you are aware of local building codes that might affect your indoor sauna installation. Using proper sauna insulation materials will further enhance energy efficiency.
An outdoor sauna can be fabulous, especially near a pool or in your backyard, but remember to follow local regulations. You’ll need a solid foundation and to keep it at least 10 feet from property lines.
Whatever you choose, make sure it offers easy access to a shower or cooling area.
Foundation and Flooring Options
When building your DIY sauna, choosing the right foundation and flooring is essential for stability and comfort. Whether you go for a sturdy outdoor concrete foundation or opt for a waterproof flooring option indoors, each choice has its own benefits. Taking the time to plan this part of your sauna will guarantee a safe and enjoyable experience every time you step inside. A solid foundation should be built on undisturbed soil to ensure long-term stability and prevent settling issues. Furthermore, a proper foundation ensures safety and stability for the sauna, allowing you to fully enjoy your relaxation space without concerns.
Outdoor Concrete Foundations
Building an outdoor sauna starts with a strong foundation, and choosing the right one can make all the difference in your sauna experience. Here’s how to get it right:
- Assess your site: Check the soil type and local frost line to avoid future lifting or damage.
- Choose your slab design: A 3-4 inch thick slab with added insulation helps keep moisture out and maintains heat. Consider using a concrete slab for a more permanent solution that simplifies the building process. A solid foundation not only ensures longevity but also provides stability for your sauna. Additionally, integrating a sauna insulation kit into your building plans can significantly enhance heat retention and energy efficiency.
- Plan drainage: Verify water runs away from your foundation to prevent saturation and damage over time.
With the right foundation, you’ll protect your sauna investment, guaranteeing you’ll enjoy the warmth and relaxation for years to come.
Just remember, a solid start lays the groundwork for ultimate relaxation.
Indoor Waterproof Flooring
Creating a cozy indoor sauna experience isn’t just about building walls and adding a door; it also involves choosing the right waterproof flooring to keep everything dry and comfortable.
Start by installing a continuous vapor barrier to fight moisture from below. You’ll want a slight slope in your flooring, directing water towards a drain to prevent puddles that might invite mold. This proper drainage management is essential in maintaining hygiene and enhancing the overall sauna experience.
For the subfloor, opt for sturdy 3/4″ plywood or cement board to avoid cracking. A bonded waterproofing membrane is key for keeping humidity at bay. Additionally, selecting durable flooring options that can withstand heat and humidity, such as ceramic tiles, will enhance the longevity of your sauna.
Finally, consider durable options like ceramic tiles or polished concrete for your finish. They’ll handle heat and moisture well, guaranteeing your sauna remains a relaxing haven for years to come!
Framing and Structure Considerations
When you’re building your sauna, understanding wall frame construction techniques is key to creating a sturdy structure. You’ll want to choose the right stud sizes and spacing to guarantee your sauna can support the heat and humidity it’ll experience. Plus, don’t forget about the ceiling height—keeping it around 7 feet gives you both comfort and ideal heat distribution, so you’ll enjoy the best sauna experience possible! Additionally, proper insulation is crucial for retaining heat and preventing moisture issues in your sauna. Incorporating sauna moisture protection products will further enhance the longevity of your sauna’s structure. Ensuring that your walls are anchored with 3/8 inch lag bolts at regular intervals will significantly enhance their stability against the sauna’s conditions.
Wall Frame Construction Techniques
Wall frame construction is a crucial step in building your DIY sauna, and getting it right guarantees a solid and efficient structure.
Start with 2×4 studs spaced 16 inches on center, as this offers excellent support and insulation space. Here are three key points to remember:
- Use hemlock for durability, or cedar where it won’t be seen to save costs.
- Incorporate a vapor barrier with 6-inch overlaps sealed with heat-resistant tape—this helps maintain your sauna’s heat and guarantees moisture protection.
- For door frames, create a rough opening of 26×75 inches and secure everything tightly with lag bolts for stability.
Additionally, consider using a home sauna kit for a streamlined building process.
With these techniques, you’ll have a strong foundation for enjoying your sauna for years!
Optimal Ceiling Design Height
The ceiling height is a vital factor in your DIY sauna‘s design, and choosing the right one can make all the difference in comfort and heat efficiency. Aim for a standard height of around 7 feet; this keeps heat close to your body while reducing wasted air volume.
If you’re feeling adventurous, a range from 6 feet 2 inches to 8 feet is acceptable, but anything over 8 feet might make it harder to keep the temperature just right.
Make sure your bench is placed about 40 to 48 inches from the ceiling to maximize comfort.
Always consider heater clearance requirements too—meeting them keeps your sauna safe and efficient, so you’ll enjoy that cozy heat without worries!
Insulation and Vapour Barrier Installation
To create a cozy and efficient DIY sauna, getting the insulation and vapour barrier just right is crucial. Here are three key steps to evaluate:
- Choose the Right Insulation: Use mineral wool for its high-temperature stability and moisture tolerance. Aim for R-values higher than typical walls, like rigid mineral wool boards around 4 inches thick. Consider using a premium sauna insulation kit to ensure optimal performance and longevity.
- Install a Vapour Barrier: Place a foil-faced vapour barrier on the interior side of the insulation. Make sure to seal all seams with high-temperature aluminum tape to keep steam away.
- Seal Penetrations: Don’t forget about corners and fixtures. Seal around lights and vents with aluminum tape or heat-resistant sealants to maintain an airtight environment.
Follow these steps, and you’ll enjoy a warm, steam-filled oasis!
Paneling and Cladding Materials
When you’re selecting paneling and cladding materials for your DIY sauna, consider how different woods can improve both the aesthetic and functional aspects of your space.
For a modern vibe, you might choose Thermo Aspen, known for its golden-brown color and resistance to warping.
Western Red Cedar, with its rich aroma and beautiful reddish hue, brings warmth, while Radiata Pine offers a luxurious finish with its fine grain.
If you’re aiming for a classic look, Thermo-Alder has a masculine appeal and tight joints for a seamless appearance.
Finally, Thermo Spruce provides excellent insulation and a bright finish. Each wood option brings unique qualities, so pick one that resonates with your style and sauna goals. Furthermore, using a natural wood sauna heater can enhance the overall experience by providing optimal heat distribution and comfort.
Electrical Setup and Ventilation
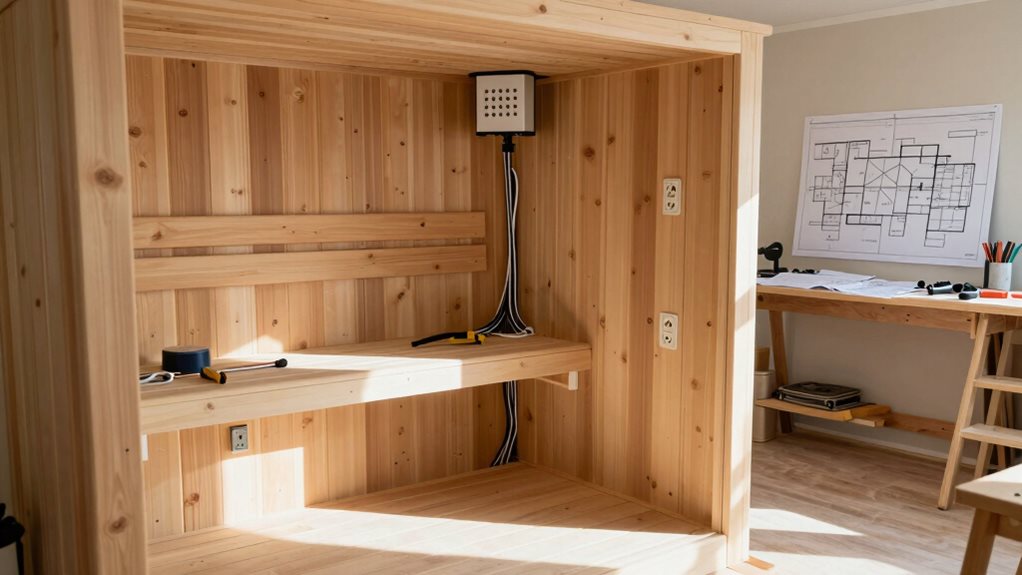
Setting up the electrical system for your sauna isn’t just about plugging things in; it’s an essential step that guarantees both safety and comfort.
To create a proper setup, keep these three key points in mind:
- Power Requirements: Most sauna heaters need a dedicated 240V circuit with a 40-amp breaker. Smaller infrared types are usually 120V and plug-and-play, perfect for 1-2 people.
- Wiring and Conduit: Use metallic conduit to protect the wires, with the right gauge based on the amperage—#10 to #6 AWG should do.
- Breaker and Safety Features: Install a double-pole breaker matched to your heater’s amperage, and always have a disconnect switch in sight for emergencies. Additionally, consider electric sauna heater options that meet your specific needs to ensure optimal performance.
Testing and Final Touches
Testing your sauna isn’t just a checklist task; it’s the final step in guaranteeing your hot retreat operates seamlessly and safely.
First, use timers to track how long it takes to reach that cozy temperature—traditional saunas should hit about 200°F in roughly 35 minutes. Make sure to check for consistent heat too; cold spots mean something’s off.
Once it’s hot, pour some water over the heater rocks for steam—this is one of the best parts! Additionally, ensure you have selected the right sauna heater electric for your space to maximize efficiency and comfort.
Don’t forget to inspect safety features like auto-shutoff—you want to stay safe, right? Regularly check connections and make sure the wood’s in good shape.
With these final tweaks, you’ll be ready to enjoy your sauna for years to come!
Frequently Asked Questions
What Maintenance Is Required to Keep My Sauna in Good Condition?
To keep your sauna in good condition, wipe surfaces after use, clean the heater and stones regularly, maintain wood with appropriate cleaners and sealants, and perform inspections and deep cleaning monthly for lasting enjoyment.
How Do I Choose the Right Sauna Size for My Needs?
To choose the right sauna size, consider how many people’ll use it. A 1-2 person sauna’s ideal for personal use, while larger models accommodate families or groups. Make sure you have enough space for comfortable movement.
Can I Build a Sauna Without Professional Help?
Yes, you can build a sauna without professional help, but you’ll need to research local regulations, make certain you have the right skills, and invest time in learning about materials and safety requirements for a successful project.
What Are the Costs Associated With Building a Sauna?
Building a sauna can cost you between $2,000 and $15,000, depending on size and materials. Kits range from $1,200 to $6,500, while heaters and foundations add to your overall expenses considerably.
How Long Does It Take to Build a Sauna From Start to Finish?
It typically takes you about 8 months from conception to first use, or 6-12 weeks if you’re a weekend warrior. Experienced builders can finish in 1-3 months, depending on complexity and your skill level.
Final Thoughts
Now that you’ve got the basics down for your DIY sauna build, it’s time to start planning your project! By picking the right location, laying a solid foundation, and guaranteeing proper insulation, you’re setting yourself up for long-term success. Don’t forget to pay attention to electrical setups and ventilation, too. When you put in the effort upfront, you’ll enjoy the relaxing benefits of your sauna for years to come. So grab your tools and get started!