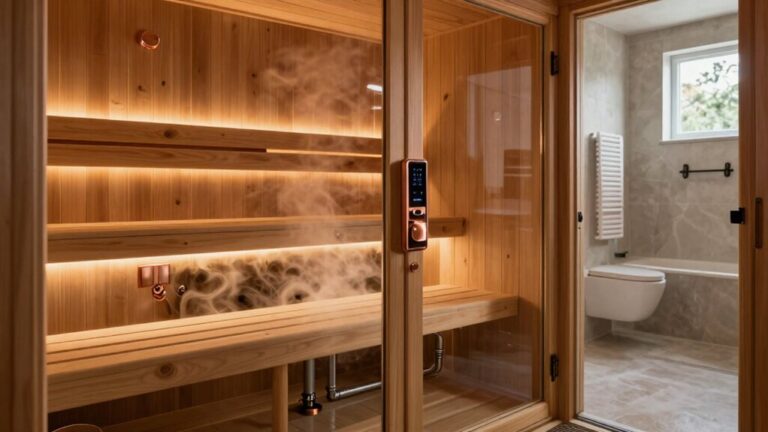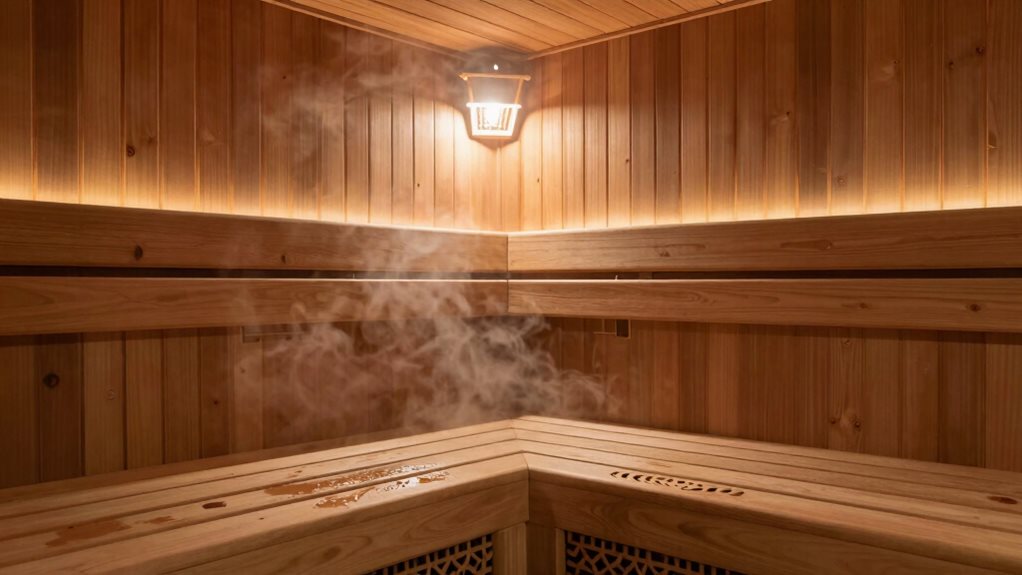

Proper sauna ventilation is key to a great experience. Position your fresh air intake near the heater and install exhaust vents opposite, typically under benches. For ideal airflow, aim for about 5-8 changes of air each hour. This helps control moisture, keeping it low to prevent mold. Choose durable woods like cedar, and remember to clean your sauna regularly. With these tips, you can enjoy comfort and performance. Stick around, and you’ll discover even more helpful insights!
Importance of Intake and Exhaust Placement
When you think about setting up your sauna, the placement of intake and exhaust vents is crucial for creating that perfect, cozy environment.
For the best airflow, position the fresh air intake above the heater, around 10 to 30 cm high. This allows fresh air to blend with the rising heat, improving your sauna experience. Mechanical ventilation can further enhance this setup by ensuring a steady supply of fresh, oxygen-rich air. Proper ventilation is essential as it reduces heating time and conserves energy while facilitating fresh air flow. Additionally, incorporating a sauna ventilation fan system can significantly boost air circulation, enhancing your overall comfort.
You’ll want the exhaust vent on the opposite wall, ideally under the benches, about 18 inches from the floor. This setup promotes a seamless convection current and prevents stale air from lingering.
Sizing Guidelines for Ventilation Openings
Getting the sizing of your sauna’s ventilation openings just right is vital for a comfortable and efficient sauna experience. You’ll need at least 1 square inch of total vent area for every cubic foot of sauna volume. For intake vents, plan for a minimum of 4 square inches per person, while exhaust vents should provide 5 square inches, guaranteeing the fresh air flows effortlessly. Additionally, a proper sauna ventilation system kit can help ensure all components are effectively managed. Generally, exhaust vents should be larger than intake vents to avoid pressure buildup. Standard vent openings measure around 4″ x 10″, and positioning them 4-6″ from the ceiling works best. Plus, a 1/2″ to 1″ gap at the door helps pull in air without added vents. Proper ventilation enhances the sauna’s perceived heat and ensures a refreshing experience. Additionally, correctly positioning the supply and exhaust vents contributes to achieving an optimal löyly experience and helps in maintaining consistent temperature levels. Get these sizes right, and you’ll enhance your sauna experience.
Natural Vs Mechanical Ventilation Systems
When it comes to choosing between natural and mechanical ventilation systems for your sauna, each has its own advantages. Natural ventilation lets gravity do the work, providing a low-maintenance solution that keeps the air flowing without any fans. Additionally, natural ventilation effectively regulates humidity levels, preventing moisture accumulation and extending the life of the sauna structure. A well-functioning sauna moisture control system can enhance the benefits of both ventilation types. On the other hand, mechanical systems offer precise control over airflow and humidity, which can be a game-changer for frequent sauna users. Importantly, proper ventilation is essential for maximizing the benefits of sauna therapy and enhancing user comfort.
Benefits of Gravity Ventilation
Gravity ventilation in saunas offers a natural and effective way to keep the air fresh and comfortable. This system relies on the principle that warm air rises, creating a continuous flow of fresh air.
Here are some key benefits of gravity ventilation:
- Comfortable Heat Distribution: Enjoy even warmth without those annoying hot or cold spots.
- Fresh Air Flow: Keeps oxygen levels high and carbon dioxide low, so you won’t feel dizzy. Maintaining adequate oxygen levels is crucial for comfort and safety. A properly functioning ventilation system ensures that the air exchange is consistent and efficient.
- Humidity Control: Prevents that stale, humid air from gathering, making your sauna sessions more enjoyable. Good ventilation is essential for maintaining optimal humidity and air quality.
- Longer Sessions: Improved airflow allows you to relax longer without feeling fatigued.
With a well-designed gravity ventilation system, you can achieve an amazing sauna experience that feels just right!
Features of Mechanical Systems
While both natural and mechanical ventilation systems serve the vital purpose of keeping saunas comfortable and fresh, mechanical systems offer distinct advantages that can improve your experience.
With powered fans, these systems guarantee consistent airflow, preventing the cold spots that can make your sauna time less enjoyable. You’ll appreciate how quickly mechanical setups preheat your space, thanks to optimized air movement. Additionally, active venting ensures that air quality remains high, making for a healthier sauna environment. This is crucial for maintaining proper airflow, which enhances both comfort and health benefits. Moreover, these systems are designed to withstand extreme temperatures, ensuring durability and longevity in your sauna.
Plus, they help keep moisture in check, minimizing mold risks and musty smells. You can even adjust airflow rates for the perfect balance of heat and air quality.
Mechanical systems aren’t just about comfort; they elevate safety by providing fresh oxygen-rich air, making certain your sauna is always a welcoming retreat.
Hybrid Ventilation Approaches
Saunas are all about relaxing and enjoying the heat, but to keep them comfortable and fresh, it’s important to understand hybrid ventilation approaches that balance natural and mechanical systems.
A well-designed system improves your sauna experience by managing air and moisture effectively. Here are four key aspects to remember:
- Natural Convection: Fresh air comes in low, and warm air escapes high, keeping your sauna fresh.
- Mechanical Support: Fans can help boost airflow during busy sessions or damp conditions.
- Location Matters: Position vents wisely, near the heater for efficient airflow.
- Moisture Control: Run exhaust fans after sessions to remove humidity and prevent mold.
With these strategies, you’ll maximize comfort and sustain your sauna’s longevity!
Moisture Control for Material Longevity
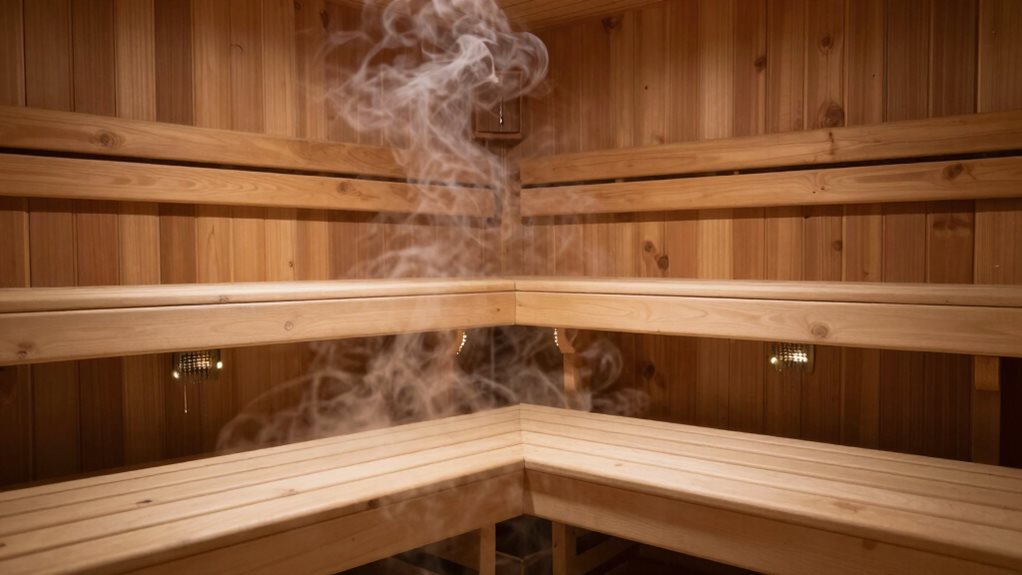
When it comes to keeping your sauna in top shape, moisture control is key to preventing mold growth and improving wood durability.
By selecting the right wood and guaranteeing proper ventilation, you can create a healthier environment that lasts longer.
Let’s explore how to keep your sauna’s materials happy and extend their life while you enjoy that cozy, relaxing heat! Additionally, investing in essential sauna moisture protection products can significantly enhance your sauna’s resistance to moisture damage.
Preventing Mold Growth
To keep your sauna a mold-free zone, effective moisture control is essential. Mold loves moisture, so you’ve got to stay on top of it.
Here are four key steps to prevent mold growth:
- Ventilation: Install vents near the floor and ceiling to promote airflow, and leave the door open for 30 minutes after use.
- Humidity Control: Keep humidity at 10-20% using a hygrometer, even reaching 30-50% when not in use.
- Regular Cleaning: After each session, wipe surfaces with a soft-bristled brush and mild wood cleaner to remove sweat.
- Drainage: Install a drain to remove excess water quickly, denying mold a wet environment.
Additionally, consider weatherproofing your sauna accessories to further enhance their longevity against moisture. Stay proactive, and your sauna will remain a relaxing, mold-free retreat for years to come!
Enhancing Wood Durability
Choosing the right type of wood for your sauna can make a world of difference in its durability and longevity.
Opt for naturally stable woods like Western Red Cedar or Nordic Spruce; these species resist moisture better and remain dimensionally stable. Low-resin woods work best for benches, reducing sweat pooling that harms the surface.
Remember to select kiln-dried lumber to decrease warping. For outdoor saunas, use rot-resistant types like redwood.
When treating the wood, apply sauna-safe oils or waxes to repel moisture while guaranteeing they’re breathable.
Finally, don’t skimp on a vapor barrier; it keeps damp air from damaging your sauna’s structure. Additionally, using proper sauna insulation materials can further enhance moisture control and thermal efficiency.
Your careful choices will help your sauna last longer, keeping it cozy for years to come!
Enhancing Comfort and Air Quality
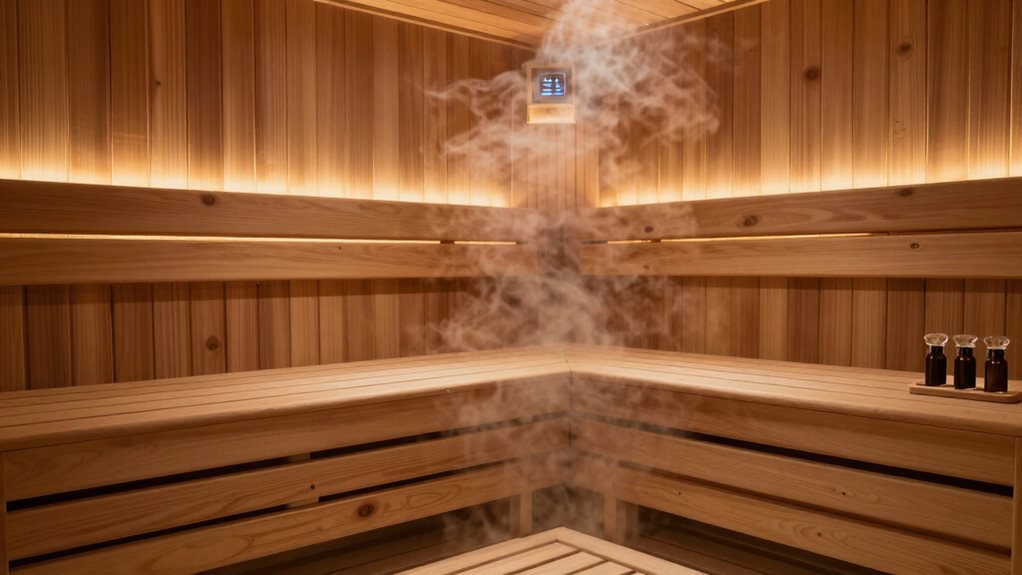
Even with the best sauna experience, poor air quality can put a damper on relaxation.
To improve both your comfort and the air quality, here are some key strategies:
- Aim for 5–8 air changes per hour (ACH) to keep things fresh.
- Maintain CO2 levels below 800 ppm for ideal comfort—500-600 ppm feels even better!
- Use HEPA filtration to zap harmful particles like dust and mold spores, guaranteeing a cleaner atmosphere.
- Position vents wisely—fresh air should flow near the heater while exhaust vents sit low to scoop up unwanted moisture.
Additionally, incorporating HEPA air purifiers can further enhance the air quality in your sauna environment.
When you focus on these aspects, you’ll create a sauna environment that makes relaxation truly enjoyable.
Now, breathe deeply and soak in the goodness!
Addressing Thermal Stratification
While enjoying your time in the sauna, you might notice it feels considerably warmer at head height than near the floor. This temperature difference happens because hot, light air rises, while cooler, denser air sinks.
You could find temperatures varying from a scorching 90-100°C (194-212°F) at the ceiling to a much cooler 30°C (86°F) on the floor, which isn’t ideal!
To tackle this, effective sauna designs incorporate higher benches and intentional ventilation. For instance, adjustable vents create better airflow, facilitating the warmer air mixes with the cooler air below.
Practical Tips for Sizing and Tuning
To guarantee your sauna experience is as comfortable and enjoyable as possible, paying attention to vent sizing and tuning is crucial. Here are some practical tips to help you with this process:
- Size Vents Correctly: Aim for about 1 inch² of vent area for every cubic foot of your sauna’s volume. This helps with airflow.
- Follow Heater Guidelines: For heaters under 9 kW, use vents that are 4×6 inches; for those 9 kW and up, choose 6×8 inch vents.
- Adjust During Use: Close the upper vent during heat-up for faster warming, then reopen it during sessions to let moisture escape.
- Test for Flow: Check your exhaust airflow while the heater is running; if it’s too weak, you might need to adjust your vent placement.
- Consider Heater Type: Different indoor sauna heater kits can impact ventilation needs, so choose wisely based on your sauna’s design.
These tips can make your sauna sessions way more enjoyable!
Troubleshooting Common Ventilation Issues
When you step into your sauna, a fresh and inviting atmosphere should greet you, not stale air or unpleasant smells. If you notice musty odors or stuffiness, start by checking for clogged vents; debris can block airflow and promote mold.
Clear these obstructions to restore fresh air circulation. Next, faulty fans can stifle air movement too. Test them with WiFi plugs, and if they’re not working, consider calling a professional for repairs.
Additionally, verify you’ve positioned supply air pipes correctly— they should enter opposite the stove for peak flow.
Finally, keeping a window slightly open or using exhaust fans after each session helps maintain air quality, preventing that stale, oxygen-poor feeling.
Enjoy your sauna!
Frequently Asked Questions
How Can I Tell if My Sauna Ventilation Is Effective?
You can tell your sauna ventilation’s effective if you feel balanced warmth, breathe easily without stale air or dizziness, notice quick temperature recovery, and see minimal condensation on surfaces after use.
What Materials Are Best for Insulating Sauna Walls?
For insulating sauna walls, you’ll find foil-faced boards excellent for their high R-value and vapor barrier. Mineral wool offers fire resistance, while eco-friendly options like sheep’s wool can provide effective thermal regulation and longevity.
Can I Use a Window for Sauna Ventilation?
Yes, you can use a window for sauna ventilation. Cracking it open allows fresh air in, improves oxygen levels, and helps control humidity, improving your sauna experience while preventing CO2 buildup and moisture issues.
How Often Should I Ventilate My Sauna After Use?
You should ventilate your sauna immediately after use for 10–30 minutes. If humidity is high, leave the door open for up to an hour. Regularly monitor conditions to maintain ideal air quality.
Are There Specific Regulations for Sauna Ventilation in Residential Areas?
Yes, there’re specific regulations for sauna ventilation in residential areas. You’ll need to follow local building codes, making sure proper vent sizes and placements to guarantee efficient airflow, humidity control, and overall safety in your sauna.
Final Thoughts
In conclusion, good ventilation in your sauna is key for comfort and material longevity. By carefully placing intake and exhaust vents, you can keep the airflow right and control moisture levels. Whether you choose natural or mechanical systems, remember that size matters! Keep an eye on thermal stratification and fine-tune your setup for the best results. With a little attention, your sauna will be a cozy, invigorating spot for years to come. Enjoy your time!