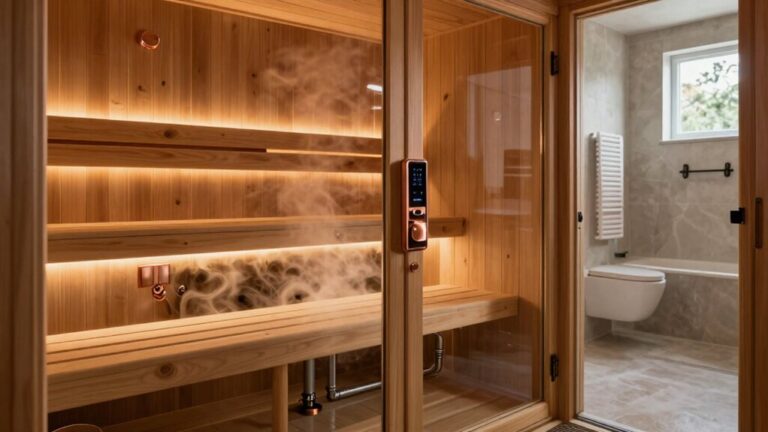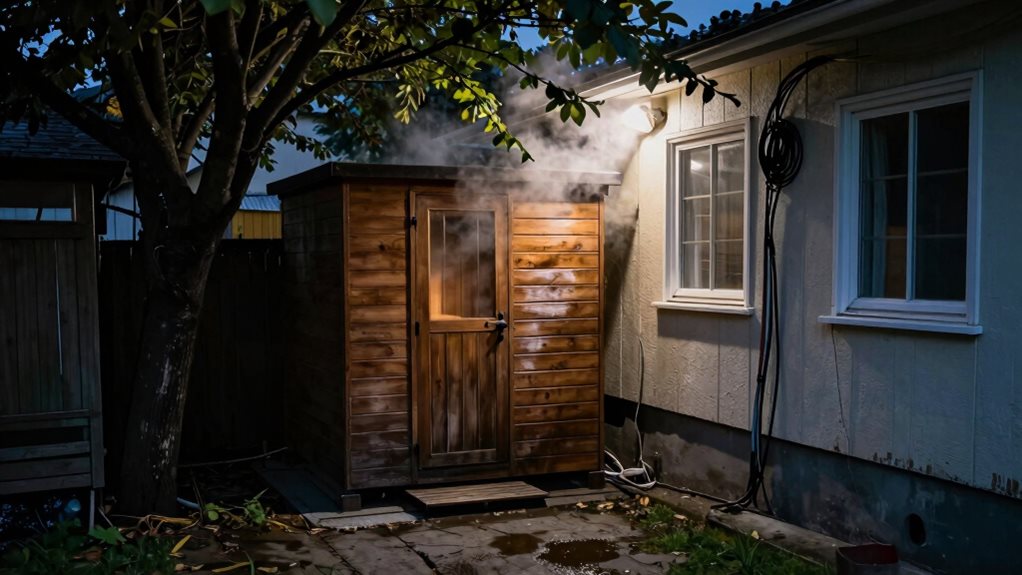

When planning your outdoor sauna, you’ll want to avoid common mistakes like improper site selection, inadequate ventilation, and undersized dimensions. Don’t overlook drainage needs, climate-appropriate materials, or electrical safety requirements. Guarantee proper ceiling height for heat efficiency and include sufficient changing space. Many sauna owners regret not positioning windows to capture views or integrate with the surroundings. These critical design factors will determine whether your outdoor retreat becomes a sanctuary or a source of frustration.
Improper Site Selection and Foundation Preparation
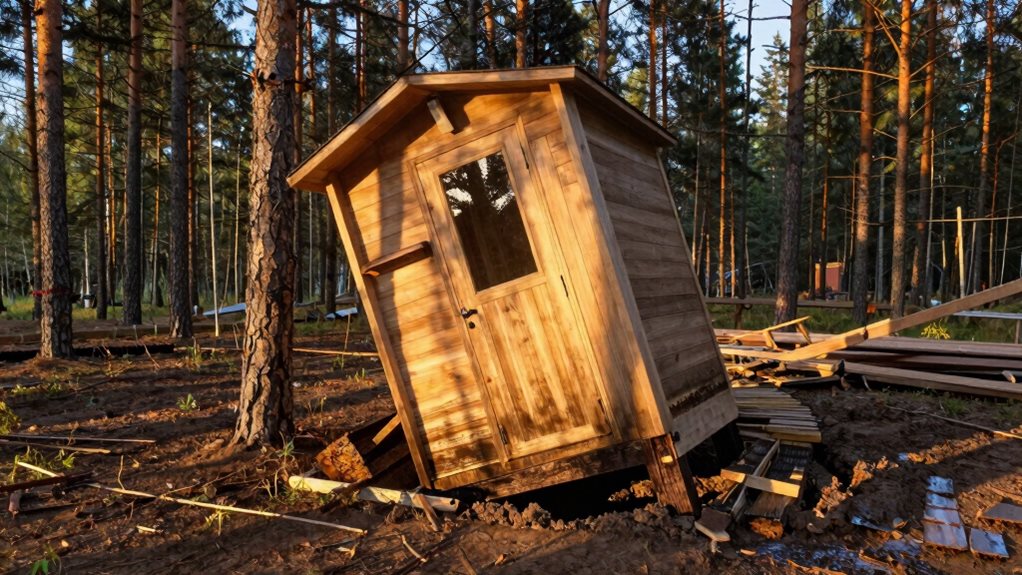
When planning your outdoor sauna, the foundation of success—quite literally—begins with proper site selection and foundation preparation.
You’ll regret ignoring soil conditions, as different types require specific treatments like compaction or drainage systems. In freeze-prone areas, frost-proof footings are non-negotiable to prevent shifting.
Don’t overlook the importance of level ground, which simplifies construction and guarantees structural stability. A perfectly level surface prevents water accumulation underneath your sauna.
Remember to make your foundation 10-15 mm smaller than the sauna itself to allow proper water runoff—a larger foundation causes rainwater pooling and eventual wood rot. The best materials for sauna construction are those that can withstand heat and moisture, such as cedar or hemlock.
Before breaking ground, check local zoning laws and obtain necessary permits.
Mark existing utilities and consider proximity to water and electricity sources for convenience and functionality.
Disregarding Proper Ventilation Requirements
You’ll compromise your sauna experience if you don’t plan proper airflow with correctly sized and positioned vents.
Your intake vents should be placed near the floor close to the heater, while exhaust vents belong higher up to create the natural convection that distributes heat evenly.
Outdoor saunas need extra ventilation consideration due to variable weather conditions, requiring larger vents and regular maintenance to prevent moisture buildup and guarantee balanced temperature throughout your relaxation space. This ventilation system helps maintain oxygen-rich air during sessions, which is crucial for preventing dizziness and ensuring a safe, enjoyable experience. Keeping both vents open during use ensures air changes occur 4 to 6 times per hour, maintaining optimal air quality.
Improper Air Flow Design
Proper airflow design stands at the heart of any successful outdoor sauna experience, yet it’s frequently overlooked during the planning phase.
When airflow isn’t correctly managed, your sauna becomes stuffy, uncomfortable, and potentially unhealthy as carbon dioxide levels rise above the recommended 600 ppm threshold.
- Position your vents strategically — intake vents should be about 20 inches from the heater stones, while exhaust vents belong as far away as possible, ideally under benches near your feet.
- Size matters — verify your total vent area equals at least 1 square inch per cubic foot of sauna volume, with exhaust vents larger than intake vents.
- Match your ventilation method to your sauna type — gravity systems work well for wood-burning saunas, while electric heaters typically require mechanical ventilation.
Finnish sauna professionals recommend including a 10-15cm gap along the bottom of the hot room door to facilitate proper air exchange without compromising heat retention.
Insufficient airflow can make high temperatures feel unbearable, leading to premature fatigue and preventing you from enjoying the full therapeutic benefits of your sauna session.
Vent Placement Errors
Five critical vent placement errors can sabotage your outdoor sauna experience, no matter how beautiful your design might be.
First, don’t install intake vents higher than 12 inches from the floor—they won’t draw cool air properly and will leave your feet cold.
Second, avoid placing intakes away from the heater wall, as this creates uneven heat distribution throughout your sauna.
Your exhaust vent shouldn’t be on the same wall as the intake, as this prevents proper cross-flow of air.
Also, don’t skimp on vent sizing—intakes should be at least 1 square inch per cubic foot of space.
Finally, using plastic ducting or non-heat-resistant materials is dangerous, as they can melt at sauna temperatures and release toxic fumes.
Always use heat-resistant materials like galvanized steel or aluminum for safety.
Failing to provide sufficient ventilation can lead to dangerous oxygen depletion during sauna sessions, compromising user safety and comfort.
Remember that the main function of proper ventilation is to bring fresh air and remove excess moisture, preventing stifling conditions that can cause lightheadedness.
Heat-Moisture Balance Issues
Balancing heat and moisture in your outdoor sauna requires careful attention to ventilation, a factor many first-time builders unfortunately neglect.
Without proper airflow, your sauna experience will suffer from stagnant air, uneven temperatures, and potentially dangerous moisture buildup that leads to mold growth.
To maintain ideal heat-moisture balance:
- Size your vents correctly – you’ll need at least one vent per 50 cubic feet, with total vent area of 1 square inch per cubic foot of sauna volume.
- Position supply air near the floor behind the feet, and make certain it’s close to your stove to create natural circulation.
- Plan for 4-6 complete air exchanges per hour, which removes excess moisture while maintaining comfortable humidity levels.
Miscalculating Size and Occupancy Needs
One of the most common pitfalls in outdoor sauna planning stems from miscalculating the size and occupancy needs of your structure.
While a 4×4-foot sauna technically fits 1-2 people, you’ll quickly find this cramped when friends visit. Remember, each person needs about 2 feet of bench space for comfort—meaning your 6-foot bench only seats three people, not four or five.
Don’t forget to account for required clearance space too. You’ll need 12-18 inches around all sides for safety and access, which greatly increases your total footprint. For a safe and functional experience, these clearance needs are essential for proper airflow and to reduce fire hazards.
A small 1-2 person sauna actually requires a 6×6-foot area when including clearances. When selecting your heater, ensure proper sizing with approximately 1 kW per 45-50 cubic feet of space to maintain optimal temperature throughout your sauna. Consider future usage growth in your planning—many sauna owners wish they’d built larger initially rather than facing the disappointment of an undersized space they can’t easily expand.
Selecting Unsuitable Materials for Climate Conditions
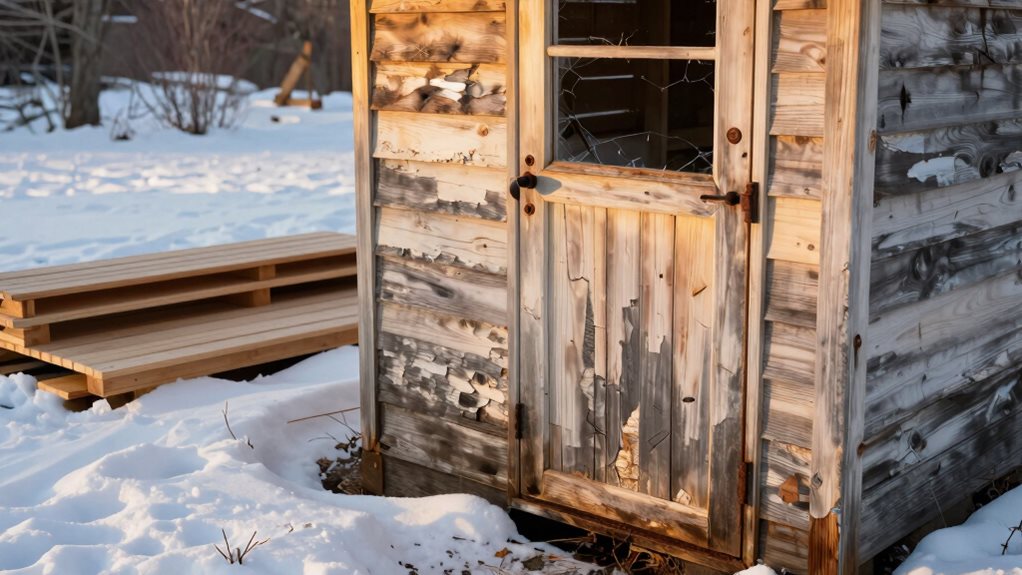
Your sauna’s materials need to match your local climate, or you’ll face premature deterioration and costly repairs.
In humid regions, you’ll want rot-resistant woods like cedar or thermally modified pine, while coastal locations require stainless steel hardware to prevent salt corrosion.
Applying weather-appropriate finishes, such as UV-protective sealants for sunny areas or moisture barriers for rainy climates, will greatly extend your outdoor sauna’s lifespan and performance.
Climate-Specific Wood Selection
When selecting wood for your outdoor sauna, choosing materials unsuited to your local climate can lead to premature deterioration and costly repairs. Each wood type offers specific benefits for different environmental conditions, making climate-appropriate selection essential for longevity.
- Humid regions – Choose Western Red Cedar with its natural oils that resist moisture damage and decay, making it perfect for rainy environments while providing pleasant aromatics.
- Cold climates – Nordic Spruce thrives in northern regions with exceptional dimensional stability, tight grain, and superior thermal efficiency to withstand temperature extremes.
- Fluctuating conditions – Consider Thermowood, which undergoes specialized heat treatment to improve stability and resist warping in areas with dramatic seasonal changes.
Avoid pine in moisture-heavy environments, as its less dense structure compromises performance in high-humidity outdoor settings. Avoid using pressure-treated wood in any sauna environment as it releases harmful vapors when exposed to high temperatures.
Weather-Resistant Finishes
Applying the wrong weather-resistant finish to your sauna’s exterior can dramatically shorten its lifespan, regardless of how well you’ve selected the wood itself.
For coastal areas, don’t make the mistake of using standard sealants when marine-grade products are crucial to combat salt air damage. Think of UV-protective finishes as “sunscreen” for your sauna—they need more frequent application in hot, humid climates.
You’ll want breathable sealants that allow moisture to escape while blocking new water from entering. Apply these annually, preferably in spring when conditions are dry.
If you’re in Carolina-like humidity, stain provides better protection than paint, which traps moisture inside the wood.
Remember that reflective barriers and vapor seals must work together with your exterior finish to prevent moisture damage—one without the other leads to premature deterioration.
Neglecting Drainage and Water Management
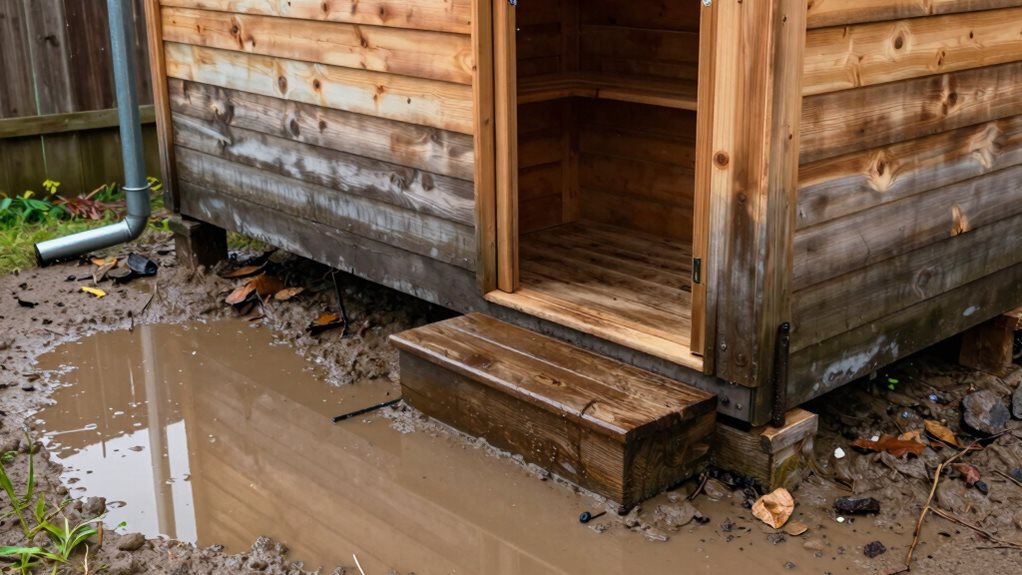
Proper drainage and water management represent the foundation of any successful outdoor sauna project, yet they’re frequently overlooked until problems arise. Without adequate drainage, you’ll face water pooling, structural damage, and reduced sauna lifespan.
To avoid these common drainage mistakes:
- Assess your site thoroughly – Evaluate topography, soil composition, and existing water patterns before installation using precision measurements with laser levels to create proper slopes.
- Select appropriate foundation materials – Incorporate permeable materials like gravel and crushed stone (4-6 inches deep) and guarantee proper compaction with slopes directing water away from your structure.
- Install effective water management systems – Add properly sized gutters with adequate slope, strategic downspouts directing water away from the foundation, and French drains around the sauna perimeter to capture groundwater and runoff.
Incorrect Bench Placement and Height Configurations
Your sauna’s bench placement can make the difference between a luxurious steam experience and an uncomfortable ordeal.
You’ll want to create a proper hierarchy with the upper bench positioned 40-45 inches from the floor to capture the ideal hot air layer, while keeping your lower bench about 18 inches below for easy access.
Remember that proper bench dimensions—at least 18 inches wide and 20-24 inches deep—ensure you can sit comfortably or lie down while enjoying different heat zones throughout your sauna session.
Ergonomic Bench Hierarchy
Many outdoor sauna enthusiasts overlook the critical importance of bench placement, only to discover their mistake after construction is complete.
When designing your sauna’s bench hierarchy, avoid heights that compromise comfort and heat circulation. Your upper bench should be between 40-45 inches from the floor to capture the hottest air, while keeping 110-130 cm clearance below the ceiling.
Here’s what to remember:
- Position lower benches no higher than 24 inches from the floor to allow comfortable foot placement for most users.
- Maintain at least 18 inches of space between lower and upper benches to prevent cramped legroom.
- Include footrests 4-6 inches above the floor to keep feet away from cold surfaces.
Proper vertical spacing creates a temperature gradient that lets users choose their ideal heat level while guaranteeing comfortable movement between benches.
Heat Zone Optimization
When heat rises toward your sauna’s ceiling, it creates distinct temperature zones that can make or break your sauna experience. Many first-time builders position benches too low, trapping bathers in the cooler bottom third of the space where temperatures can be considerably lower.
Your top bench should sit at least 600-800mm above the floor, guaranteeing your entire body resides in the upper two-thirds of the sauna where the löyly cavity forms.
Remember, the relationship between your heater placement, bench orientation, and ceiling height creates the convective loop that distributes heat evenly.
Don’t let protruding ceiling structures block airflow, and avoid placing the heater where it can’t properly warm seating areas. A proper setup lets you enjoy consistent temperatures from head to toe, without the discomfort of sitting with your feet in the cold zone.
Overlooking Electrical Safety and Power Requirements
Although outdoor saunas create a relaxing retreat in your backyard, electrical safety issues can quickly transform your wellness sanctuary into a dangerous hazard. Your sauna’s electrical setup requires careful planning to guarantee safe operation in all weather conditions.
Three critical electrical safety elements you can’t ignore:
- Install a dedicated circuit with the exact breaker size specified by your heater manufacturer.
- Always use GFCI protection to prevent shock hazards in the moisture-rich environment.
- Choose proper outdoor-rated wiring materials with weatherproof connections.
Don’t skip hiring a licensed electrician who understands local building codes. The required disconnect switch must be visible from your sauna, allowing quick power cutoff during emergencies.
Poor Ceiling Height and Heat Efficiency Planning
Determining the perfect ceiling height for your outdoor sauna involves more than just assuring you won’t bump your head. Many first-time builders make the mistake of going too high or too low, compromising the entire sauna experience.
Your ceiling should never drop below 6 feet (183 cm), but exceeding 7.5 feet (229 cm) creates serious heat inefficiency. The ideal height allows for proper löyly (steam) circulation while maintaining heat at bench level.
Remember, in an 8-foot ceiling sauna, the temperature at head level can be 20 degrees cooler than at the ceiling!
For maximum comfort, keep the distance between your top bench and ceiling between 40-47 inches. This measurement guarantees heat circulates properly and you’ll have enough room to raise your arms without touching the ceiling.
Inadequate Space for Changing and Relaxation Areas
Many sauna enthusiasts focus exclusively on the hot room’s design while neglecting adequate space for changing and relaxation areas. This oversight ruins the sauna experience, forcing users to squeeze into cramped spaces and walk back and forth between indoor spaces.
Without proper passage zones, heat escapes quickly when doors open, and you’ll miss having a place to cool down between sauna rounds.
- Your changing room needs at least three feet of width to accommodate clothing storage, seating, and comfortable movement for multiple users.
- Include a buffer zone or anteroom that prevents heat loss and serves as a social hangout area during sauna parties.
- Install proper ventilation in changing areas to prevent humidity buildup, and consider cathedral ceilings to improve air circulation and create an open feel.
Failing to Consider Landscape Integration and Views
When you focus solely on the sauna structure itself, you’re likely to overlook how it integrates with your surrounding scenery and potential views.
Don’t position your sauna in low areas where you’ll miss out on panoramic vistas that improve relaxation. Consider utilizing hillsides or raised platforms to capture sweeping vistas.
Elevate your sauna experience by choosing high ground—hillsides and platforms unlock panoramic views that enhance relaxation.
Window placement is essential – poorly positioned glass compromises both privacy and views. Opt for double-paned tempered glass instead of standard single-pane windows for better heat retention and clearer views.
Floor-to-ceiling options create seamless indoor-outdoor connections.
Don’t forget to plan clear sight lines and thoughtful approach routes that frame views when entering and exiting.
Complement your sauna with appropriate horticulture using native, heat-resistant plants that won’t require constant maintenance. This creates visual harmony through all seasons and improves your overall outdoor wellness experience.
Frequently Asked Questions
How Long Should I Wait Before Using a Newly Built Sauna?
Wait at least 24 hours after your initial cleaning. You’ll need to run your sauna at full temperature for one hour, then season it for several more hours before use.
Can I Install a Sauna on an Existing Deck?
Yes, you can install a sauna on your existing deck if it’s sturdy and can support 1,000+ lbs. Have a professional inspect it first to verify structural integrity.
What’s the Ideal Distance Between My Sauna and Swimming Pool?
You’ll want to keep your sauna at least 4 feet from the pool, matching equipment setback requirements, while maintaining the 20-inch clear zone between any barriers and the pool.
Should I Choose Wood-Burning, Electric, or Infrared Heating?
For your outdoor sauna, choose wood-burning for authentic experience and remote locations, electric for convenience and urban settings, or infrared if you want energy efficiency and quick setup.
How Do Seasonal Temperature Changes Affect Outdoor Sauna Maintenance?
You’ll need to adapt maintenance seasonally—protect against winter moisture, remove snow, apply sealants before cold seasons, and conduct thorough spring inspections after temperature fluctuations cause wood expansion and contraction.
Final Thoughts
You’ve now learned the nine essential mistakes to avoid when planning your outdoor sauna. By carefully considering site selection, ventilation, size, materials, drainage, electrical safety, ceiling height, changing areas, and outdoor environment integration, you’ll create a functional, safe, and enjoyable retreat. Remember, proper planning today prevents costly modifications tomorrow. Your outdoor sauna isn’t just an addition to your property—it’s an investment in your wellbeing and relaxation for years to come.