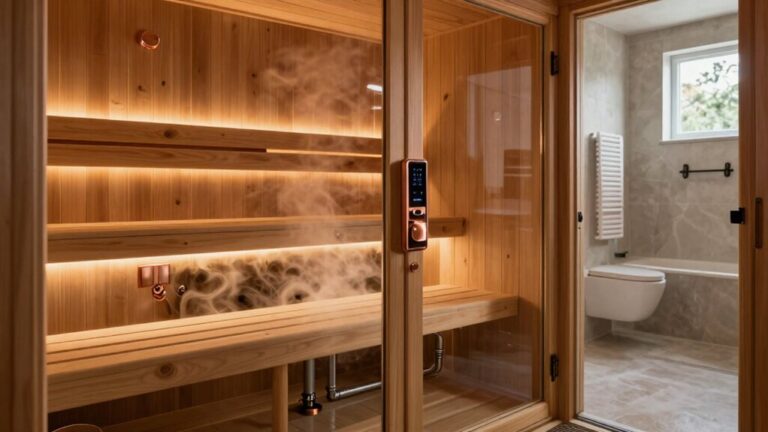

To overcome sauna installation obstacles, you’ll need to address five key areas. Hire a licensed electrician for a dedicated circuit with GFCI protection. Position your heater strategically near doors with proper sizing (1 kW per 45-50 cubic feet). Install intake vents near the floor and exhaust vents near the ceiling for good airflow. Create vapor barriers with aluminum foil and appropriate insulation. Finally, choose a location that balances accessibility with proper ventilation. These fundamentals will transform your sauna project from challenging to achievable.
Resolving Electrical Issues for Safe and Effective Operation
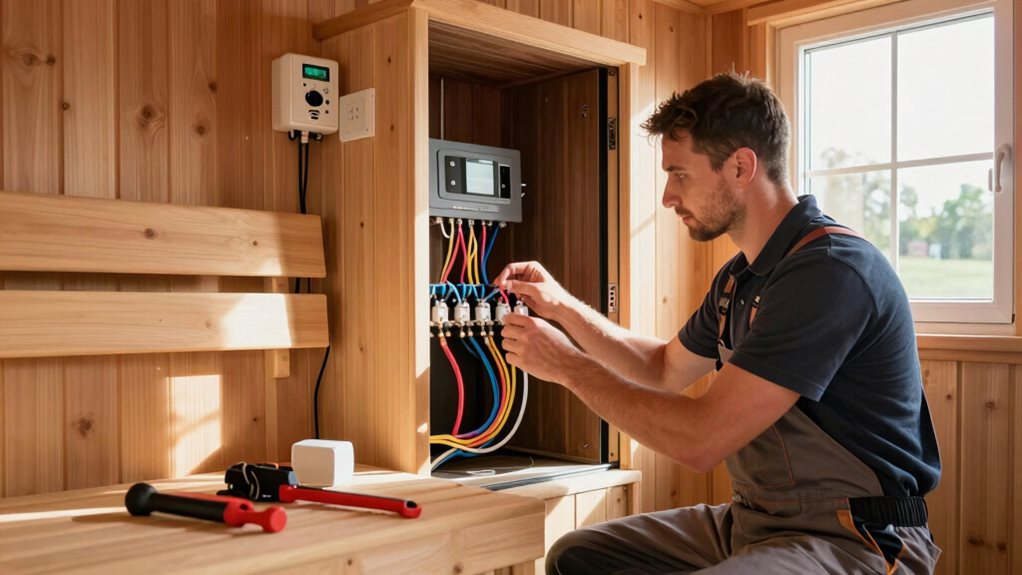
When it comes to installing a sauna, electrical considerations often present the most critical challenges to address first.
You’ll need to hire a licensed electrician who’ll obtain proper permits before any work begins. This professional will guarantee your sauna receives a dedicated circuit, as sharing power with existing lines creates dangerous overloads.
Your electrician will install mandatory GFCI protection, which acts like a safety guard that instantly cuts power if moisture creates a hazardous situation.
GFCI protection serves as your sauna’s vigilant guardian, immediately shutting down power when moisture threatens safety.
They’ll also use special heat-resistant, weatherproof cables that can withstand the extreme sauna environment.
Remember, all control panels must be mounted outside the sauna, and no outlets or switches should be placed inside.
Following these electrical requirements isn’t just about passing inspection—it’s about creating a safe retreat you can enjoy without worry.
Optimizing Heater Placement and Selection for Balanced Heat
Choosing the right heater size for your sauna creates the foundation for a properly functioning space, while positioning it strategically near doors or corners helps establish ideal heat circulation.
You’ll need to take into account both the heater’s placement and your bench arrangement to maintain the perfect convective loop, keeping warmer air flowing where you’ll be sitting. Consider whether wall-mounted or floor-mounted options would best suit your space configuration, as each provides different heat distribution patterns. Front or side walls are typically the ideal locations for heater installation, maximizing both performance and available bench space.
Your temperature sensor location matters too, as placing it about 14-18 inches below the ceiling and away from cold air zones guarantees your heater won’t shut off prematurely during your sessions.
Finding Perfect Heater Size
How efficiently your sauna performs depends largely on matching the right heater size to your space. The standard guideline is 1 kW for every 45-50 cubic feet in well-insulated rooms.
For example, a 4×4 sauna with 112 cubic feet needs a 3.0 kW heater, while a 6×8 space requires 8.0 kW.
Don’t forget to adjust for special circumstances. If you’ve installed glass walls or your sauna sits outdoors in a cold climate, add 10-15% more power. Proper placement is essential as ventilation requirements directly impact your heater’s efficiency and overall temperature distribution. Many sauna enthusiasts find that slightly oversizing the heater by 10-15% provides faster heat-up times without significantly increasing energy costs.
Combining both factors? Apply the full increase.
Undersizing your heater leads to frustratingly long warm-up times and poor steam quality, while oversizing causes uncomfortable temperature spikes and uneven heating.
Either mistake increases energy consumption and shortens your heater’s lifespan. For ideal performance, measure your space carefully and select a heater that falls within recommended ranges.
Strategic Element Positioning
The perfect sauna experience hinges on strategic heater placement, which creates balanced heat throughout your space. Your heater should be near doors or corners in traditional saunas, allowing heat to circulate while cooler entrance air flows in.
For ideal results, place wall-mounted heaters higher up for direct heat distribution, while floor-mounted options work best in larger spaces.
Your thermostat and temperature sensor positioning are equally essential:
- Mount the thermostat 1m above the upper bench, at least 20cm from the heater
- Position the sensor 14-18 inches from both the ceiling and heater
- Place benches on the descending side of heater airflow for comfortable heat exposure
- Confirm your ventilation system works with your heater placement—intake vents low, exhaust vents high
Creating Proper Ventilation Systems for Air Quality and Efficiency
Proper ventilation in your sauna isn’t just about comfort—it’s a critical component that affects air quality, heat distribution, and energy efficiency.
Building codes require specific ventilation standards, including a 4 × 8 inch opening near the top of your door and intake vents sized at 1 square inch per cubic foot of space.
For ideal airflow, place your intake vent near the floor by the heater and your exhaust vent on the opposite wall near the ceiling.
You’ll need a minimum of 6 air changes per hour using both vents.
Commercial saunas require mechanical ventilation with powered fans, while home installations can often work with passive systems.
Always use heat-resistant materials like galvanized steel or aluminum for ducting—never plastic, which will warp or melt under sauna conditions.
This ventilation setup prevents moisture buildup that can lead to mold growth and damage to your sauna’s structural components over time.
Consider upgrading to a mechanical ventilation system to reduce heat stratification and ensure proper air circulation throughout your sauna space.
Mastering Insulation and Sealing Techniques for Heat Retention
You’ll need to create proper vapor barriers using aluminum foil or foil-faced materials to prevent moisture damage while reflecting heat back into your sauna.
Make sure you’ve sealed all seams, corners, and gaps with heat-resistant aluminum tape, paying special attention to areas around pipes and electrical fixtures.
Properly installed insulation with the right R-value for your location (R-19 for outdoor saunas) will greatly reduce heat escape, helping your sauna heat up faster and maintain temperature longer. Remember that the vapor barrier should always be placed on the warm side of the insulation to effectively block moisture penetration into wall cavities.
For different sauna types like barrel or infrared models, adjust your insulation approach as barrel saunas naturally retain heat through their thick wood construction and may require less additional insulation.
Creating Vapor Barriers
When installing a sauna, creating an effective vapor barrier stands as perhaps the most vital step for confirming proper heat retention and preventing moisture damage.
Always choose aluminum foil over plastic options, as plastic deteriorates under sauna heat conditions. Install the foil on the warmer side of your construction, directly behind your tongue-and-groove paneling.
For proper installation, remember these fundamentals:
- Overlap all seams by 2-3 inches and seal thoroughly with high-temperature foil tape
- Verify your insulation fits snugly between studs before applying the foil barrier
- Position the shiny side facing the sauna interior to maximize heat reflection
- Confirm walls are completely dry before installation to prevent trapped moisture
Using pure aluminum foil provides approximately 1R insulation efficiency by reflecting radiant heat back into the sauna room.
Don’t skip this step—a properly installed vapor barrier extends your sauna’s life considerably while improving energy efficiency.
The aluminum foil vapor barrier requires large-area gluing to prevent any air holes that could compromise its effectiveness and lead to moisture problems.
Preventing Heat Escape
Heat escapes relentlessly from your sauna if not properly insulated, turning your relaxing retreat into an energy-wasting disappointment.
Focus first on your ceiling, where heat naturally rises and escapes. Install R-26 to R-30 insulation between rafters, using foil-faced rigid foam with the reflective side facing inward for maximum heat retention.
For walls, choose materials rated for high temperatures—mineral wool resists heat up to sauna temperatures while providing excellent soundproofing.
Fiberglass works well too, provided you seal it properly. Aim for R-13 to R-19 depending on your climate.
Don’t overlook the gaps! Seal openings around electrical boxes and pipes with heat-resistant aluminum tape or spray foam.
Strategic Placement and Planning for Long-Term Sauna Success
Selecting the perfect location for your sauna requires thoughtful consideration beyond simply finding available space.
Your sauna’s placement dramatically affects how often you’ll use it and how much you’ll enjoy the experience.
When choosing your sauna’s location, prioritize:
- Accessibility – position near bathrooms or in your master suite to encourage daily use rather than tucked away in forgotten corners
- Proper ventilation – guarantee adequate airflow with vents at ear level when seated on upper benches
- Structural support – verify your floor can handle the weight, especially in multi-story homes
- Utility access – check electrical capacity and water proximity before finalizing placement
Essential Assembly Tips and Maintenance Practices
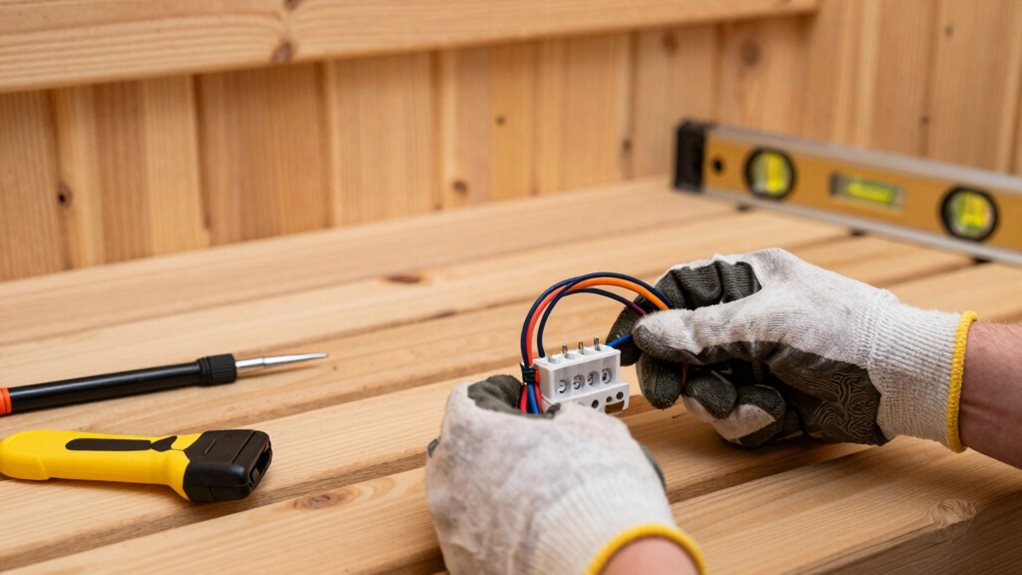
Although proper assembly and regular maintenance might seem tedious, they’re absolutely critical to your sauna’s longevity and performance.
After each session, wipe down benches with a soft cloth and leave the door open to release moisture. This simple habit prevents sweat stains and mold growth.
Your weekly routine should include sweeping under benches and checking vents for proper airflow.
Monthly, clean all surfaces with a mild, wood-safe solution (pH 8-10) and inspect wood for signs of wear.
Every few months, apply cedar or teak oil to prevent cracking, and annually sand benches to maintain their even finish.
Don’t forget your heater—check rocks and electrical connections twice yearly, and schedule professional inspections periodically.
Keeping a maintenance logbook helps track your care routine, guaranteeing you’ll enjoy your sauna for years to come.
Frequently Asked Questions
How Long Should a Sauna Session Last for Optimal Health Benefits?
You’ll get ideal health benefits from 15-20 minute sauna sessions, though you can extend to 30-45 minutes with infrared saunas. Start with shorter 5-10 minute sessions if you’re a beginner.
Can I Install a Sauna in My Basement With Low Ceiling Height?
Yes, you can install a sauna in your low-ceiling basement. Choose an infrared model for spaces under 7 feet or a compact traditional sauna with a single bench if at least 6 feet.
What Woods Are Most Resistant to Sauna Humidity and Temperature Fluctuations?
Western Red Cedar and Thermowood are your best options. They’ll resist moisture, prevent warping, and maintain stability during temperature changes. Hemlock and thermal-treated Aspen also perform well in high humidity environments.
How Much Will My Utility Bill Increase With Regular Sauna Use?
Your electric bill will increase by $10-40 monthly depending on your sauna type. Expect $15-20 for infrared units or $25-40 for traditional saunas with regular weekly use.
Is It Safe to Use Essential Oils in My Sauna Heater?
No, direct application of oils to heater plates is unsafe. You’ll risk fire, harmful gases, and respiratory irritation. Instead, dilute oils in water and pour over rocks when first heating.
Final Thoughts
By addressing these common sauna installation challenges, you’ll enjoy a safer, more efficient home spa experience. Remember, proper electrical work prevents hazards, while strategic heater placement and ventilation create the perfect environment. Don’t overlook insulation—it’s your heat’s best friend! With careful planning, quality assembly, and regular maintenance, your sauna will become a lasting retreat for relaxation and health benefits.