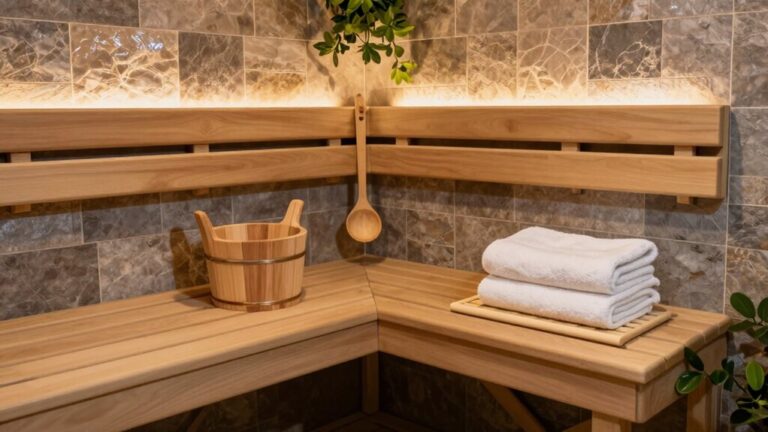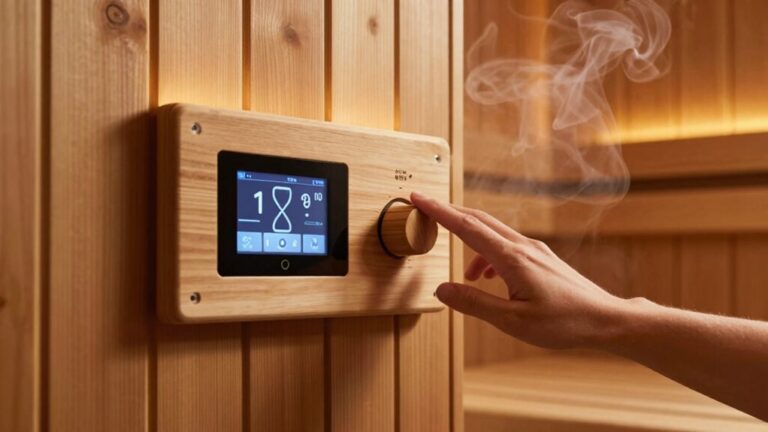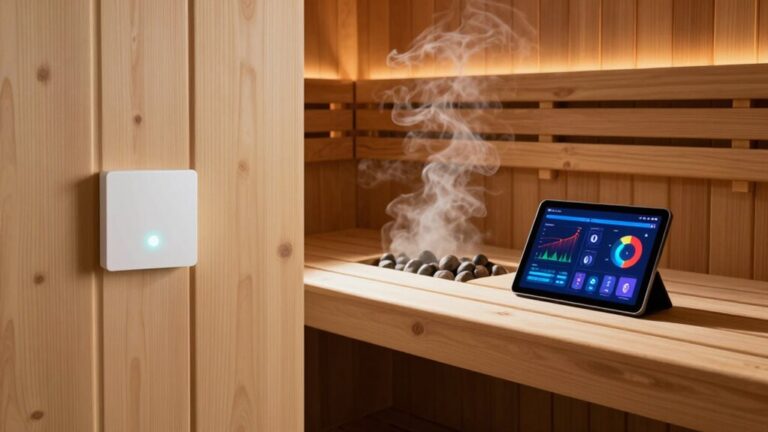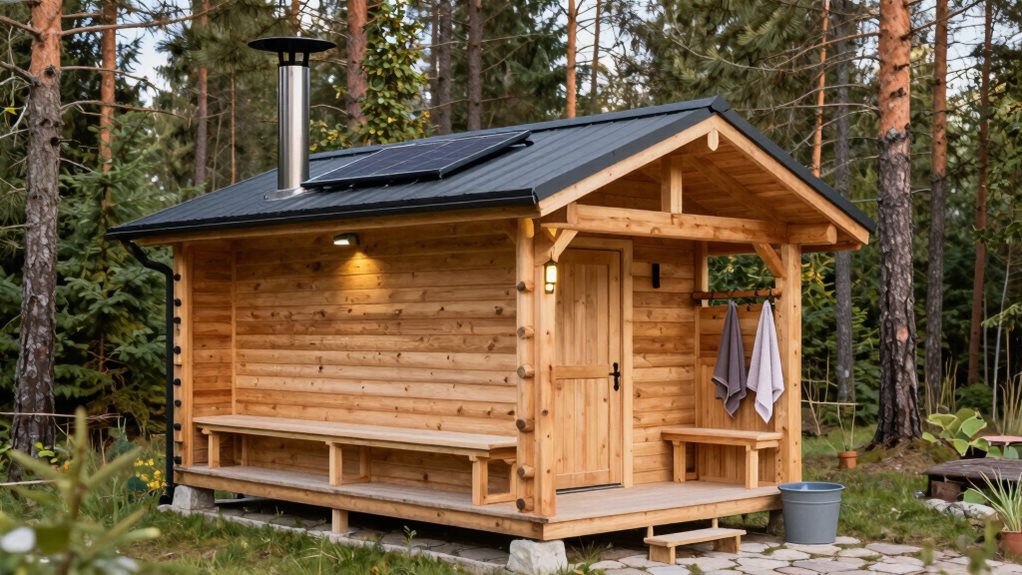

You can considerably improve your outdoor sauna without breaking the bank. Focus on better insulation with fiberglass batts or mineral wool, add affordable LED strip lighting for ambiance, install proper ventilation by cutting vents above the heater and below benches, and optimize your heater by arranging stones properly. Simple electrical upgrades like GFCI protection boost safety, while weatherproofing with aluminum foil vapor barriers extends your sauna’s life. These practical modifications will transform your sauna experience.
Cost-Effective Insulation Solutions
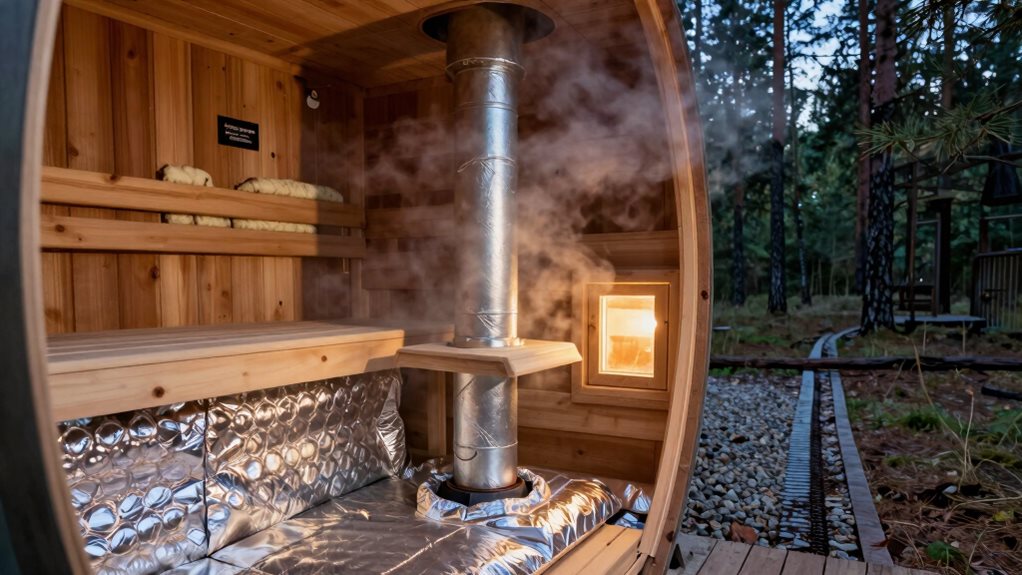
While creating a backyard sauna doesn’t have to break the bank, choosing the right insulation is crucial for maintaining heat and protecting your investment.
Building a backyard sanctuary for relaxation requires proper insulation to preserve heat and safeguard your investment for years to come.
You’ll find fiberglass batts offer a budget-friendly option that’s naturally noncombustible and delivers good thermal resistance for most climates.
For a slight upgrade, consider mineral wool, which has become widely available in the US. It resists heat, moisture, and mold exceptionally well while providing bonus soundproofing benefits. Regular inspection of mineral wool insulation helps prevent energy efficiency degradation that can occur if gaps develop over time.
Don’t overlook reflective barriers in your insulation strategy. Aluminum foil vapor barriers withstand temperatures above 100°C and reflect heat back into your sauna, reducing energy costs.
For best results, install 4-6 inches of insulation between wall studs and seal all seams with aluminum HVAC tape to prevent moisture problems and heat loss. Using standard fiberglass insulation provides sufficient thermal protection while keeping your sauna construction costs 30-40% lower than premium alternatives.
Budget-Friendly Lighting and Audio Enhancements
Transforming your outdoor sauna’s ambiance doesn’t require expensive renovations when you focus on smart lighting solutions.
LED strip lights under $50 offer incredible versatility with 16.4ft kits that include Wi-Fi or Radio Frequency controls, allowing you to adjust brightness and colors remotely.
You’ll appreciate how these energy-efficient lights consume 50-70% less power than traditional bulbs, saving you $50-$100 annually.
For a classic Nordic feel, consider cedar lampshades or thermo-aspen wood valances that blend traditional aesthetics with modern LED technology.
Installation is straightforward with basic tools—just drill cable passages through walls using a spade bit and secure your lights with simple clamps.
For added convenience, connect your lighting to Alexa or Google Home for voice commands, eliminating the need to touch switches in the humid environment.
DIY Foundation Improvements Under $1,000
Establishing a proper foundation for your outdoor sauna doesn’t have to break the bank when you tackle the project yourself. Class 5 gravel provides an affordable base option at $200-$500, offering excellent drainage and accommodating natural ground movement.
DIY your sauna foundation to save money while ensuring proper support and drainage for years of enjoyment.
For a more permanent solution, consider pouring a concrete pad for $300-$1,000. While this requires equipment rental or professional help, it creates a stable, rot-resistant foundation that’ll last for years.
Wood decking offers flexibility if you might relocate your sauna later, while pier systems ($300-$1,000) raise your structure for improved drainage in wet areas.
Don’t overlook proper drainage systems ($300-$800) to prevent water accumulation. This small investment protects your foundation from settling and extends your sauna’s lifespan while guaranteeing safe access during wet weather.
Essential Electrical Upgrades for Safety and Convenience
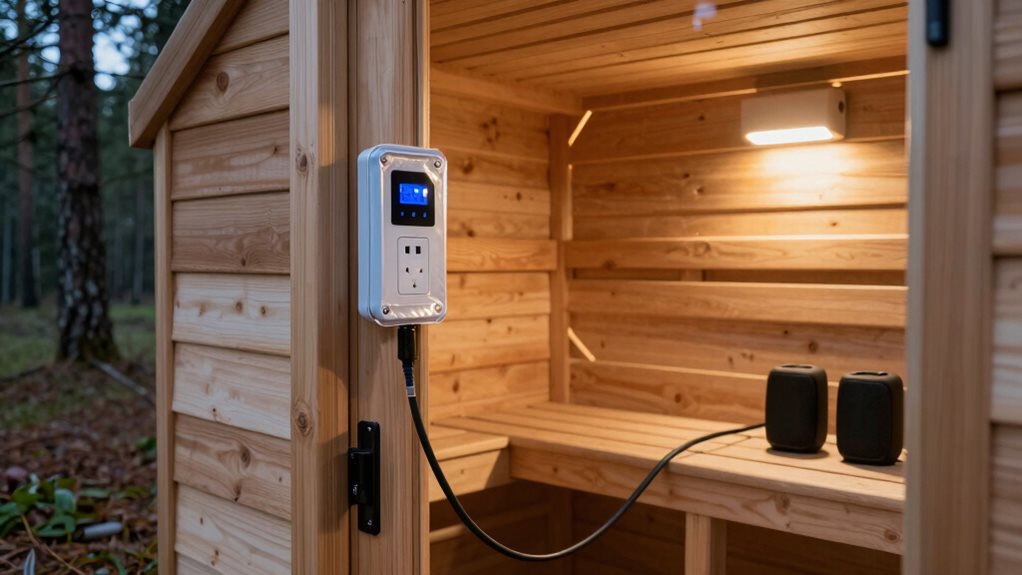
Your outdoor sauna’s electrical system needs three key upgrades that won’t break your budget.
You’ll want to install GFCI protection outlets to prevent dangerous electrical shocks, run underground conduit to safely house wiring away from moisture, and carefully plan your electrical panel capacity to handle the sauna’s power demands.
These improvements create a safer sauna experience while adding convenient features that make your relaxation time more enjoyable.
GFCI Protection Matters
When it comes to sauna safety, proper electrical protection isn’t just a good idea—it’s essential. GFCI (Ground Fault Circuit Interrupter) devices detect current imbalances and shut off power automatically, preventing shock hazards in your damp sauna environment. Hiring a licensed electrician is crucial to ensure the GFCI installation complies with all safety standards and electrical codes.
You have two affordable options for installation: GFCI breakers at your main electrical panel or GFCI outlets at the circuit’s start.
For single saunas, GFCI outlets are typically more cost-effective and easier to install. If you’re upgrading an outdoor sauna, you’ll need weatherproof components installed at least five feet from water sources.
Underground Conduit Solutions
Properly installed underground conduit forms the backbone of any outdoor sauna’s electrical system, protecting wiring from moisture, physical damage, and temperature fluctuations.
You’ll need to select materials wisely—metal conduits offer superior heat resistance, while high-temperature plastic options provide lighter alternatives.
When trenching for your conduit, check local codes for required burial depths, which vary by location. Remember, you’ll need a dedicated circuit (240V, 30-60 amps) with appropriate wire gauge—10-gauge for 30-amp circuits and thicker 6-gauge for 50-60 amp installations.
For saunas more than 90 feet from your panel, consider upgrading wire size.
Always use copper conductors with 90°C heat-resistant insulation, and guarantee all connections are watertight with proper sealants.
Regular inspections will help catch wear before it becomes hazardous.
Panel Capacity Planning
Guaranteeing your sauna’s electrical system has adequate panel capacity forms the foundation of both safety and performance. Your existing electrical panel must have enough room to add a dedicated circuit for your sauna without pushing the system to its limits.
Most electric sauna heaters require a dedicated 30-amp circuit on 240V service, though larger models might need 40-60 amps. If your lights dim when appliances run or your breakers trip frequently, you’re likely near capacity already.
Older homes are particularly susceptible to these limitations. Most homes combine two 120V lines to achieve the necessary 240V for effective sauna operation. Before installation, have an electrician evaluate your panel’s capacity. They’ll determine if you can safely add your sauna’s electrical load or if you’ll need an upgrade.
Weatherproofing on a Budget
Creating your own vapor barriers with aluminum foil wrapping costs only $50-70 for 30 square meters, while EPS foam panels provide excellent insulation at lower costs than premium alternatives.
These affordable weatherproofing strategies prevent moisture damage and heat loss, extending your sauna’s lifespan while keeping your renovation expenses minimal.
When installing insulation, ensure proper thickness of at least 50mm for walls and 75-100mm for ceilings to achieve optimal thermal performance and efficiency.
For long-term protection, apply UV-resistant sealants annually during dry weather to prevent wood warping and fading from exposure to the elements.
DIY Vapor Barriers
While many sauna builders focus on heaters and benches, an effective vapor barrier stands as the unsung hero of your outdoor sauna project. This crucial component prevents moisture from damaging your walls while trapping heat inside your sauna.
For an affordable DIY solution, start with your ceiling installation, using perforated aluminum foil sheets stapled over insulation. Overlap wall sections 3 inches over the ceiling barrier to capture rising heat. Unlike substitute materials, authentic sauna foil is completely odorless and non-melting at high temperatures.
Always overlap seams by 6 inches and seal thoroughly with aluminum foil tape, paying special attention to corners and connections.
Non-perforated foil works best for outdoor saunas in humid climates. Pair your vapor barrier with mineral wool insulation for a budget-friendly, non-combustible solution. Installing two passive vents is essential for proper airflow and helps your sauna dry effectively after use.
Budget Insulation Solutions
Effective insulation transforms an average outdoor sauna into a heat-retaining sanctuary without breaking the bank.
When choosing materials, fiberglass offers good thermal resistance at the lowest cost, but consider mineral wool for moisture-prone areas as it won’t develop mold in humid conditions.
For maximum efficiency, don’t overlook your ceiling—this is where most heat escapes, so invest in thicker insulation with R-26 to R-30 rating.
- Install foil-faced insulation to reflect heat back into your sauna, creating a built-in vapor barrier that saves on additional materials.
- Seal all vapor barrier seams with high-temperature aluminum tape, preventing moisture from penetrating your walls.
- Consider eastern white cedar as a budget-friendly alternative to red cedar, saving 20-30% while maintaining similar benefits.
Avoid EPS and XPS foam insulation options as they have low temperature tolerance of only 165°F, which is inadequate for sauna environments where temperatures regularly exceed this threshold.
Proper ventilation is essential in any sauna design to maintain balanced temperature distribution and prevent CO2 buildup that can affect comfort and safety.
Affordable Heater Optimization Techniques
Maximizing your sauna heater doesn’t have to drain your wallet or require professional intervention. Start by strategically arranging your heater stones—place larger ones at the bottom for better heat retention and smaller ones on top for enhanced steam production. This simple rearrangement costs nothing but considerably improves performance.
For electric heaters, verify they’re mounted 5-7 inches from the floor for ideal heat distribution. Instead of cranking your heater to maximum temperature immediately, allow a gradual 30-60 minute warm-up time, which reduces strain and extends your heater’s lifespan.
Don’t overload with stones, as this restricts airflow. A proper loose stacking technique improves air circulation without any investment.
Regularly check your thermostat calibration to prevent your heater from working harder than necessary—saving energy costs while maintaining perfect sauna temperatures.
Low-Cost Ventilation Improvements
Proper airflow can transform your sauna experience from stuffy and uncomfortable to invigorating and rejuvenating without breaking the bank.
Simple wall vent installation requires just basic tools and provides effective air circulation when positioned correctly—intake above the heater and exhaust under benches.
Door modifications offer another budget-friendly option; cutting a few inches from the bottom creates natural airflow without expensive equipment.
- Install adjustable vent covers ($20-45 each) to fine-tune airflow based on season and usage—keep them closed during initial heating, then open slightly once you’ve reached target temperature.
- Create a natural convection system by positioning low inlet vents near the heater and high outlet vents on the opposite wall.
- Consider DIY external ducting using weatherproof storage boxes to house inline fans at a fraction of commercial ventilation system costs.
Economical Accessories for Comfort and Functionality
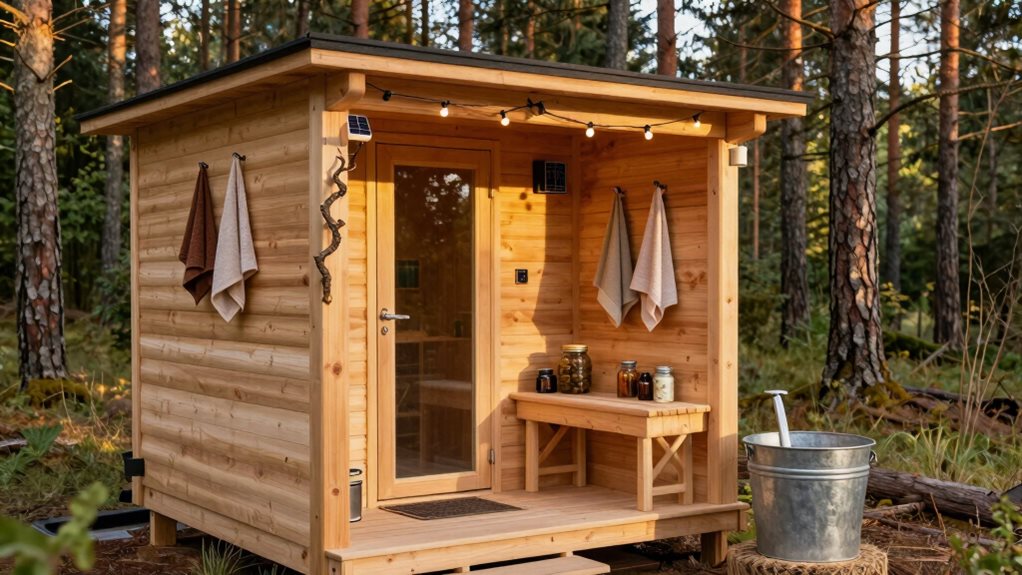
While ventilation brings fresh air to your sauna, thoughtfully selected accessories can improve both comfort and function without emptying your wallet.
Start with seating improvements—a $59 backrest with weather-seal coating supports your posture while resisting outdoor moisture.
A proper backrest isn’t just comfort—it’s an investment in both your posture and your sauna’s longevity.
For temperature monitoring, consider a wooden thermometer/hygrometer combo at $39 or the more affordable raindrop model at $27.99. Time your sessions perfectly with a 15-minute sand timer for just $19.
Enhance your experience with aromatherapy—budget options include single crucial oils under $30, while Rento Arctic Berries room scent offers invigorating fragrance at $17.99.
Don’t forget a traditional felt sauna hat at $29 to regulate head temperature.
For maximum value, explore starter kits ranging from under $30 for basics to $80 for mid-range options that bundle these key items at notable savings.
Frequently Asked Questions
Can I Convert a Shed or Existing Structure Into an Outdoor Sauna?
Yes, you can convert a shed into a sauna by adding proper insulation, installing a heat source, cedar finishing, and guaranteeing adequate ventilation. Cedar sheds work especially well.
How Much Does Sauna Maintenance Cost Annually?
You’ll spend $100-$400 annually on sauna maintenance depending on type. Traditional models cost $150-$350, infrared $100-$250, hybrid $200-$400, and outdoor units require $150-$400 with weather exposure concerns.
What’s the Energy Consumption Difference Between Electric and Wood-Fired Saunas?
Electric saunas consume 6-13 kWh per session, costing you monthly electricity. Wood-fired saunas use no electricity but require 15-20 lbs of firewood per session, typically costing $150-250 annually.
Are Portable Saunas a Viable Alternative to Permanent Outdoor Installations?
Yes, portable saunas are viable alternatives if you’re seeking affordability, flexibility, and minimal space commitment. You’ll trade durability and immersive experience for convenience and lower costs.
How Can I Extend My Sauna Season Into Colder Months Affordably?
Add a thermal blanket, install heat reflectors behind your heater, seal door gaps, preheat longer, and use thick outdoor covers when not in use. These affordable upgrades maximize winter warmth.
Final Thoughts
You’re now equipped to transform your outdoor sauna without breaking the bank! With these affordable upgrades to insulation, lighting, foundation, and electrical systems, you’ll elevate both safety and enjoyment. Remember, small improvements to weatherproofing, heater optimization, and ventilation make a notable difference in performance. Add a few budget-friendly accessories, and you’ll create a luxurious retreat that feels expensive but fits comfortably within your budget.