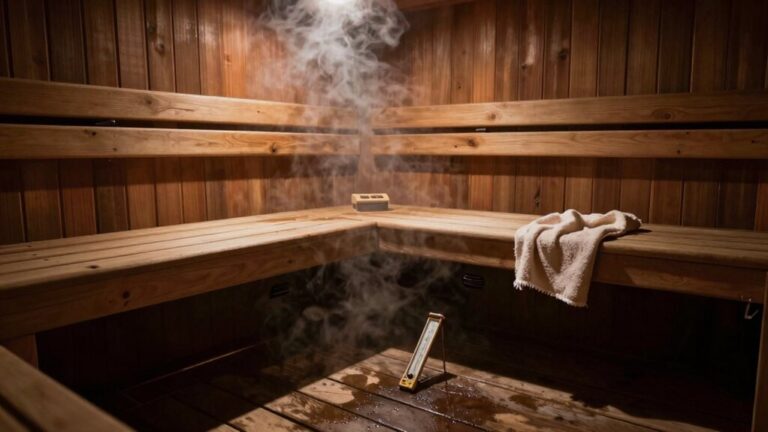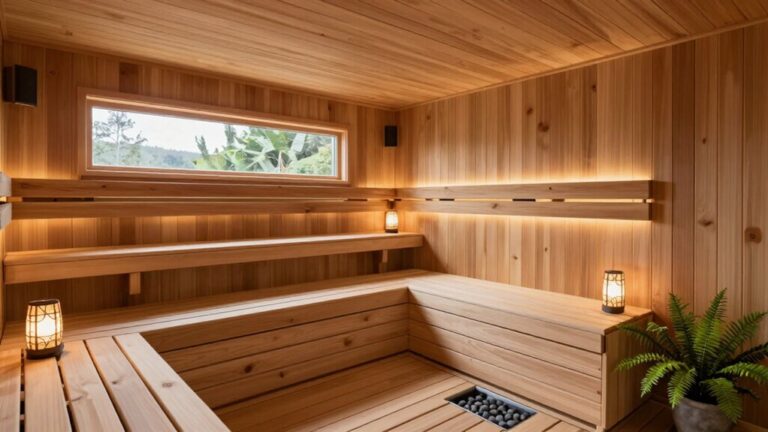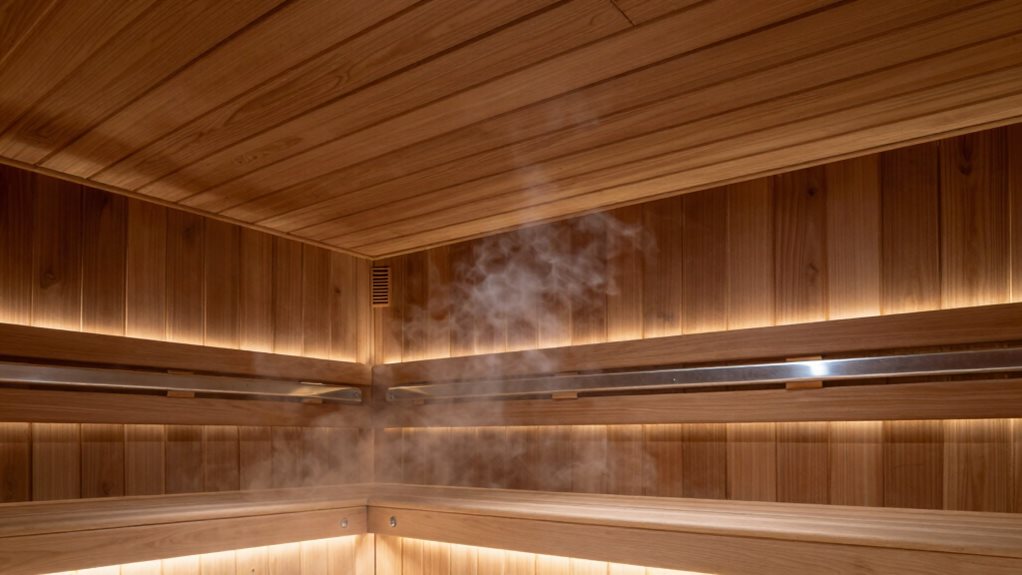

Ventilation and rails are key elements in sauna design that can really improve your experience. Good ventilation keeps the air fresh and prevents dizziness, while the right placement of vents guarantees even airflow. Plus, sturdy rails give you something to hold onto for safety as you enjoy the heat. Don’t overlook these details! They make your time in the sauna much more enjoyable and comfortable, and there’s plenty more to explore about creating the best sauna environment.
Importance of Ventilation in Sauna Design
When you’re stepping into a sauna, the last thing you want is to feel lightheaded or out of breath. That’s why ventilation is essential! A steady supply of oxygen-rich air keeps you comfortable and focused on the relaxing experience. Finnish regulations even suggest making 3 to 8 air changes every hour to guarantee fresh oxygen. Without it, you might face dizzy spells, which isn’t exactly ideal for unwinding. Proper oxygen supply is crucial for enhancing your overall sauna experience. Additionally, an effective ventilation system can significantly improve air quality and comfort levels.
The design promotes balanced heat distribution too; hot air rises, so proper vents help prevent air from getting stale or stratified. Think of it as keeping the air fresh in a room where you’re hanging out. Good ventilation helps you breathe easy, enjoy your time, and feel invigorated—no one wants to cut their sauna session short!
Two-Vent Principle: Enhancing Airflow and Comfort
To guarantee you get the most out of your sauna experience, understanding the two-vent principle is vital. This concept uses one inlet and one exhaust vent to create a seamless airflow that keeps you comfortable. The inlet, located low near the heater, brings in warmed air, which rises and drives circulation toward the exhaust up high. This setup helps remove humid air and CO₂, making the room feel fresher. Proper ventilation design influences sauna efficiency and ensures that heaters operate consistently. Moreover, this system actively removes excess humidity, preventing moisture problems and promoting a healthier environment. Additionally, investing in a quality sauna ventilation system kit can enhance the overall effectiveness of this airflow strategy.
The balanced vent sizes prevent pressure issues, so you enjoy a nice, even temperature without hot or cold spots. Plus, it shortens heat-up times, so you can jump into relaxation faster. With the right airflow, you get a gentle warmth rather than sticky, stagnant air—that’s sauna bliss!
Proper Vent Placement and Sizing Guidelines
When setting up your sauna, the placement and sizing of vents are key for ideal airflow and comfort. You’ll want to think about where to position the intake vent—ideally near the floor and close to the heater—to help cool air mix seamlessly with the warm air above. Additionally, sizing your exhaust vent correctly guarantees the hot air escapes efficiently, keeping your sauna experience relaxing and enjoyable. Proper ventilation is essential for maintaining the overall sauna experience by ensuring fresh, oxygen-rich air circulation. By ensuring proper air circulation, you can enhance comfort and sauna performance, contributing to overall tranquility and warmth.
Intake Location Strategies
Choosing the right intake location for your sauna can make a big difference in how comfortable and enjoyable your experience is. Here are some strategies to help you position your intake effectively:
- Near the heater: Place the intake under or beside the heater to supply cool air and prevent overheating. This placement will facilitate proper air circulation, enhancing the efficiency of your sauna experience. Additionally, incorporating a sauna ventilation fan system can further improve airflow and temperature regulation.
- Height matters: Aim for intake about 10-30 cm above the heater for ideal airflow mixing. Passive ventilation systems depend on proper air sealing to maintain effective circulation.
- Opposite the exhaust: Position the intake on the wall opposite the exhaust for balanced circulation.
- Consider your heater type: Each type of heater has specific guidelines for intake placement.
- Don’t forget sizing: Verify the intake vent is large enough—at least 4 square inches per person.
Exhaust Sizing Considerations
While the size and placement of your sauna’s exhaust vents mightn’t seem like a big deal at first, they play a crucial role in maintaining a comfortable atmosphere. You should size intake and exhaust vents equally, about 1 square inch per cubic foot of sauna volume. For home saunas up to 8×8 feet, use 4-6 inch diameter intake vents, while exhaust vents can range from 4 to 8 inches. Proper ventilation prevents oxygen depletion and ensures a safe environment for users, enhancing overall comfort. Additionally, proper air distribution ensures that the heat generated by the sauna heater is effectively circulated throughout the room. Place your exhaust on the opposite wall from the intake and near the ceiling. Confirming it has at least 6 inches of clearance helps prevent heat buildup. Using heat-resistant materials like galvanized steel guarantees safety and durability, keeping your sauna relaxing for years to come!
Mechanical vs. Passive Ventilation: Choosing the Right System
Have you ever wondered how the air in your sauna stays fresh and comfortable? Choosing between mechanical and passive ventilation systems can really affect your sauna experience.
- Passive ventilation relies on natural airflow, using vents to keep CO2 levels safe.
- Mechanical ventilation actively manages air with fans, guaranteeing consistent airflow.
- With mechanical, you won’t feel stuffy during longer sessions—great for relaxation!
- If you want precise control over oxygen levels, mechanical systems excel.
- But, passive options are simpler and often cheaper to install.
Ultimately, the right choice depends on your preference for comfort, control, and installation complexity.
Material Considerations for Durability and Safety
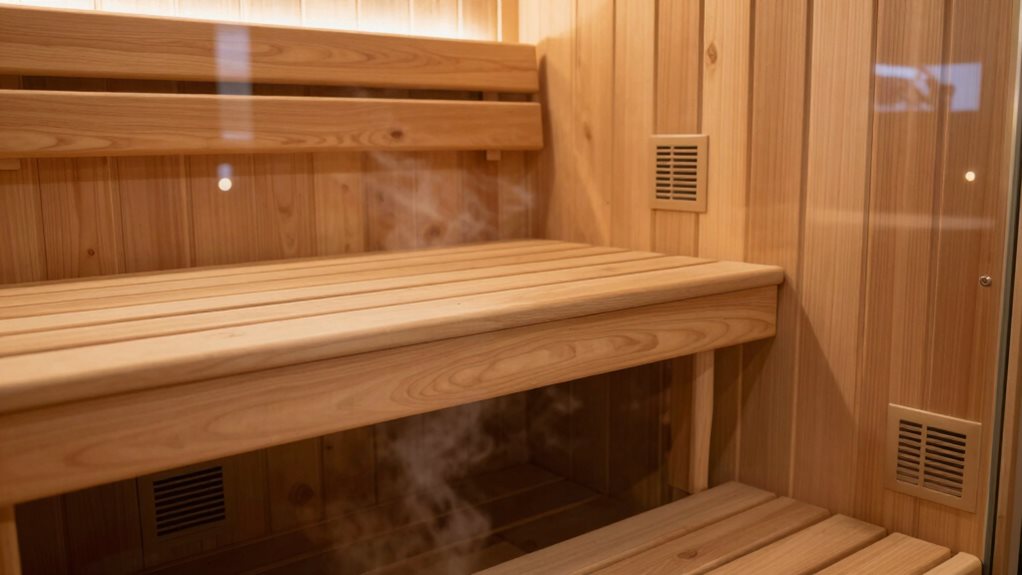
When planning your sauna, the materials you choose play a considerable role in its durability and safety. Opt for high-quality woods like Western red cedar or Canadian hemlock; they resist rot and handle heat like champions.
Choosing the right materials, like Western red cedar or Canadian hemlock, is key to a durable and safe sauna.
Cedar keeps cool to the touch, while hemlock offers stability under heat and humidity. If you’re considering pine or spruce, make sure they’re kiln-dried to avoid problems.
For benches and rails, go with low-density softwoods to keep things comfy and safe. Remember to use stainless steel fasteners—rust isn’t your friend!
Avoid metal seating unless it’s insulated because nobody wants to get burned. Finally, use natural wood treatments to keep the air clean and your sauna safe. Additionally, incorporating a sauna heater cedar wood can enhance the overall experience by providing efficient heat distribution.
Happy building!
Enhancing User Comfort Through Effective Ventilation Strategies
To improve your comfort in the sauna, effective ventilation is key, guaranteeing the air feels fresh and inviting. Proper airflow not only improves your experience but also promotes safety and wellbeing.
Here are a few ventilation strategies to take into account:
- Intake vent placement: Position it near the floor, close to the heater for cool air entry.
- Exhaust vent: Place it diagonally across from the intake, ideally two feet above the ground.
- Regular checks: Clean vents often to keep air circulation ideal.
- Adjustable airflow: Use adjustable vents to control the amount of air coming in and out.
- Monitor humidity: A hygrometer helps you manage moisture levels efficiently. Additionally, consider investing in a sauna moisture control system to further enhance humidity management.
With these strategies, you’ll enjoy a much more comfortable sauna experience!
Frequently Asked Questions
How Can I Ensure My Sauna Ventilation Meets Building Codes?
To guarantee your sauna ventilation meets building codes, check requirements for vent size and placement. Obtain necessary permits, follow local regulations, and schedule inspections to verify compliance with safety and airflow standards.
What Maintenance Practices Should I Follow for Sauna Ventilation Systems?
Inspect and clean your sauna’s vents monthly, maintaining airflow. Vacuum duct interiors quarterly, replace screens annually, and guarantee proper drainage. Document performance readings to catch issues early and keep your sauna functioning efficiently.
Can I Install a Sauna in a Basement Without Ventilation Issues?
Yes, you can install a sauna in a basement without ventilation issues by guaranteeing proper vent placement and airflow. Make sure you address intake and exhaust needs specifically for the space to promote circulation.
What Are the Signs of Poor Ventilation in a Sauna?
You’ll notice signs of poor ventilation in your sauna if you experience stale air, breathlessness, uneven temperatures, persistent humidity, or visible mold. Headaches and fatigue during sessions also indicate inadequate airflow and air quality issues.
How Do I Manage Noise From Mechanical Ventilation Systems?
To manage noise from mechanical ventilation systems, mount fans with isolation hangers, use inline axial fans, and install silencers. Seal any duct gaps and position exhaust properly for ideal airflow and reduced sound transmission.
Final Thoughts
To summarize, ventilation and rails are crucial components of sauna design that shouldn’t be overlooked. Proper airflow keeps the environment comfortable and safe, while strategic rail placement improves usability for everyone. Whether you opt for mechanical or passive systems, guaranteeing effective ventilation is key to an enjoyable sauna experience. By considering materials and vent placement, you can create a space that not only promotes relaxation but also makes every visit feel invigorating and inviting. Happy sauna soaking!