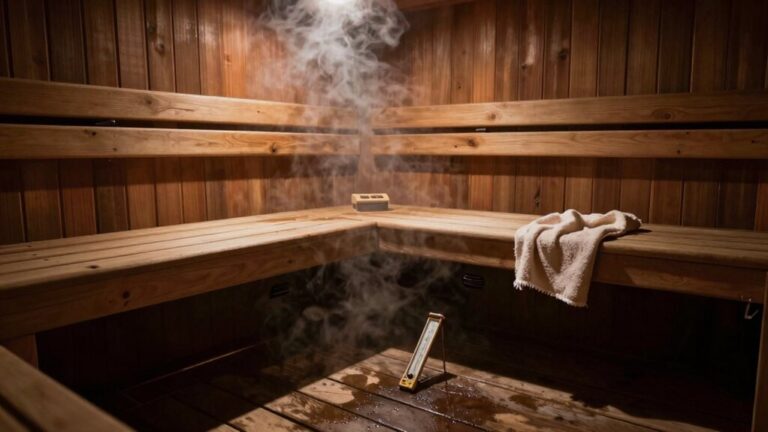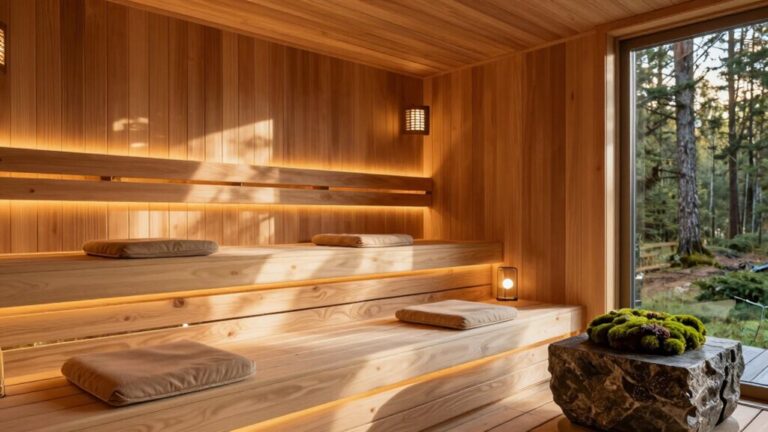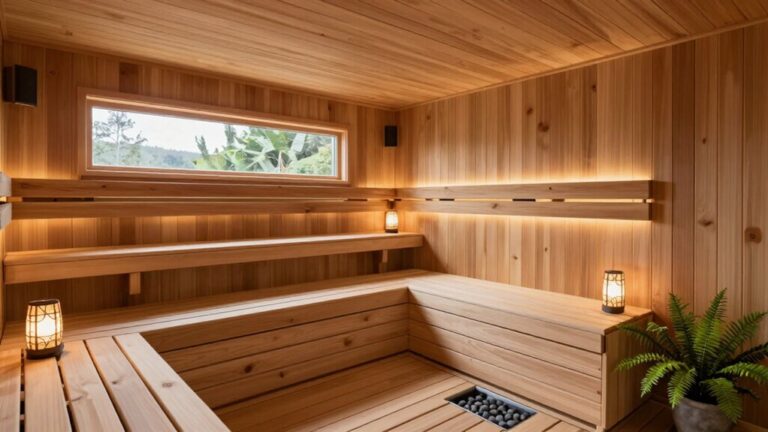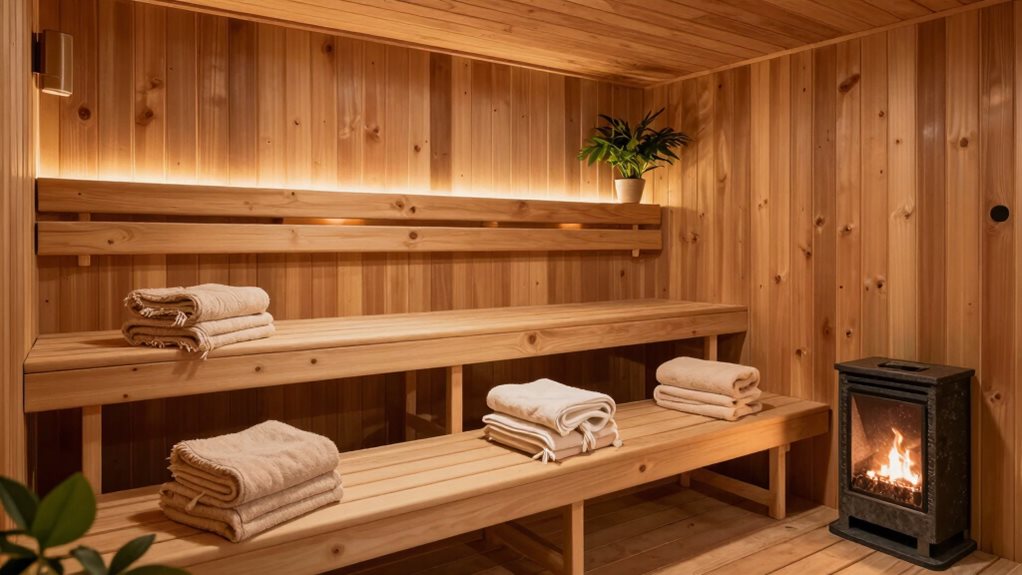

To build a comfortable home sauna, start with the right dimensions – think about height and space for benches. A two-tier bench is an excellent choice for maximizing seating. Place your heater to guarantee even heat distribution, and invest in good ventilation for fresh air. Consider adding clerestory windows for natural light, which can uplift your mood. With these tips, you can create a cozy retreat, and there’s more to explore for a perfect sauna experience!
Understanding Sauna Dimensions
When you’re planning to build or buy a home sauna, understanding its dimensions is key to creating a comfortable space. For smaller saunas, a minimum height of 77 inches is common, but aiming for 84 inches gives you better headroom and heat flow. You don’t want a ceiling that’s too high, though, as a height over 96 inches can waste energy. Additionally, note that traditional saunas typically require a size of around 6 feet by 5 feet to accommodate a family of four comfortably. For size, think about how many people will use it—36 inches square works for one person, while a compact two-person sauna measures around 4 feet by 4 feet. Ensuring proper sauna dimensions enhances the overall sauna experience by providing adequate space for relaxation and comfort. Consider including a sauna heater kit to optimize the heating efficiency of your sauna, which is essential for maintaining the desired temperature.
Choosing the Right Bench Configuration
When it comes to bench configurations, you’ll want to evaluate your options between L-shaped and traditional setups. An L-shape can fit nicely in smaller saunas while giving you some extra space, but traditional straight benches are great if you have the room for a more classic look. Don’t forget to assess bench height too—it’s important for comfort and overall sauna experience! Additionally, upper bench height is recommended at 35 inches from the floor for optimal heat exposure. Remember that bench height variations can greatly influence the distribution of heat and enhance your sauna experience. Investing in a quality sauna bench kit wooden can also add to the overall aesthetic and functionality of your sauna.
L-Shaped vs. Traditional
Choosing between L-shaped and traditional bench configurations for your home sauna can feel a bit like picking a favorite ice cream flavor—each option has its unique perks.
L-shaped benches are great for maximizing seating in small spaces, utilizing corners effectively. They allow you to mix seated and reclining positions, which can improve your sauna experience by offering varied temperature options. Additionally, L-shaped designs often facilitate social interaction by allowing users to sit face-to-face. Furthermore, good heat circulation in L-shaped setups enhances overall comfort during sauna sessions. Incorporating essential sauna accessories, such as a thermometer, can help you monitor and maintain the perfect temperature for your experience.
In contrast, traditional straight benches work well in longer spaces, providing a uniform heat distribution. If you want to create a cozy atmosphere with friends, L-shaped benches encourage conversation by allowing face-to-face seating.
However, a straight bench can be better for larger groups, keeping everyone facing the same direction.
Bench Height Considerations
Finding the right bench height for your sauna can greatly improve your overall experience.
Ideally, your lower bench should be about 17–19 inches from the floor, creating a cozy seating arrangement that feels like your favorite chair. For the upper bench, aim for around 35–42 inches, making sure you’re close enough to enjoy that heavenly heat without feeling cramped. It’s important to note that standard bench heights typically range from 17 to 24 inches off the ground, catering to average user comfort and safety. A recommended ceiling height of 76 inches ensures compliance with the law of löyly, optimizing your sauna experience. Additionally, choosing the right home sauna kit can enhance your setup and make the process smoother.
If you’re taller than six feet, consider raising the upper bench to maintain comfort and headspace. Remember, at least 44 inches between the upper bench and the ceiling helps keep you in the ideal heat zone.
Plus, don’t forget a lower bench to help those with mobility challenges. Your sauna should be a relaxing space, so make it work for everyone!
Determining Seating Capacity
How can you determine the right seating capacity for your home sauna? Start by planning for around 24 inches of bench length per person if seated comfortably. If folks will lounge or recline, increase that to 72 inches.
A two-tier bench system can optimize space—create a comfortable top bench and a slightly shallower lower one. For larger groups, a 6’×8’ sauna works well for about six people. Additionally, consider that 60cm seat width per person is recommended to ensure everyone is comfortable. Creating a well-sized sauna will improve overall usability and comfort for all users. Furthermore, selecting a suitable sauna heater kit will ensure that the sauna maintains a consistent and comfortable temperature for all users.
Don’t forget to factor in the space for comfortable movement; keep at least 24-30 inches clear in front of benches. Make certain your design reflects everyone’s needs, making it cozy without overcrowding.
Optimal Heater Placement
When designing your sauna, the placement of the heater is vital for both safety and comfort. Make certain to position the heater so its front face is at least 30 cm from the nearest bench edge. This keeps it safe and allows for proper heat flow.
Ideally, the heater should sit 90–120 cm below the ceiling, promoting even heat distribution throughout the room. Place it opposite or diagonal to your main bench to encourage air circulation.
Additionally, maintain a clear space in front of the heater for accessing stones safely. Remember, following the manufacturer’s guidelines for mounting and clearances is pivotal to avoid accidents and guarantee your sauna heats up just right for relaxation sessions. Installing an indoor electric sauna heater can enhance the overall experience by providing efficient and consistent warmth.
Effective Ventilation Strategies
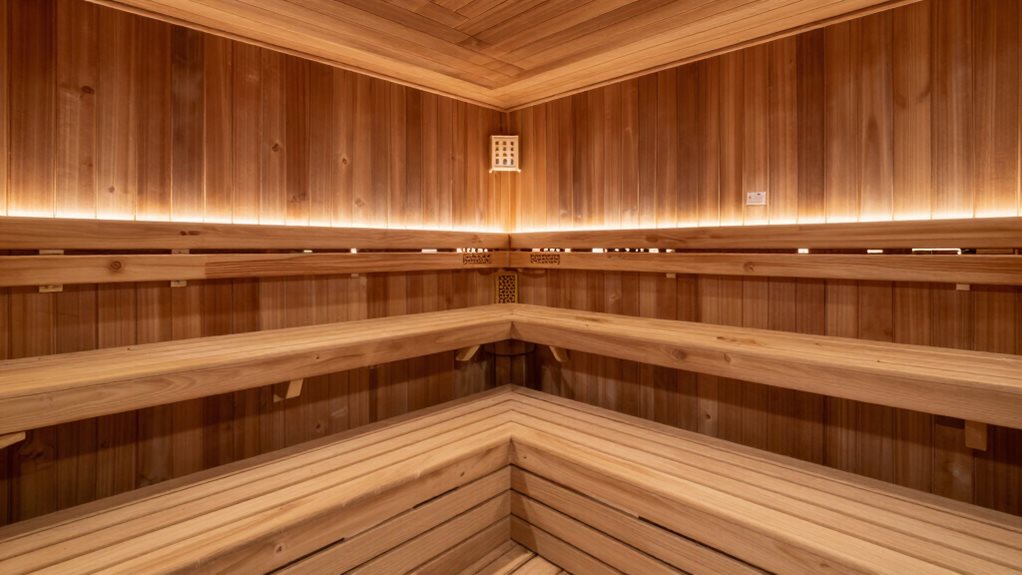
Effective ventilation is crucial for creating a comfortable and safe sauna experience, so it’s worth paying attention to how you set it up.
Start by placing the fresh air intake above the heater, ideally 10-30 cm higher, so cool air mixes with heat and circulates.
Position the exhaust vent 18 inches from the floor on the opposite wall to guarantee hot air escapes easily.
Remember, your exhaust should be larger than the intake to prevent pressure buildup.
For mechanical options, consider using a 6-inch duct with a backdraft damper. This prevents insects from entering while improving airflow.
Incorporating a sauna ventilation fan system can further enhance the air quality and temperature control.
With these strategies, you’ll enjoy a cozy sauna that’s not too stuffy or cold—perfect for relaxation!
Layout Optimizations for Comfort
When setting up your home sauna, the right door placement and bench arrangement can make all the difference in your comfort. Imagine stepping inside and having everything perfectly positioned to create a relaxing atmosphere—warmth envelops you while airflow circulates freely. Additionally, incorporating an effective sauna ventilation system can significantly enhance the overall experience by ensuring optimal air quality and temperature balance.
Optimal Door Placement
How can you make your home sauna experience even more enjoyable? One key factor is ideal door placement.
Position the door adjacent to the heater in smaller layouts, like 4×4 feet, for efficient space use. Make certain it swings outward to guarantee a seamless exit, especially during those heat-filled moments.
In larger saunas, like an 8×5 feet layout, place the door on the longer wall near the heater—this keeps the warmth where you want it.
Remember, having a gap under the door allows fresh air in, which is crucial for breathability.
For safety, avoid locks that hinder quick exits, and consider a tempered glass panel, so you can see your friends outside waiting to join the fun! Additionally, integrating infrared sauna technology can enhance your overall wellness experience in the sauna.
Bench Arrangement Strategies
While planning your home sauna, bench arrangement can make a world of difference in comfort and functionality. Choosing between types like the I-structure or L-structure can impact your sauna experience.
If you’ve got a smaller space, the I-structure works great. For more room, the U-structure accommodates groups well. You’ll want your upper bench about 24 inches wide for comfort, and don’t forget a space allowance of 24 inches per person to avoid squishy seating!
Aim for a distance of 43 to 51 inches from the top bench to the ceiling to help steam circulate. Adding rounded edges can help avoid splinters, making your relaxation time even better. Additionally, selecting high-quality materials, such as cedar sauna bench kits, can enhance both durability and aesthetics.
With the right layout, you’ll be all set for ultimate comfort!
Incorporating Natural Light in Design
Incorporating natural light into your sauna design not only brightens the space but also boosts your mood and well-being. Here are some tips to make the most of daylight in your sauna:
- Position your sauna to catch morning or late-afternoon sunlight, avoiding intense midday rays that can lead to overheating.
- Include clerestory windows high on the wall for soft lighting while keeping the walls clear for benches and heaters. This also preserves your privacy.
- Choose the right glass—like tempered, frosted, or low-emissivity—to control heat and maintain visual comfort without sacrificing light.
Flooring Options for a Sauna
Choosing the right flooring for your sauna is just as important as letting in that beautiful natural light. You have several options, each with its own benefits.
Western red cedar offers a lovely scent but can be soft and dent easily. Teak and thermally modified hardwoods are more durable and moisture-resistant.
Western red cedar provides a delightful aroma but can be prone to dents; consider teak or thermally modified hardwoods for added durability and moisture resistance.
If you prefer a robust choice, ceramic or porcelain tiles are excellent but need anti-slip finishes for safety. Concrete is tough but can feel cold unless heated or insulated.
For a softer touch, rubber and vinyl can be good, just make certain they’re heat-resistant.
No matter what you pick, confirm it promotes good drainage and is easy to clean—your future self will thank you!
Maximizing Space in Smaller Saunas
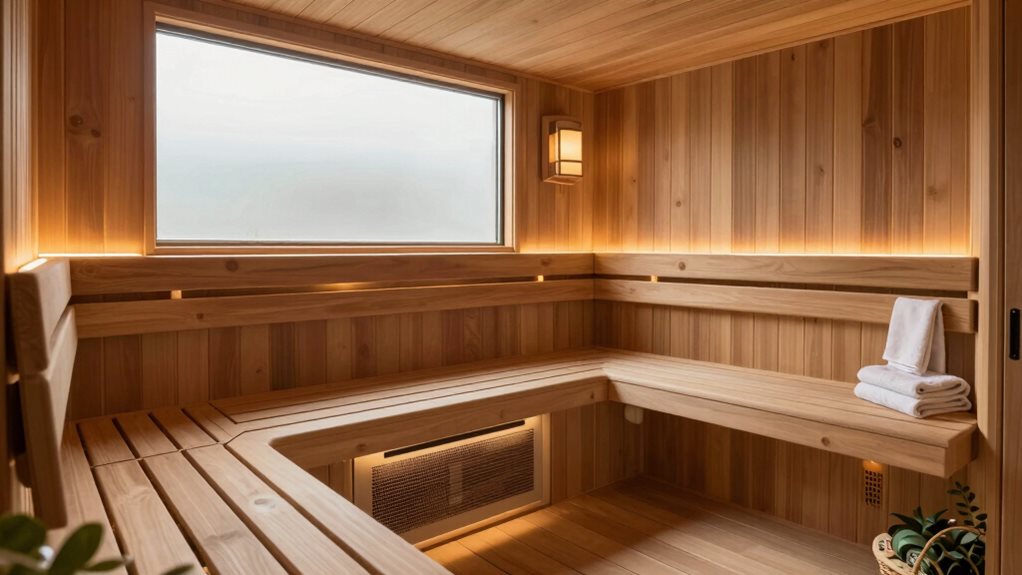
When you’re working with limited space, maximizing your sauna’s layout can feel like a fun puzzle waiting to be solved.
Here are three clever strategies to make the most out of your smaller sauna:
- Choose Compact Models: Consider corner saunas or hybrid designs that combine infrared and steam. These configurations fit snugly while still feeling spacious.
- Smart Placement: Transform a walk-in closet or a bathroom nook into a sauna, utilizing existing structures for efficiency.
- Innovative Seating: Use foldable or wall-mounted benches to save floor space when not in use.
Frequently Asked Questions
What Materials Are Best for Sauna Construction?
For sauna construction, you’ll want to contemplate Western red cedar for insulation and aroma, hemlock for durability, or thermowood for sustainability. Flooring options like slate or porcelain improve durability and heat resilience in your sauna.
How Long Should Sauna Sessions Last for Optimal Benefits?
For ideal benefits, aim for 15–20 minute sessions, 4–7 times a week. Beginners should start with 8–12 minutes, gradually increasing duration as you build tolerance and enjoy the relaxing effects of regular sauna use.
Can I Install a Sauna Outdoors?
Yes, you can install a sauna outdoors. Just guarantee you meet local building codes, have proper foundations, access to utilities, and consider zoning restrictions. Planning carefully will make your installation more seamless and more enjoyable.
What Accessories Enhance Sauna Experience?
To improve your sauna experience, invest in high-quality wooden buckets, ladles, comfortable headrests, and towels. Adding crucial oils, a reliable thermometer, and sound systems will raise relaxation and guarantee a soothing atmosphere during your sessions.
How to Maintain Sauna Hygiene Effectively?
To maintain sauna hygiene effectively, wipe surfaces after each use, ventilate regularly, disinfect high-touch areas, and check for mould. Also, schedule deep cleans monthly and guarantee proper airflow to keep everything fresh and safe.
Final Thoughts
By focusing on dimensions, bench configurations, and heater placement, you can create a sauna that’s both comfortable and inviting. Remember to plan for ventilation and incorporate natural light for a warm, welcoming atmosphere. Whether your sauna’s big or small, optimizing the layout and choosing the right flooring makes a difference. So, plunge into it, get creative, and turn your sauna dreams into reality! You’ll love the relaxing space you’ve crafted just for you.