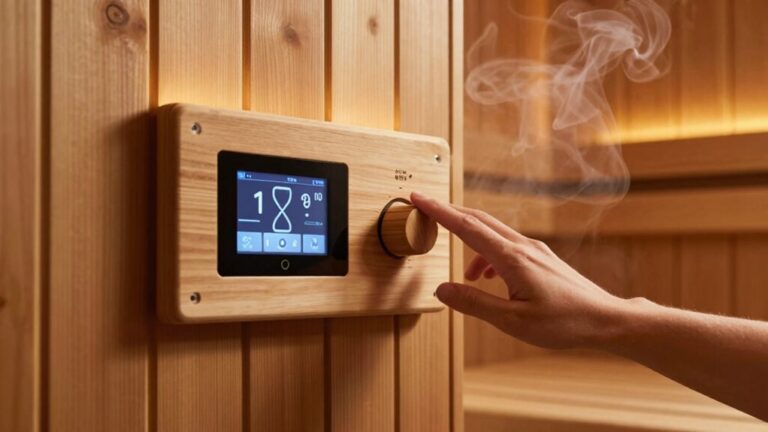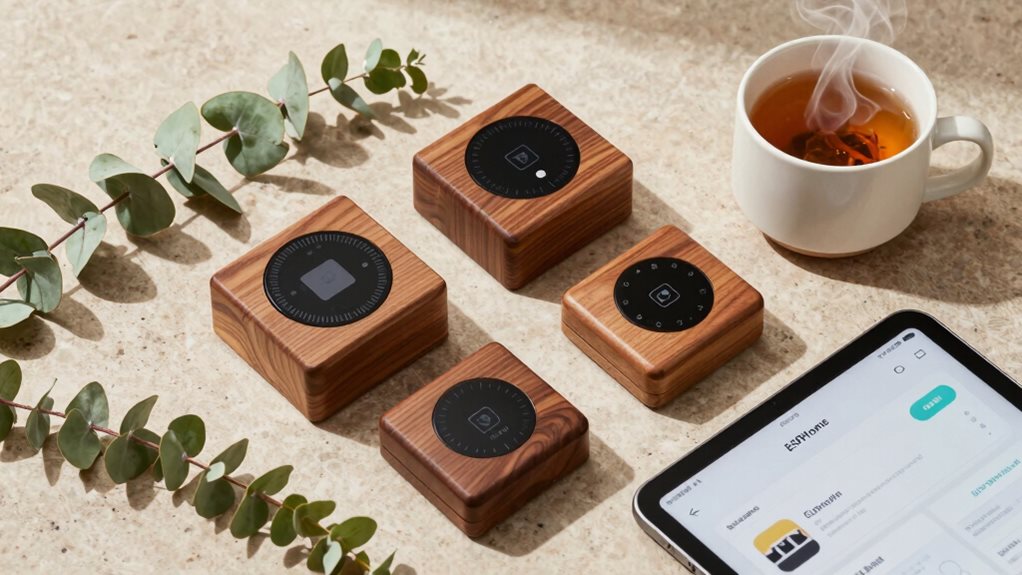

If you’re a sauna owner, building your own ESPHome controller can make your sauna experience even better! Start by choosing the right hardware, like DS18B20 temperature sensors and an ESP32 microcontroller. You’ll program the system using ESPHome for Wi-Fi connectivity and remote control. Plus, safety is key—use a thermal fuse and consult a pro for high-voltage work. With integration into Home Assistant, you can easily manage temperatures and receive updates. There’s so much more to explore!
Selecting the Right Hardware Components
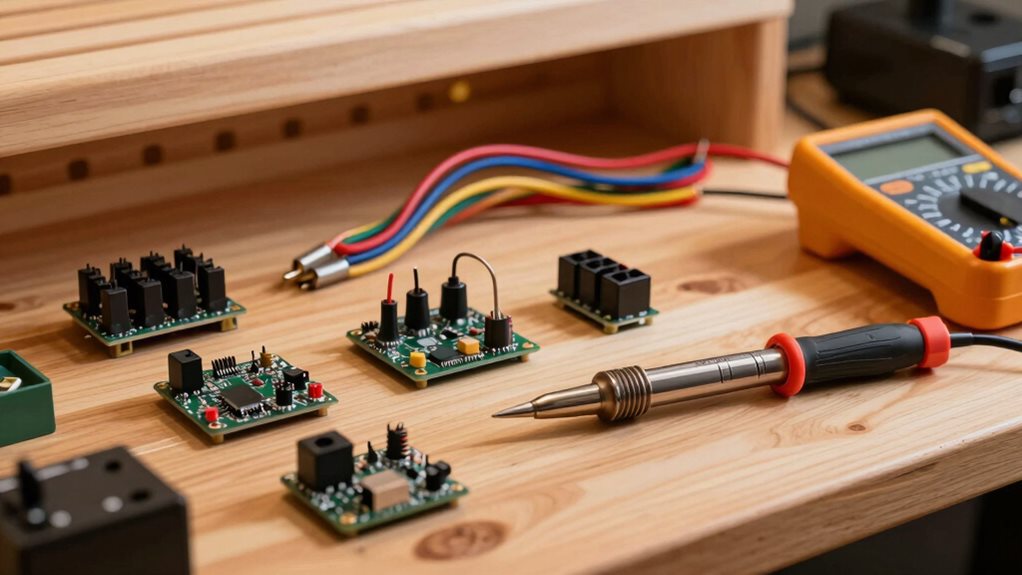
When you start building your DIY sauna controller, picking the right hardware components is critical to guarantee a safe and efficient setup.
First, consider using the DS18B20 digital probe as your temperature sensor. It functions well in extreme conditions and even offers waterproof options. For safety, it’s wise to have 2–4 sensors placed at different heights to monitor temperature variations—think of them as your sauna’s temperature guardians.
Consider the DS18B20 digital probe for reliable temperature monitoring—your sauna’s safety net with multiple sensors at varied heights!
Next, an ESP32 microcontroller is a great choice, thanks to its ample GPIO pins.
Don’t forget about using stainless-steel sheathed cables, which withstand the humid environment.
Finally, when choosing solid-state relays (SSRs) for switching, make sure they can handle the heater’s current, just like a lifeguard keeping watch at a busy pool!
Configuring Firmware With ESPHOME
Now that you’ve gathered the right hardware components for your sauna controller, it’s time to tackle the exciting part: configuring your firmware with ESPHome.
Start by creating the root `esphome:` block, defining your node name and setting up Wi-Fi connectivity. You’ll need to include your SSID and password, guaranteeing your sauna stays connected.
Don’t forget the `logger:` for keeping track of activities, and set up an `api:` or `mqtt:` for remote control.
For your sauna, use `sensor:` entries for temperature readings and `switch:` components to manage your heater.
Finally, utilize valuable lifecycle hooks like `on_boot` to set things in motion when you power on your sauna.
Happy configuring!
Ensuring Safety and Compliance
Guaranteeing safety and compliance in your DIY sauna setup isn’t just important; it’s vital to protect both you and your investment.
Start by installing a thermal fuse rated at 120°C. This little hero cuts power to the heater if it overheats, acting as an important backup.
Remember, working with line voltage isn’t for the faint-hearted; always consult a licensed electrician for high-voltage installations. Use the right components to safely handle the electricity your sauna needs.
Place DS18B20 sensors at the ceiling for accurate readings, avoiding direct heat interference.
Finally, certification from bodies like UL or ETL can be a lifesaver, making sure your setup is safe and compliant. A secure sauna is a happy sauna!
Integrating With Home Assistant for Enhanced Control
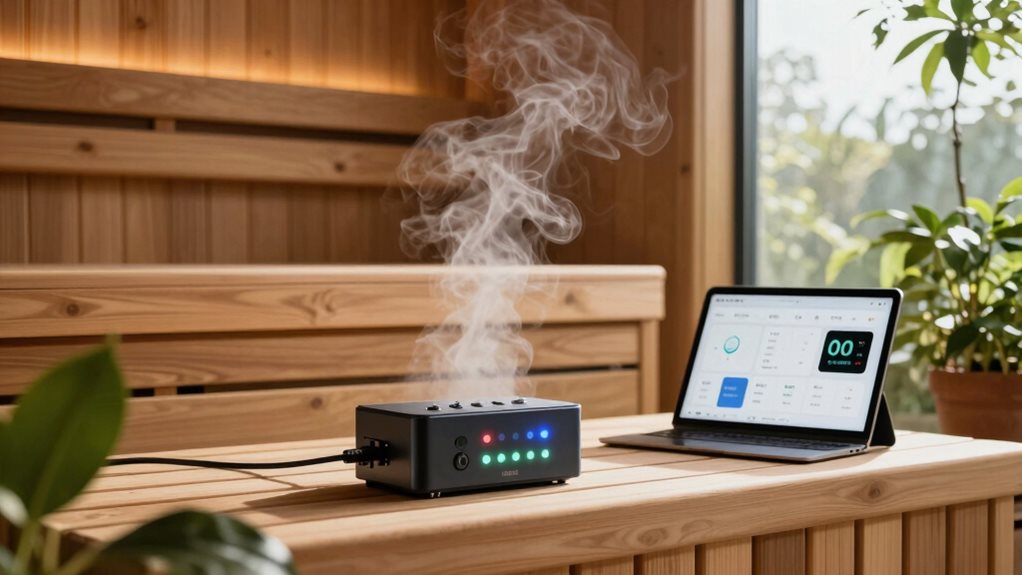
Integrating your DIY sauna setup with Home Assistant opens a world of possibilities for improved control and convenience.
With ESPHome’s native API, your sauna automatically discovers as a device in Home Assistant, making setup a cinch. You can create a sleek dashboard to adjust temperatures, turn your sauna on or off, and monitor multiple sensors—all from one place!
Plus, when the sauna hits the desired temp, you’ll get a notification to guarantee you never miss that perfect moment. The real-time updates mean your devices communicate instantly, keeping everything running efficiently.
Imagine enjoying your sauna while knowing exactly what’s happening inside, all at your fingertips. It’s like having a personal sauna assistant—without the need for extra hands!
Troubleshooting Common Issues and Enhancements
Troubleshooting your DIY sauna setup can feel like a puzzle, but with a little guidance, you’ll piece everything together effortlessly.
Start by confirming your sensors are accurate and well-placed, shielded from direct infrared radiation. Check your SSR control voltage to prevent power-switching issues, and consider adding a transistor for reliable operation.
Make sure to keep an eye on the stability of your ESPHome firmware through logging, which helps identify problems quickly. Finally, prioritize thermal safety with independent hardware fail-safes.
Here are some key tips for you:
- Use accurate sensors rated for sauna temps.
- Calibrate sensors against a reference thermometer.
- Implement a hardware interlock for safety.
- Confirm SSR voltage compatibility.
- Enable logging for debugging ESPHome.
Frequently Asked Questions
Can I Use Different Brands of Temperature Sensors With ESPHOME?
Yes, you can use different brands of temperature sensors with ESPHome. As long as they support the same protocol, like I2C or 1-Wire, you’ll be able to integrate them seamlessly in your configuration.
How Do I Customize Notifications for Sauna Session Events?
You can customize notifications for sauna session events by using ESPHome’s sensors and Home Assistant automations. Set specific triggers for temperature changes, session milestones, and safety alerts, tailoring messages to user preferences for maximum relevance.
What Is the Best Location for Placing Temperature Sensors in a Sauna?
Place temperature sensors 12 to 20 inches from the ceiling, guaranteeing they’re on the wall opposite the heater and at least 1 meter above the upper bench for accurate readings. Avoid corners and direct heater exposure.
How Often Should I Replace the Components in My Sauna Controller?
You should replace components in your sauna controller every year for sensors like the PMSx003, while maintaining SSR relays and electrical connections for peak performance. Regular maintenance guarantees longevity and efficiency for your setup.
Can I Integrate My Sauna Controller With Voice Assistants?
Yes, you can integrate your sauna controller with voice assistants. Set up ESPHome with a microphone and speaker, then configure voice commands within Home Assistant to control your sauna, improving your experience seamlessly.
Final Thoughts
By creating your own ESPHome controllers for your sauna, you’re not only adding tech to your relaxation space, you’re also gaining control and peace of mind. With the right hardware and firmware tweaks, you can enjoy a comfortable sauna experience while guaranteeing safety and compliance. Plus, integrating with Home Assistant opens the door to even more control options. So gear up, get creative, and enhance your sauna experience to the next level—your perfect personal retreat awaits!