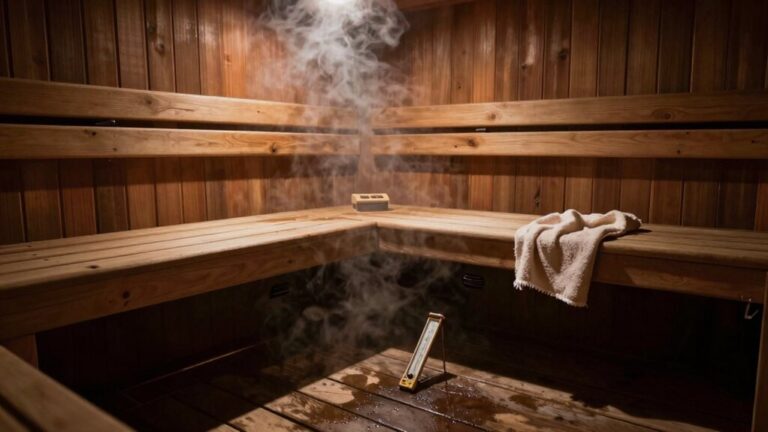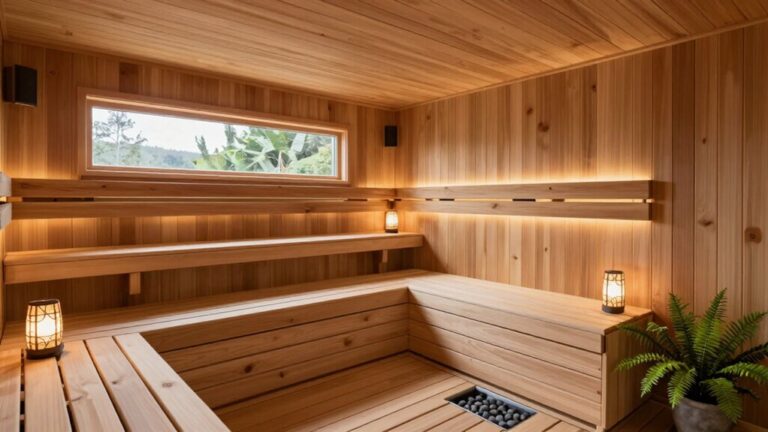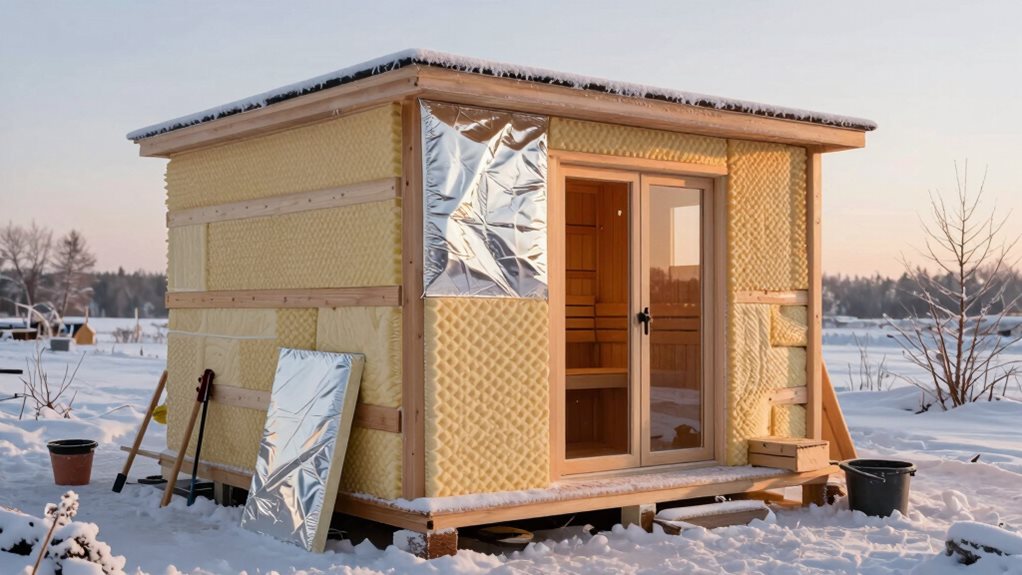

To build a cozy cold-weather sauna, focus on quality insulation to keep the heat where it belongs! Aim for a high R-value: R-26 to R-30 in ceilings and R-13 in walls. Using materials like fiberglass, mineral wool, or foam boards can help. Don’t forget a vapor barrier to prevent moisture buildup and mold. Fill gaps tightly and seal seams securely. If you follow these tips, you’ll enjoy a warm sauna experience all winter long and discover even more helpful insights ahead!
Understanding R-Values for Sauna Insulation
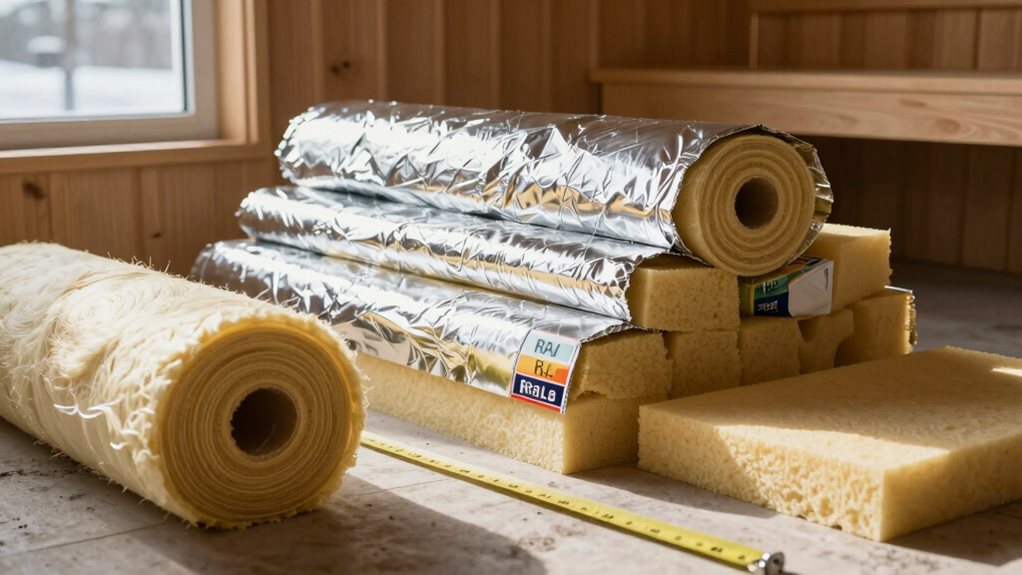
When you’re thinking about insulation for your cold-weather sauna, understanding R-values is crucial to keeping the heat in and the cold out. R-value measures how well a material resists heat flow—higher R-values mean better insulation.
For instance, fiberglass gives you about R-3.2 to R-3.8 per inch, while polyiso packs a punch with around R-6 per inch. In saunas, though, things get tricky; the heat differences can make published R-values less reliable. A well-insulated sauna means your stove won’t need to run as much, saving you energy and keeping you cozy. Additionally, using a quality sauna insulation kit can simplify the installation process and enhance overall efficiency. Proper insulation protects wood from moisture damage, ensuring that your sauna remains a comfortable retreat even in the coldest conditions. Furthermore, a continuous vapor barrier is essential to block moisture movement, enhancing your sauna’s performance and durability.
A ceiling should ideally hit R-26 to R-30, while interior walls should aim for R-13. Each choice you make plays a role in creating a comfy retreat!
Recommended Insulation Materials for Optimal Performance
Choosing the right insulation materials can make all the difference in how cozy your cold-weather sauna feels.
Start by considering these top options for peak performance:
- Fiberglass Insulation: Affordable and effective, it keeps the heat in but needs sealing to resist humidity over time.
- Mineral Wool Insulation: A European favorite, it’s great for high heat and moisture and provides excellent fire resistance.
- Foam Board Insulation: With an impressive R-value, it reflects heat while fitting easily into walls and ceilings. Proper insulation minimizes heat loss and ensures your sauna can reach and maintain its desired temperature efficiently. Using the right materials can also enhance energy efficiency during sauna sessions, maximizing your comfort while minimizing energy costs. Additionally, selecting high-quality materials can significantly improve the overall longevity of your sauna structure.
Each material has unique benefits, so think about your space and needs.
Using a combination may even give you the best results, guaranteeing your sauna remains a warm and inviting retreat when temperatures drop outside.
The Importance of a Vapor Barrier
When you’re building a cold-weather sauna, a vapor barrier is more than just a nice-to-have—it’s crucial. It keeps moisture from sneaking into your walls and insulation, which could lead to mold and rot. Installing the vapor barrier on the warm side of the sauna construction helps to regulate water vapor diffusion and prevents condensation. This is particularly important because a well-insulated sauna can maintain higher temperatures more efficiently, reducing the risk of dampness and structural damage.
Moisture Control Necessity
To keep your cold-weather sauna cozy and efficient, it’s crucial to understand the role of a vapor barrier in moisture control. This barrier acts like a superhero, protecting your sauna from pesky moisture. It prevents warm, humid air from sneaking into the walls, keeps insulation dry, and reflects heat back in.
Here are some fun benefits of using a vapor barrier:
- Foil-faced materials reflect radiant heat, boosting your sauna’s efficiency.
- A solid vapor barrier guarantees insulation stays dry, maintaining its thermal value. Additionally, using moisture protection products can enhance the effectiveness of your vapor barrier.
- Proper installation means less time waiting for your sauna to heat up. Additionally, a moisture barrier helps to prevent severe damage over time, including mold and rot.
With a solid vapor barrier, you’ll enjoy a warm, relaxing sauna experience while keeping your materials safe and sound! Make certain to give this crucial element the attention it deserves.
Mold Prevention Strategies
Even the coziest sauna can turn into a moldy nightmare if you don’t take mold prevention seriously, so let’s explore the importance of a vapor barrier.
A vapor barrier acts like a superhero, blocking moisture that could lead to mold growth. Choose a foil-faced polyethylene barrier for excellent moisture resistance and heat reflection. Additionally, maintaining optimal humidity levels is crucial for preventing mold growth in saunas. Make sure to place it on the warm side in cold climates to stop warm air from meeting cold surfaces. Proper management of humidity and moisture is essential, so remember to seal all seams with proper tape and cover any gaps around wires or vents; even tiny openings can lead to big problems! Implementing a sauna moisture control system can further enhance your efforts in maintaining a mold-free environment.
Proper Installation Techniques
Installing a vapor barrier properly can make all the difference in keeping your cold-weather sauna cozy and mold-free. Start by placing the vapor barrier on the warmer side of the insulation, making certain to cover all insulation with high-quality foil. This way, you can effectively block moisture from entering the wall cavities.
- Think of using reinforced aluminum foil that resists tearing — no one wants a soggy sauna!
- Seal seams with foil tape, overlapping by at least six inches for a snug fit.
- Don’t forget to lock the floor connections beneath the drip edge to prevent leaks!
When you properly install the vapor barrier, you’ll keep your sauna warm and inviting, guaranteeing a revitalizing experience every time. Additionally, investing in premium sauna insulation kits can further enhance your sauna’s efficiency and comfort.
Cold-Climate Specific Insulation Strategies
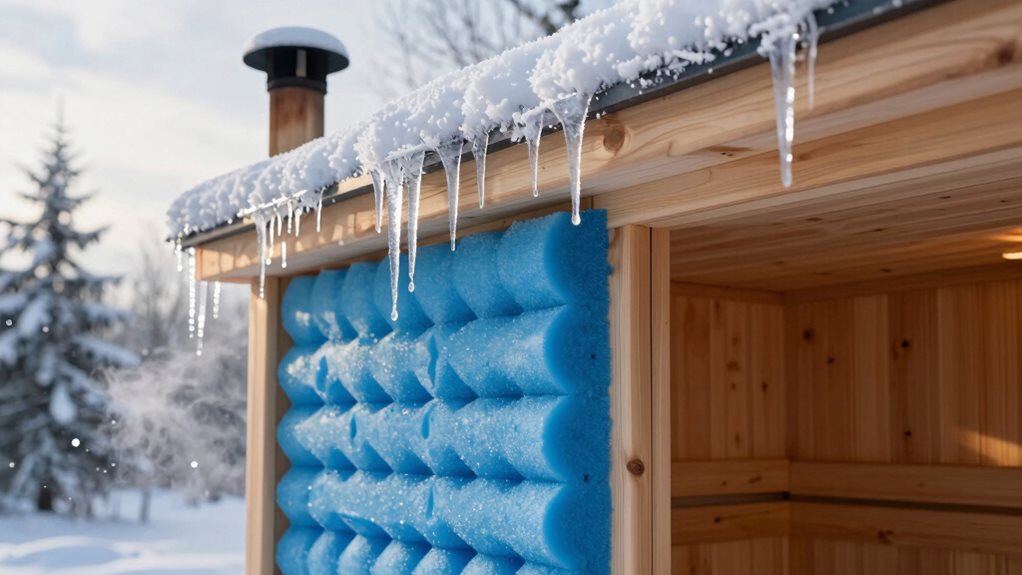
When you’re setting up a sauna in a cold climate, focusing on ideal R-values is essential for keeping it cozy during winter. You’ll want to take into account thicker insulation to help trap heat more effectively, along with expert tips for properly installing vapor barriers to maximize energy efficiency. These strategies not just improve your sauna experience but also protect your structure from moisture, guaranteeing it remains a warm retreat all season long. Proper construction and effective insulation prevent moisture infiltration, ensuring your sauna’s longevity.
Optimal R-Value Requirements
Insulation is like a cozy blanket for your cold-weather sauna, and getting the right R-value is crucial for staying warm and comfortable.
Here’s what you should aim for:
- R-19 or higher for wall cavities to keep heat from escaping.
- R-26 to R-30 for ceilings since heat loves to rise and needs to stay inside.
- R-10 to R-19 for floors above unheated spaces, which keeps your toes warm.
Using materials like mineral wool or polyiso boards helps you reach these values effectively.
Remember, proper layering and air-sealing strategies play a huge role too!
Vapor Barrier Installation Tips
To keep your cold-weather sauna cozy and enjoyable, paying attention to vapor barrier installation is key.
First, install the vapor barrier on the warm side of the insulation to prevent moisture from condensing inside your walls. Use a continuous layer without gaps, overlapping seams by six inches and sealing them with foil-rated tape.
Pay special attention to where walls meet the ceiling, guaranteeing a tight seal. For any penetrations, like light fixtures, use foam gaskets or high-temp foil tape to keep everything airtight.
Don’t forget to seal the barrier to the floor baseplates and door frames to block warm air leaks.
Finally, inspect your work before adding interior cladding for a worry-free sauna experience! Additionally, consider integrating a fireproof sauna ventilation system to enhance safety and air quality in your sauna.
Essential Installation Guidelines for Saunas
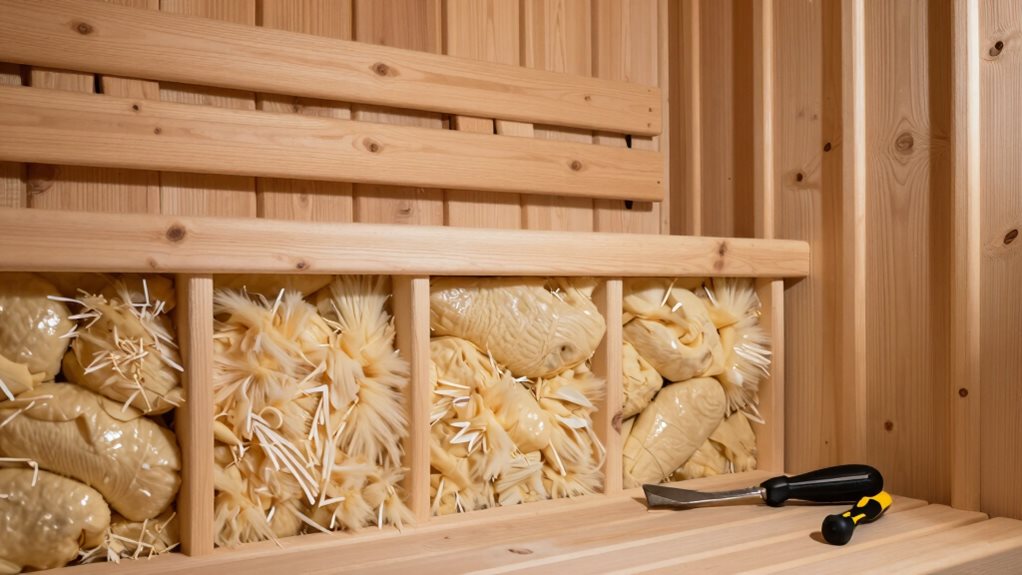
Creating a warm and inviting sauna is easier than you might think, especially when you follow essential installation guidelines.
Crafting a cozy sauna space is simple with the right installation tips and attention to detail.
First, you’ll want to guarantee your frame walls are solid and ready for insulation.
- Use sturdy 2×4 studs spaced 16 inches apart.
- Fill insulation snugly without compression for optimum heat retention.
- Insulate your ceiling with thicker material, as heat rises and escapes quickly.
Don’t forget to add a vapor barrier; it controls moisture and improves efficiency. A well-constructed home sauna kit not only enhances your relaxation experience but also maximizes energy efficiency.
Once everything’s in place, finish with heat-resistant wood cladding to create that cozy atmosphere.
Benefits of Proper Insulation in Saunas
While you might think of a sauna primarily as a place to relax, proper insulation plays a crucial role in creating that warm and inviting atmosphere you crave.
With good insulation, you’ll enjoy faster heat-up times and consistent temperatures, allowing you to unwind without chilly surprises. Imagine sinking into a cozy bench without feeling cold spots!
Better insulation also cuts down on energy costs, saving you money on bills. Plus, it protects your sauna’s structure from moisture, preventing problems like mold. Additionally, investing in weatherproofing outdoor sauna accessories can enhance your sauna’s durability and performance.
When the heat stays in, your sauna feels more efficient and inviting. So, welcome insulation—your sauna session will be better for it, keeping you warm, comfortable, and ready for relaxation!
Common Mistakes to Avoid During Installation
When it comes to installing insulation for your sauna, avoiding common mistakes can make all the difference in creating the perfect warm retreat. Many people overlook critical steps that can lead to a chilly experience instead.
- Using improper materials like plastic sheeting can trap odors and moisture.
- Forgetting to install a continuous vapor barrier opens the door for mold and damage.
- Leaving gaps around windows and doors lets heat sneak out like a mischievous ghost.
Take your time to follow guidelines for materials, insulation placement, and sealing to guarantee that your sauna stays cozy.
Choosing the Right Materials for Your Sauna Design
How do you choose the best materials for your sauna design? Start by considering mineral wool and foil-faced rigid boards.
Mineral wool is great for heat resistance and moisture tolerance, making it a solid choice for walls and ceilings. On the flip side, foil-faced boards like PIR/polyiso offer high R-value and act as a vapor barrier, which keeps humidity in check.
Avoid generic foam insulations unless you’re sure they handle high temperatures without off-gassing.
Also, consider natural options like recycled cotton or sheep’s wool, but weigh their mold risks against mineral wool.
Long-Term Maintenance and Upkeep of Sauna Insulation
You’ve picked great materials for your sauna, but maintaining that insulation is just as important for creating a cozy retreat.
Regular checks guarantee your sauna stays in top shape, keeping the warmth where it belongs. Here are a few crucial upkeep tips:
- Inspect vapor barriers for tears and moisture signs.
- Address any moisture issues immediately to prevent damage.
- Keep ventilation systems clear to manage humidity levels.
Frequently Asked Questions
Can I Use Recycled Materials for Sauna Insulation?
Yes, you can use recycled materials for sauna insulation. Just guarantee they meet the thermal and fire safety standards required for high temperatures and moisture control, preventing heat loss while maintaining a safe environment.
How Often Should I Check Insulation for Wear and Tear?
You should check insulation for wear and tear monthly, focusing on seals and moisture every season. Deep clean every 3-6 months based on usage, and conduct a thorough inspection annually to guarantee peak performance.
What Are Signs of Moisture Problems in Sauna Insulation?
You’ll notice moisture problems in sauna insulation if you see dark stains, persistent dampness, odors, or reduced warmth. Check for warped wood, flaking paint, and condensation on surfaces, indicating trapped moisture and potential mold growth.
Is It Necessary to Insulate the Sauna Floor?
It isn’t strictly necessary to insulate the sauna floor, but doing so improves comfort and energy efficiency. You’ll enjoy a warmer space and save on heating costs during those chilly winter months.
Can I Install Insulation Myself, or Should I Hire a Professional?
You can install insulation yourself if you have basic carpentry skills and proper tools. However, consider hiring a professional for complex builds to guarantee peak performance and avoid potential moisture issues.
Final Thoughts
To summarize, insulating your cold-weather sauna isn’t just a good idea—it’s crucial for comfort and efficiency. By choosing the right materials and following installation guidelines, you can create a cozy retreat even on the chilliest days. Remember to take into account R-values, vapor barriers, and common pitfalls to avoid. With proper insulation, you’ll enjoy a warm, inviting space that promotes relaxation and rejuvenation. So, go ahead, make your sauna the best it can be!