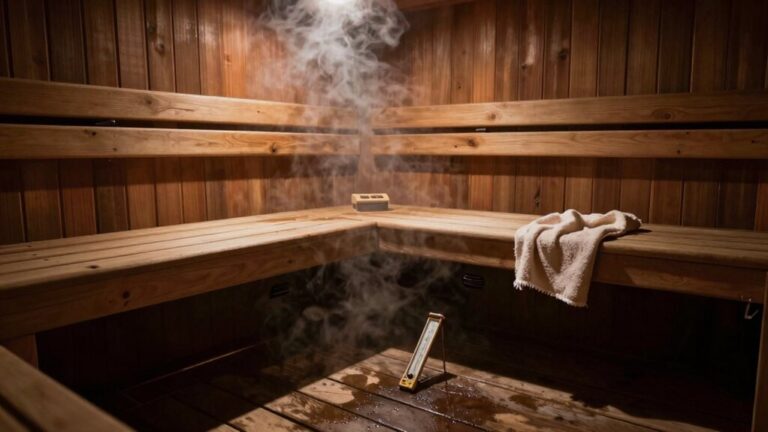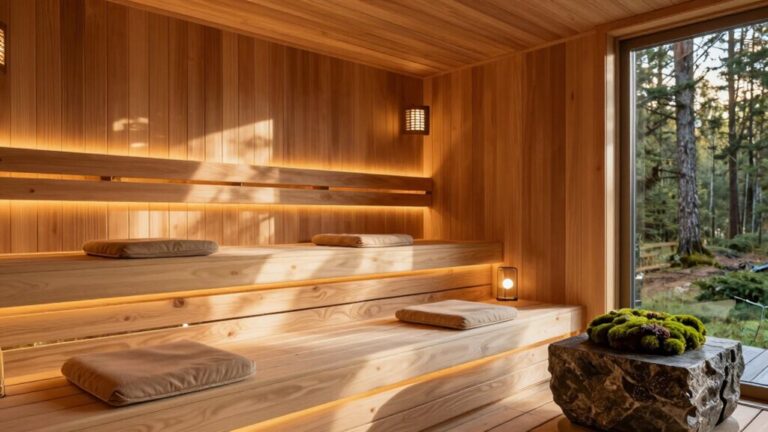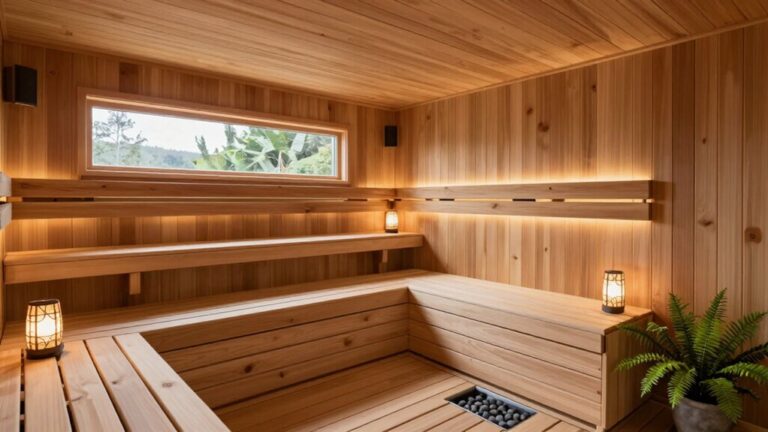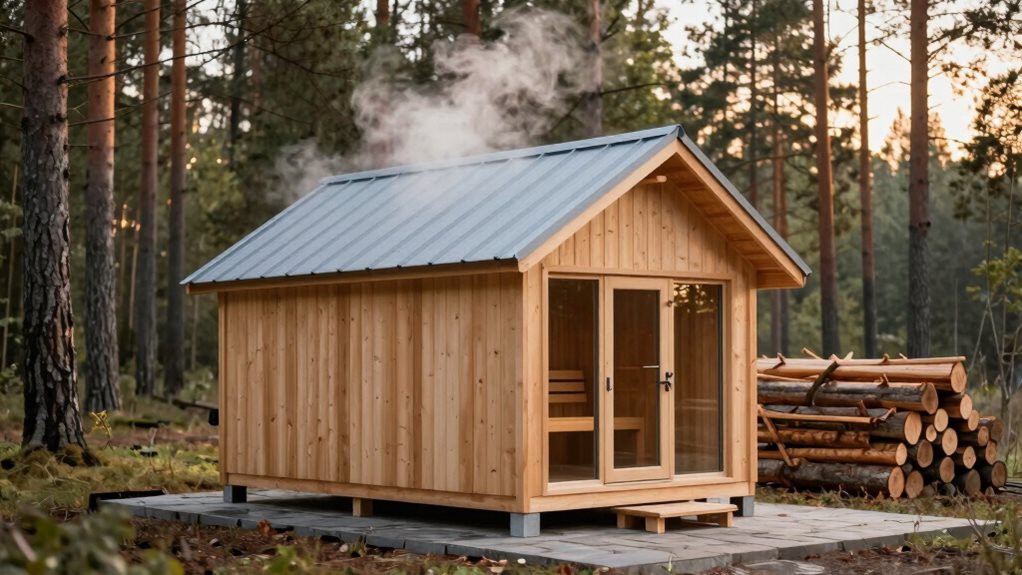

To build an effortless backyard sauna, you’ll need to select a level site with good drainage and utility access. Choose a foundation that suits your budget—concrete for durability, gravel for drainage, or a wood deck for aesthetics. Size your sauna between 4’x4′ and 8’x12′ with a 7′ ceiling height, and use moisture-resistant woods like cedar or hemlock. Don’t forget proper insulation, ventilation, and weatherproofing for your year-round retreat. The right planning now guarantees countless steamy sessions ahead.
Site Selection and Terrain Assessment
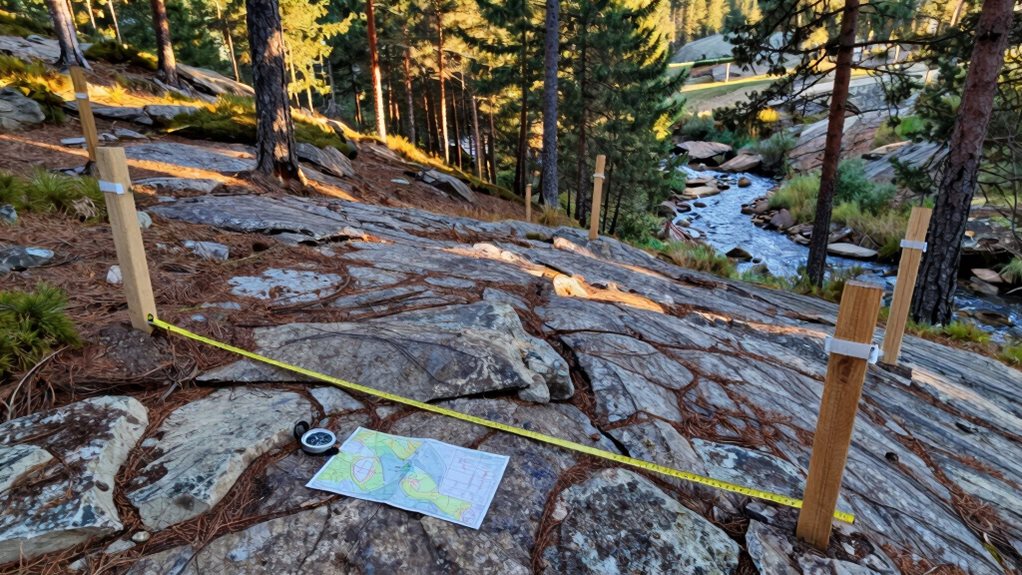
When selecting a site for your backyard sauna, you’ll need to carefully assess several terrain factors that will directly impact both construction ease and long-term enjoyment.
Look for flat, level ground that won’t shift over time and makes building much simpler.
Finding level terrain isn’t just convenient—it’s essential for structural integrity and dramatically simplifies your sauna construction process.
Consider privacy from neighbors and street traffic while balancing accessibility from your home. You’ll want your sauna close enough for winter use but far enough to feel like a retreat.
Position the door or windows toward scenic views to improve the experience.
Check your soil composition and drainage capabilities—well-drained ground prevents water damage. Areas where puddles form after rain should be avoided.
If you’re in a high-rainfall region, plan for a raised foundation.
Don’t forget to verify access to utilities like electricity and water for ideal performance. Ensure you have enough space for the recommended concrete pad thickness of 3-4 inches if you choose this foundation option.
Foundation Options for Every Budget
Once you’ve selected the perfect spot for your backyard sauna, your next significant decision involves choosing the right foundation. Your selection will determine your sauna’s stability, longevity, and installation complexity.
- Concrete slab foundations offer maximum durability and support for permanent installations, requiring proper excavation, gravel drainage, and a 7-day curing period.
- Gravel base options provide excellent drainage and easy preparation, making them perfect for smaller structures on level ground. Adding landscaping fabric beneath your gravel pad will effectively prevent weed growth between stones.
- Wood deck platforms create raised, aesthetically pleasing bases that integrate with existing backyard features while allowing proper ventilation.
For budget-conscious builders, paver stones distribute weight evenly and look attractive, while eco-friendly recycled plastic grids offer sustainable alternatives. Wood foundations allow your sauna to be easily relocated if you decide to change your backyard layout in the future.
Optimal Size Planning for Your Space
Three key considerations will determine the perfect size for your backyard sauna: the number of users, your available space, and material efficiency.
Most families find that a 2-4 person model works perfectly, with dimensions ranging from a cozy 4’x4′ to a more spacious 5’x6′.
For maximum efficiency, aim for an 8’x12′ or 10’x10′ footprint, which provides the ideal 2.4-2.5 square-foot-to-linear-foot ratio. These dimensions minimize material costs while maximizing usable space.
Your ceiling height matters too—stick to 7 feet (84 inches) for best heat retention without wasting energy. This standard height ensures proper air circulation throughout the sauna while preventing uncomfortable stooping.
If you’re tight on space, consider a barrel sauna, which comes in standard 6’x6′ or 8’x6′ dimensions.
Remember that traditional saunas require adequate ventilation for optimal performance and safety during your 10-15 minute sessions.
Materials and Insulation for Maximum Efficiency
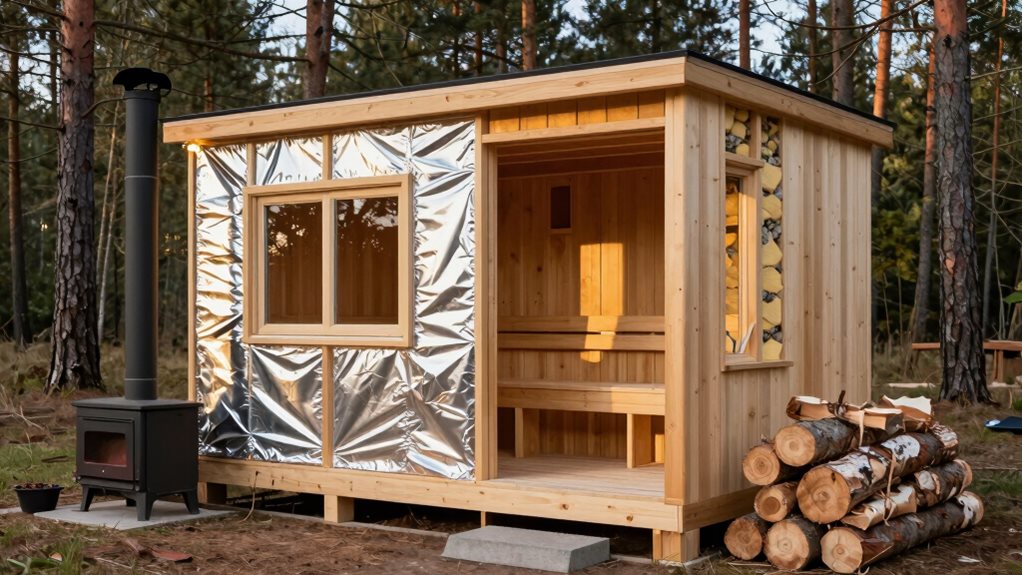
You’ll need to carefully choose the right materials for your backyard sauna to maintain heat and protect against moisture damage.
Cedar, hemlock, and aspen are excellent wood choices for interior surfaces, while proper insulation like mineral wool or foil-faced boards paired with aluminum vapor barriers prevent heat loss and structural deterioration. Ensuring a continuous vapor barrier installation by overlapping seams at least 6 inches will effectively block moisture movement between temperature zones.
Heat-reflective solutions, such as aluminum foil backing behind benches, will dramatically improve your sauna’s heating efficiency and reduce energy costs over time. For optimal performance in colder climates, install thicker insulation in the ceiling area where heat loss is greatest, using the recommended 75-100mm thickness.
Ideal Wood Types
Selecting the right wood for your backyard sauna isn’t just about aesthetics—it’s the foundation of your sauna’s performance, durability, and overall experience.
The wood you choose determines how well your sauna withstands outdoor elements while creating the perfect environment for relaxation.
- Western Red Cedar stands as the premium choice, naturally resistant to termites and decay while offering a pleasant aroma and water-repellent properties.
- Nordic Spruce provides exceptional durability with its high density, making it ideal for harsh weather conditions with minimal maintenance requirements.
- Thermally modified options like Thermo Aspen resist warping under intense heat and humidity, offering an environmentally friendly alternative without chemical treatments. Thermo Aspen delivers high durability while maintaining stability in fluctuating sauna conditions.
For budget-conscious builders, Canadian Hemlock delivers reliable performance with its knot-free characteristics and even heat radiation, though at a lower price point than cedar.
North American Basswood offers an excellent alternative for those with sensitivities due to its hypoallergenic properties and minimal odor profile.
Moisture Barrier Requirements
Properly installing a moisture barrier in your backyard sauna isn’t just recommended—it’s absolutely essential for protecting your investment. The high heat and humidity create pressure that can drive moisture into your walls, damaging insulation and structure.
Your best option is aluminum foil vapor barrier, preferably paper-backed for support. It withstands high temperatures without off-gassing, unlike plastic barriers that deteriorate above 200°F.
Install the foil with the reflective side facing inward, stapling it behind your tongue-and-groove paneling. When installing, overlap seams by 2-3 inches and seal with high-temperature foil tape. Taping all seams thoroughly is crucial as it prevents humidity from penetrating the wall cavity and compromising your insulation’s effectiveness.
Start with the ceiling, then work down the walls, confirming wall foil overlaps onto the ceiling by 3 inches. Remember—you need only one vapor barrier on the interior side. Adding a second barrier risks trapping moisture between layers.
Heat-Reflective Interior Solutions
Effective heat reflection stands at the core of an efficient sauna design. Your backyard sauna needs proper materials to trap heat and block moisture for peak performance.
Pure aluminum foil barriers serve as your first line of defense, reflecting radiant heat back into the room while adding 1R insulation value behind your tongue-and-groove paneling.
- Install aluminum foil with the reflective side facing the sauna interior, overlapping seams 2-3 inches and sealing with high-temperature foil tape.
- Fill stud work with mineral wool insulation (rockwool or stone wool) for maximum efficiency without degradation in high temperatures.
- Consider foil-faced rigid boards like Finnfoam PIR or Kingspan Sauna Satu, which act as both insulator and vapor seal, helping your sauna reach 170°F-195°F within 50 minutes.
Ventilation Solutions for Healthy Environments
When designing your backyard sauna, proper airflow stands as the cornerstone of a truly rejuvenating experience. You’ll need both intake and exhaust vents positioned strategically to create healthy circulation.
Place your lower intake vent near the floor, ideally within 30 cm of your heater. This lets cool, fresh air blend perfectly with heat.
For exhaust, position your upper vent on the wall opposite your heater, creating a natural convection current that distributes heat evenly. Remember, your exhaust vent should be slightly larger than your intake vent.
Size matters too – allow 1 square inch of vent space per cubic foot of sauna volume. For smaller heaters (under 9kW), 4×6″ vents work well, while larger heaters need 6×8″ openings.
Without proper ventilation, you’ll face unwanted moisture problems like mold and bacteria growth.
Weatherproofing for Year-Round Enjoyment
Your backyard sauna needs protection from the elements to truly deliver a blissful experience throughout all seasons.
Creating a weather-resistant structure starts with proper insulation materials, like mineral wool or fiberglass, to maintain steady temperatures regardless of outside conditions.
Weather-resistant saunas demand quality insulation—mineral wool or fiberglass creates your thermal sanctuary in any climate.
- Install a vapor barrier using aluminum foil or foil-faced insulation, making sure to tape all seams securely to prevent moisture damage.
- Establish a solid waterproofing base using either a concrete slab foundation or raised gravel topped with treated wood.
- Apply exterior sealants like Sun Frog SAUNA SEALER with UV blockers to preserve your wood’s longevity.
Don’t forget to incorporate proper “breathing designs” in your sauna structure. An air gap behind paneling keeps wood dry, while good ventilation supports the traditional bake-and-breathe method that makes saunas so effective.
Electrical and Heating Requirements
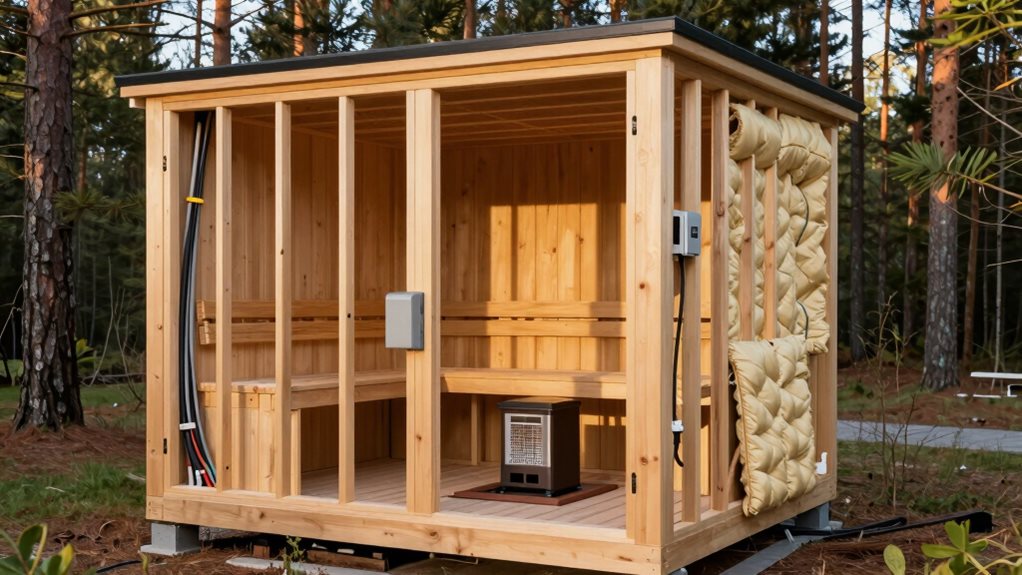
The electrical backbone of your backyard sauna requires careful planning to secure both safety and performance. Your voltage needs depend on the sauna type: traditional saunas demand 240-volt circuits, while infrared models can operate on standard 120-volt systems.
For proper operation, you’ll need breakers ranging from 30-60 amps based on your heater size.
Wire selection is critical—use copper wire with 90°C insulation, typically #10 to #6 AWG depending on your amperage requirements. If you’re installing outdoors, don’t skip weather-rated conduits and GFCI protection for safety.
Remember to trench 240v lines at least 18 inches deep.
Always hire a licensed electrician who’ll follow local codes, install dedicated circuits, and guarantee proper grounding. These precautions aren’t just recommendations—they’re vital for your sauna’s longevity and your safety.
Frequently Asked Questions
How Does Sauna Use Impact Property Values?
Your sauna can boost property value by $5,000-$20,000, increase rental rates by 10-20%, and reduce days on market by 10-20%, offering a 50-70% ROI at resale.
Can I Install a Sauna in Areas With HOA Restrictions?
You can install a sauna in HOA-restricted areas by reviewing your CC&Rs, submitting detailed plans for approval, and guaranteeing your design complies with all exterior and placement requirements.
What Regular Maintenance Does an Outdoor Sauna Require?
You’ll need to clean interior surfaces regularly, maintain heater and stones, care for exterior and ventilation, and conduct periodic inspections for damage, wear, and proper functioning.
How Long Does a Typical DIY Sauna Build Take?
You’ll spend 40-60 hours building a DIY sauna over 2-4 weeks. Prefab kits reduce time to 8-16 hours, while fully custom designs from scratch take longer.
Are Permits Required for Backyard Sauna Construction?
You’ll typically need permits for backyard saunas exceeding 120 square feet. Always check your local zoning laws, as electrical work requires separate permits regardless of size.
Final Thoughts
You’re now ready to build your backyard sauna with confidence! By carefully selecting your site, choosing the right foundation, and planning appropriate dimensions, you’ve set yourself up for success. Remember, proper materials, insulation, ventilation, and weatherproofing aren’t just preferences—they’re necessities for a safe, efficient retreat. With electrical and heating requirements addressed, your outdoor sanctuary awaits. Enjoy your new space for relaxation and wellness!