
To maximize sauna comfort, focus on strategic bench layouts—I-shape for small spaces, L-shape for corners, or U-shape for larger rooms. Verify proper dimensions with upper benches 39-45 inches high, lower benches 18-24 inches high, and 24 inches of width per person. Position your heater near the door for ideal heat circulation, and install vents for proper airflow. These foundational elements create the perfect environment for your relaxation experience.
Finding the Ideal Bench Layout for Your Space
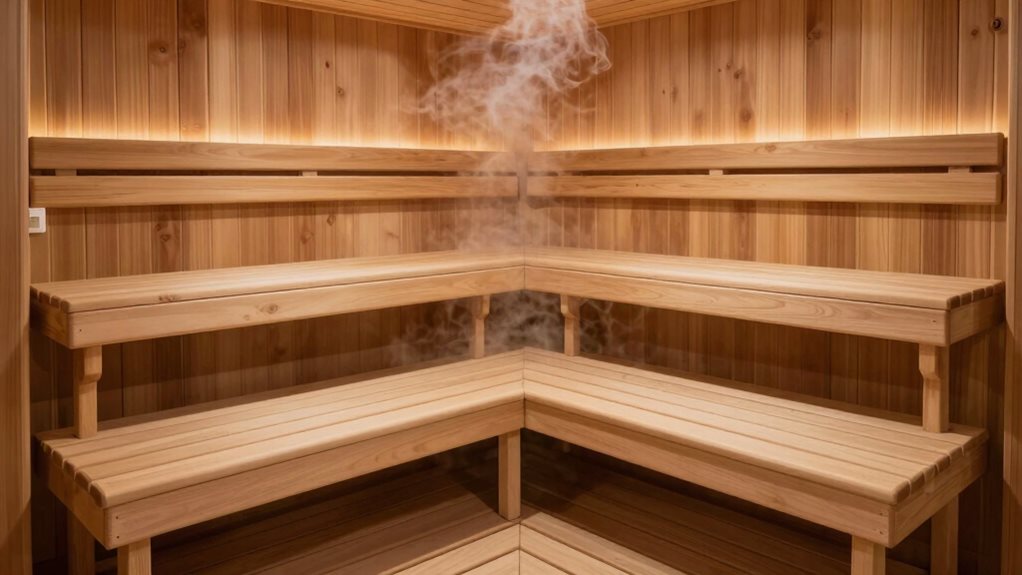
Four fundamental bench configurations can transform your sauna experience, each designed to maximize comfort within your available space.
The I-Structure layout works perfectly for smaller rooms, offering a straight bench at least 47 inches long where you can fully stretch out.
Small spaces shine with the I-Structure’s minimalist design—a single 47-inch bench perfect for full-body relaxation.
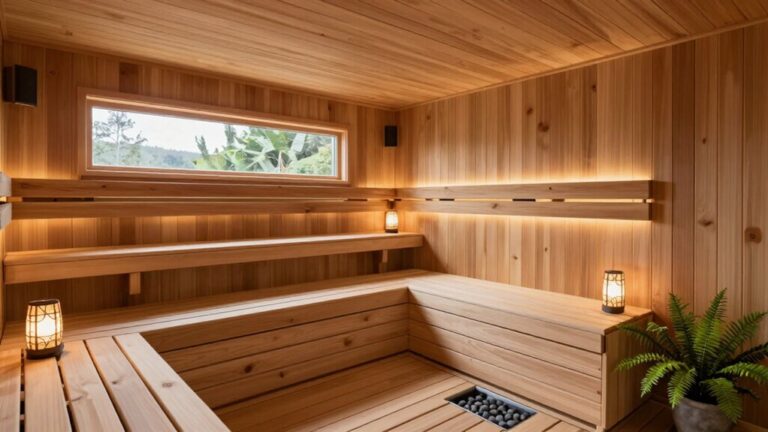
For corner heaters with side doors, consider the L-Structure, which accommodates 5-6 people in spaces as compact as 8’x5′.
The U-Structure shines in larger rooms over 43 ft², comfortably seating six or more people with the heater centered.
If you’re hosting many visitors, the II-Structure creates a conversational atmosphere with facing benches.
Regardless of your layout choice, ensure each person has 60 cm of space for optimal comfort during your sauna sessions.
Remember to maintain 43-51 inches between your top bench and ceiling, and allow 3/8″-5/8″ spacing between boards for proper air circulation and drainage.
Always position the upper bench at 35 inches height from the floor to provide bathers with the optimal heat exposure for the authentic sauna experience.
Calculating Proper Bench Dimensions for Ultimate Comfort
Precise measurements make all the difference when designing your sauna benches for ultimate comfort. Your upper bench should sit at 39-45 inches from the floor, placing you in the warmest air layer while the lower bench (18-24 inches high) offers a cooler seating option.
For a truly comfortable sauna experience, follow these key dimensions:
- Allow 24 inches of width per person – this gives everyone enough personal space to relax.
- Make upper benches 20-24 inches deep so you can both sit and lie down comfortably.
- Keep 18 inches of vertical space between bench tiers for easy movement between levels.
- Maintain 43-51 inches of headroom above the top bench to avoid wasted heat while allowing comfortable sitting.
Choose durable, heat-resistant woods like Cedar or Aspen for your benches to ensure longevity and comfort.
When selecting bench height, prioritize ergonomics and safety to create a space that promotes relaxation while preventing accidents.
Maximizing Seating Capacity in Small Saunas
Small saunas don’t have to sacrifice comfort for capacity when you plan strategically. Choose your layout based on your room shape—straight benches work well for narrow spaces, while L-shaped corner benches maximize compact footprints starting at about 24 square feet.
For social seating in rectangular rooms, consider opposing benches with proper clearance between them. Allocate about 24 inches (600mm) of upper bench per person when calculating capacity. Compact models typically accommodate 1-2 people comfortably for personal or couple use. If you want the luxury of lying down, include at least one bench around 79 inches long.
For super-tight spaces, fold-up wall-mounted benches free up floor area when not in use. Angled benches and vertical layouts can significantly maximize your limited space. Don’t forget to maintain proper clearances from the heater (typically 32-36 inches in front) and between the upper bench and ceiling (about 43-51 inches) for safety and comfort.
Strategic Heater Placement for Optimal Heat Distribution
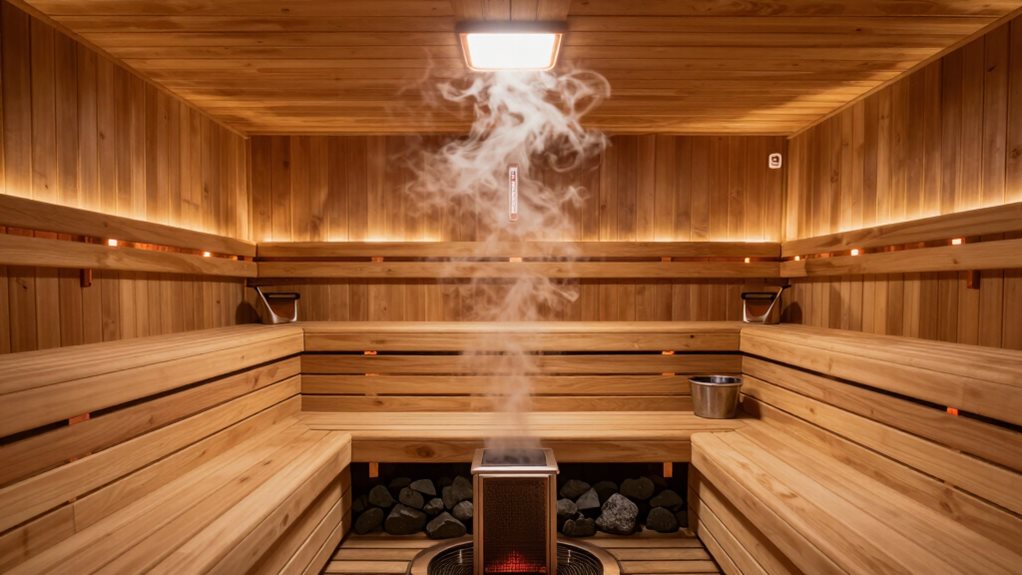
The strategic placement of your sauna heater determines how effectively heat circulates throughout the space, directly impacting your comfort level.
Heat placement creates the thermal foundation of your sauna experience, making proper positioning essential for optimal comfort.
When positioning your heater, you’re creating the heart of your sauna’s climate system. Consider wall-mounted heaters for direct heat delivery at a higher level compared to floor-mounted options that distribute heat more broadly across the space.
- Position traditional heaters near the door or in a corner to mix incoming cool air with heated air, creating a natural convective loop that distributes warmth evenly.
- Arrange sauna stones loosely to allow air to flow between them, stacking larger stones at the bottom and smaller ones on top for steady heat release.
- Integrate ventilation by installing an inlet vent near the floor and an outlet near the ceiling on opposite walls to support natural heat circulation.
- Consider your ceiling height (ideally 7-8 feet) to concentrate heat without excessive stratification.
Research shows significant vertical temperature variation in properly designed saunas, with head height temperatures around 90°C while foot areas remain 25-30°C cooler.
Designing Effective Ventilation for Better Steam Flow
Effectively managing airflow in your sauna creates the perfect balance of heat and humidity, transforming an ordinary steam session into a luxurious bathing experience.
Position your intake vent low and close to the heater, about 2-12 inches above the floor, to feed warm air into the heating zone. Your exhaust should be on the opposite wall, in the upper third of the room, creating a complete convection loop that distributes löyly evenly.
Size matters too—aim for an intake of about 50-100 cm² and an exhaust slightly larger. Include an adjustable feature so you can fine-tune airflow based on how many people are using the sauna. The ideal ventilation system should achieve 3 to 8 ACH for optimal oxygen supply without excessive heat loss.
This diagonal airflow pattern prevents dead zones and ensures even heat distribution throughout your sauna space. Remember that proper ventilation isn’t about cooling your sauna down; it’s about maintaining air quality while preserving that perfect, enveloping steam that makes sauna bathing so delightful.
Selecting the Right Room Height and Ceiling Clearance
Ideal ceiling height might seem like a minor detail when planning your sauna, but it profoundly impacts both your comfort and the sauna’s performance. Most experts recommend a ceiling height between 7 and 8 feet, with 7 feet being the standard worldwide. This height guarantees proper heat distribution while keeping energy costs manageable.
When finalizing your sauna dimensions, consider these key measurements:
- Allow 43-44 inches from upper bench to ceiling for ideal comfort.
- Aim for “two fists” of space above your head when seated.
- Keep ceiling height under 8 feet to avoid needing commercial-sized heaters.
- Plan for 12-20 inches above your head for proper steam dispersion.
For existing spaces with taller ceilings, consider adding a drop ceiling—it’s more economical than modifying heaters for excessive heights.
Planning Multi-Tier Bench Systems for Enhanced Experience
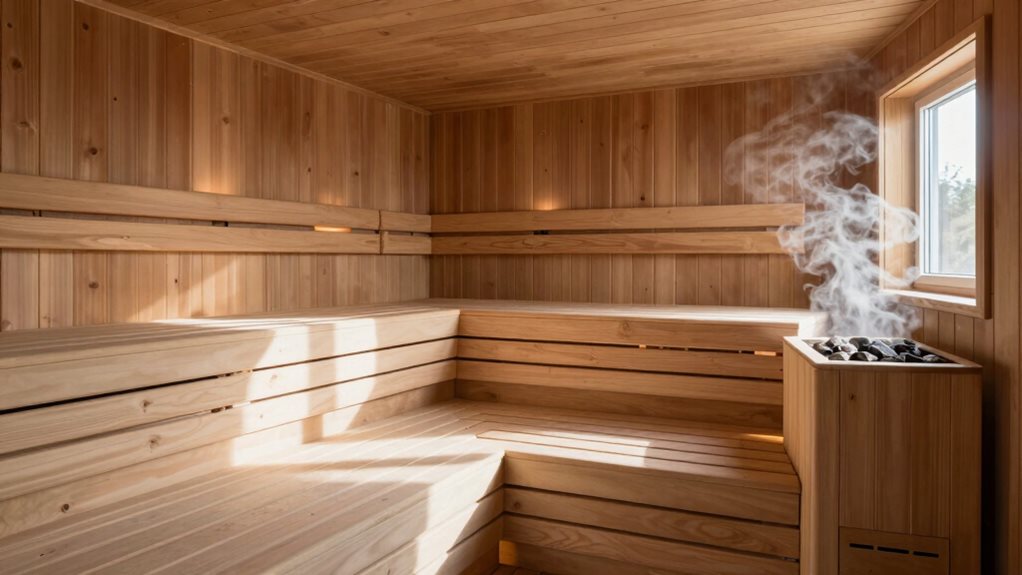
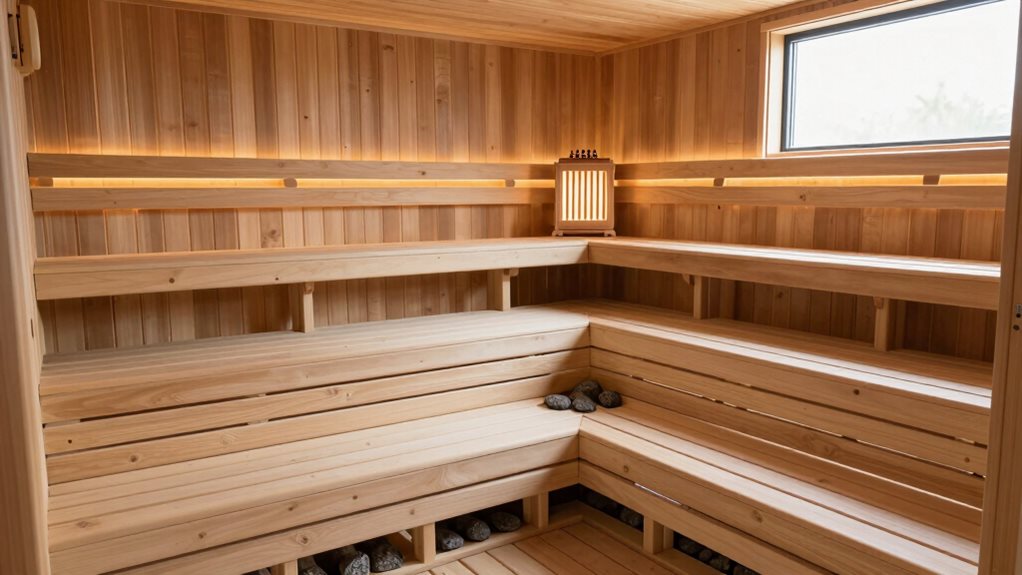
Well-designed multi-tier bench systems transform your sauna experience by creating distinct temperature zones that cater to different comfort levels.
Two-tier designs work perfectly for standard ceiling heights, offering cooler seating below and hotter options above. If you’ve got 8-foot or taller ceilings, consider a three-tier system for more temperature variety (140-190°F) that helps newcomers gradually adapt.
Temperature stratification is your ally—two tiers for standard rooms, three tiers for tall ceilings to create a gentle heat progression for sauna beginners.
Your benches should follow proven dimensions for comfort: lower tiers 18-20 inches deep, upper tiers 20-24 inches to allow reclining.
Space tiers 18-24 inches apart vertically for easy movement between levels. Choose low-resin woods like Nordic spruce or cedar, and leave small gaps (3/8-5/8 inch) between boards for proper drainage and air circulation.
Always maintain proper clearance from your heater according to manufacturer specifications for safety.
Creating Efficient Traffic Flow Around Your Sauna Elements
The proper arrangement of your sauna’s interior elements creates a seamless traffic flow that improves both safety and enjoyment during bathing sessions.
Your sauna layout should promote natural movement while maintaining the essential heat circulation patterns that make your sauna effective.
- Position your door on the longer wall, guaranteeing it swings outward to maximize interior space and provide quick exits when needed.
- Create a clear pathway between your bathing facilities and sauna entrance for comfortable changes.
- Place benches along one wall (preferably the longest) opposite the heater for best heat exposure.
- Keep the floor area open and uncluttered with waterproof, level flooring that supports safe movement between the entrance, benches, and heater.
Incorporating Proper Drainage Solutions for Longevity
Proper drainage solutions form the backbone of every long-lasting sauna, protecting your investment from water damage while securing hygienic conditions for years to come.
Without proper drainage, saunas deteriorate quickly, sacrificing both lifespan and the health benefits they’re designed to provide.
When designing your sauna, assess your site’s natural drainage patterns and soil composition first, looking for low spots where water might collect.
For indoor saunas, create a gentle slope toward a central stainless steel drain, using techniques like the Trevor Trowel method to establish firm, pitched flooring.
Outdoor installations benefit from French drains around the perimeter, paired with gravel beds that facilitate natural water dispersal.
Don’t forget to seal all edges with silicone and install a tiled upstand (at least 100mm high) around the perimeter to prevent splash damage.
Your drainage system works best when connected to existing plumbing near bathrooms.
Balancing Personal Space and Social Interaction in Your Layout
Striking the perfect balance between personal space and social interaction forms the cornerstone of an inviting sauna layout.
When designing your sauna, consider how the arrangement of benches and seating can either encourage conversation or provide moments of solitude.
- Create hybrid layouts with both individual corners and communal seating areas to accommodate different preferences.
- Designate separate lounge spaces outside the sauna for post-session tea and relaxed chatting.
- Arrange bench seating to allow comfortable distance between bathers without feeling isolated.
- Install appropriately sized benches that respect personal boundaries while keeping the warm, community feel.
Frequently Asked Questions
How Do Lighting Placement and Types Affect Sauna Experience?
Strategic lighting placement and appropriate fixtures improve your sauna experience by creating ambiance, guiding movement, reducing trip hazards, and promoting relaxation with warm, dimmable illumination that doesn’t cause glare or eye strain.
Is There an Ideal Wood Species for Bench Construction?
Western Red Cedar is your ideal bench choice—it stays cool to touch, has natural antibacterial properties, and won’t splinter. Aspen and Hemlock are excellent alternatives if you’re budget-conscious.
How Can I Incorporate Accessibility Features for Elderly Users?
Install grab bars, use lower bench heights (17-19 inches), provide wheelchair turning space, implement non-slip surfaces, and add clear doorways (36+ inches) with level thresholds for your elderly users.
What Storage Solutions Work Best Within Sauna Layouts?
Incorporate vertical storage with heat-resistant wood shelving, bench-integrated compartments with lids, and wall-mounted solutions like floating benches. You’ll maximize floor space while keeping necessities within arm’s reach.
How Does Sauna Bench Material Impact Heat Retention Qualities?
Your bench material choice greatly affects comfort. Softwoods like aspen stay cooler to touch, while dense hardwoods retain heat longer. Thermally modified woods provide better insulation and maintain consistent surface temperatures.
Final Thoughts
You’ve learned crucial sauna layout strategies that’ll transform your space into a haven of relaxation. By carefully planning bench dimensions, heater placement, and ventilation, you’re now equipped to create the perfect sauna experience. Remember, thoughtful design improves both comfort and functionality, extending your sauna’s life while maximizing enjoyment. With these tips, you’ll strike the perfect balance between personal space and social interaction in your custom sauna sanctuary.